
Broadcasted internationally across all platforms, fashion photography is one of the most sought-after niches in the industry. High fashion models rock the world’s most elegant wardrobes, with professional fashion photographers quickly snapping away images that embody pure beauty. It’s no wonder many want to dive into this exciting world.
Here is our complete guide, divided by topic, for fashion photography!
What is Fashion Photography?
Fashion photography is a type of photography that focuses on capturing images of clothing, accessories, and other fashion-related items. It is often used to promote fashion brands, magazines, and other fashion-related media.
Fashion photography holds unique characteristics that differentiate it from other photographs that have a human subject:
- Clothing is the primary subject.
- Styling holds the utmost importance.
- Models are posing in ways that highlight the clothing rather than the model.
- Composition is focused on clothing.
Although a person is wearing fashion, the subject is the fashion. The person is akin to a mannequin.
Types of Fashion Photography
There are four key types of fashion photography:
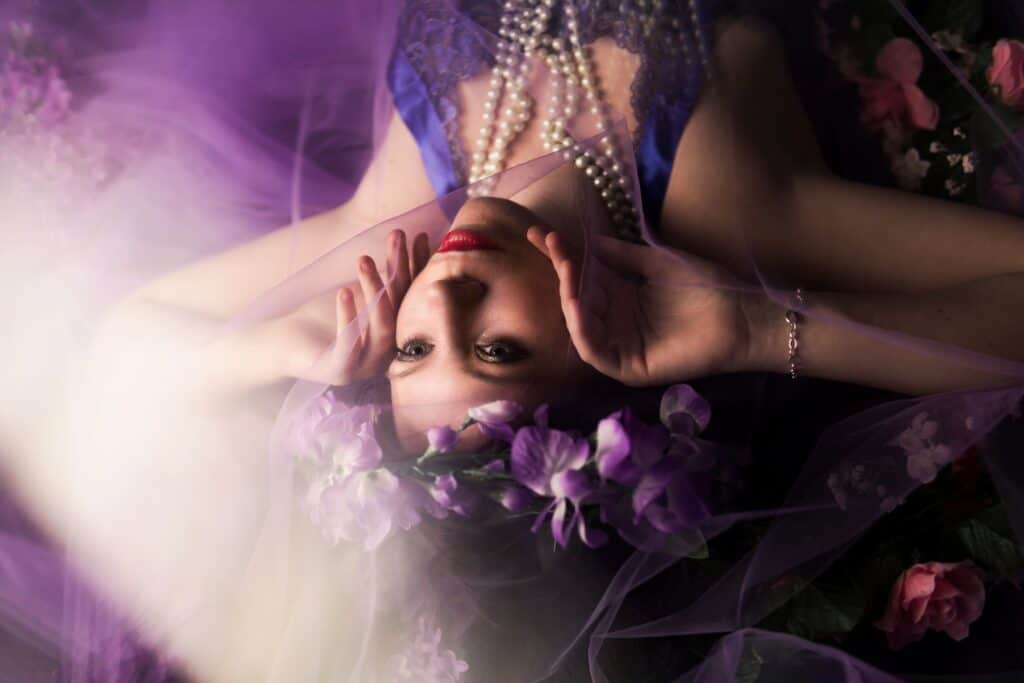
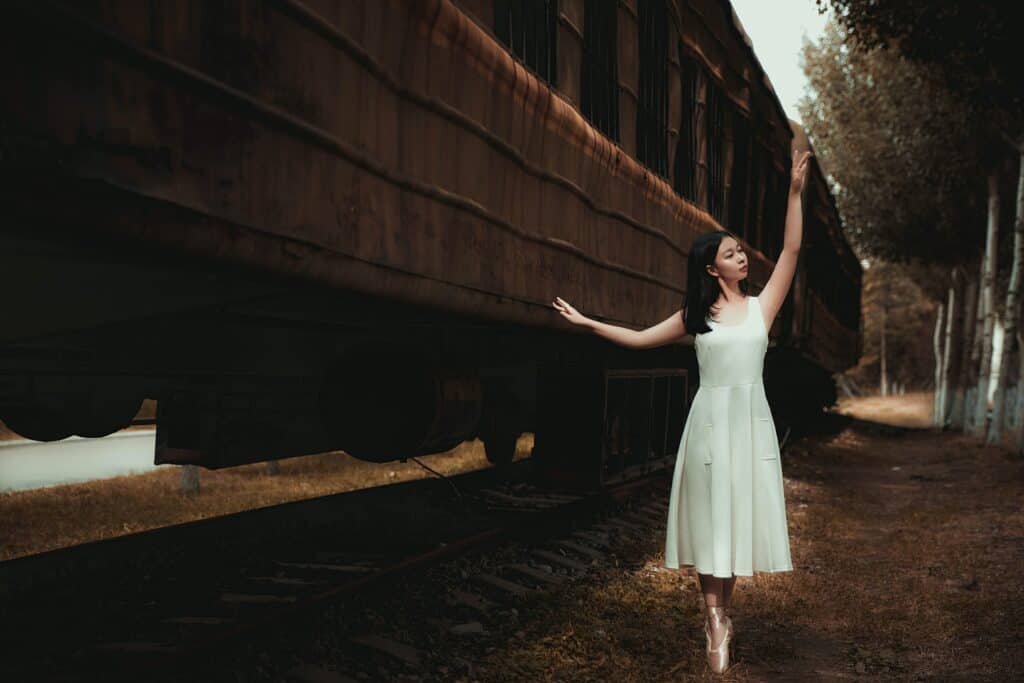
Editorial
Editorial fashion photography is intended to be more story-telling in nature. This photography type is published in magazines, often alongside the text, to help tell a story or educate readers. The models become actors and actresses, portraying a narrative with the clothes and scenes.
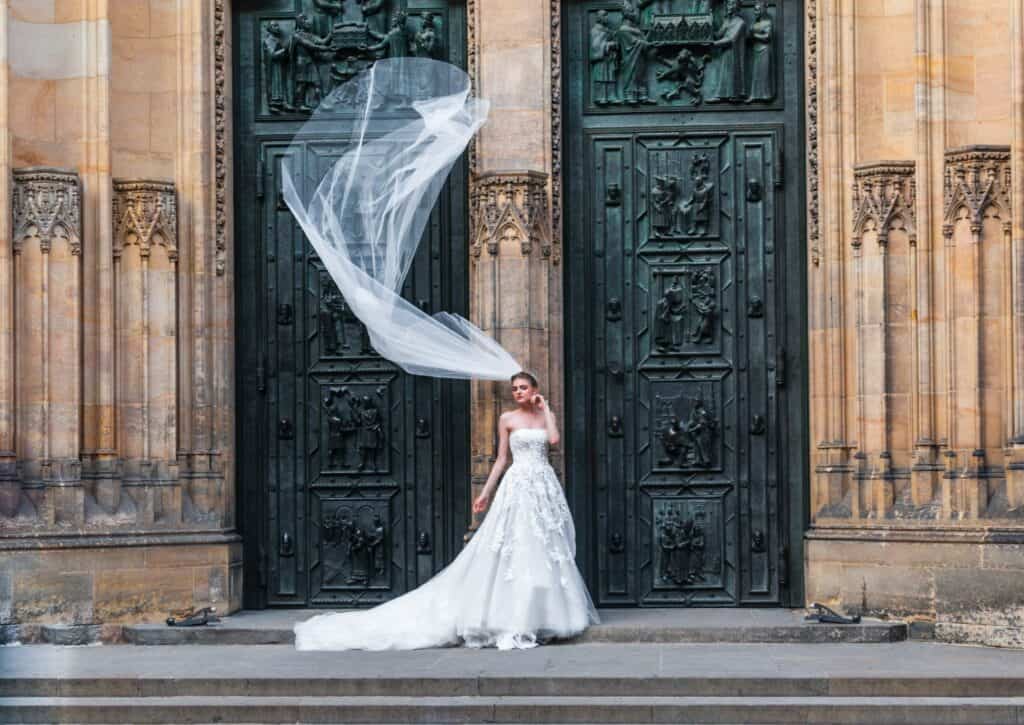
High Fashion
This is where fantasy and fashion meet. High fashion photography often happens to feature recognizable models or celebrities. The fashion is styled to appear heavily departed from reality, very fantasy-esque in nature. The poses tend to be elaborate and over-the-top.
Catalog

This type of fashion photography is more down-to-earth and mainstream. Catalog photography is a style used to market products to consumers. The images appear more informational and direct, with little story or narrative behind them.
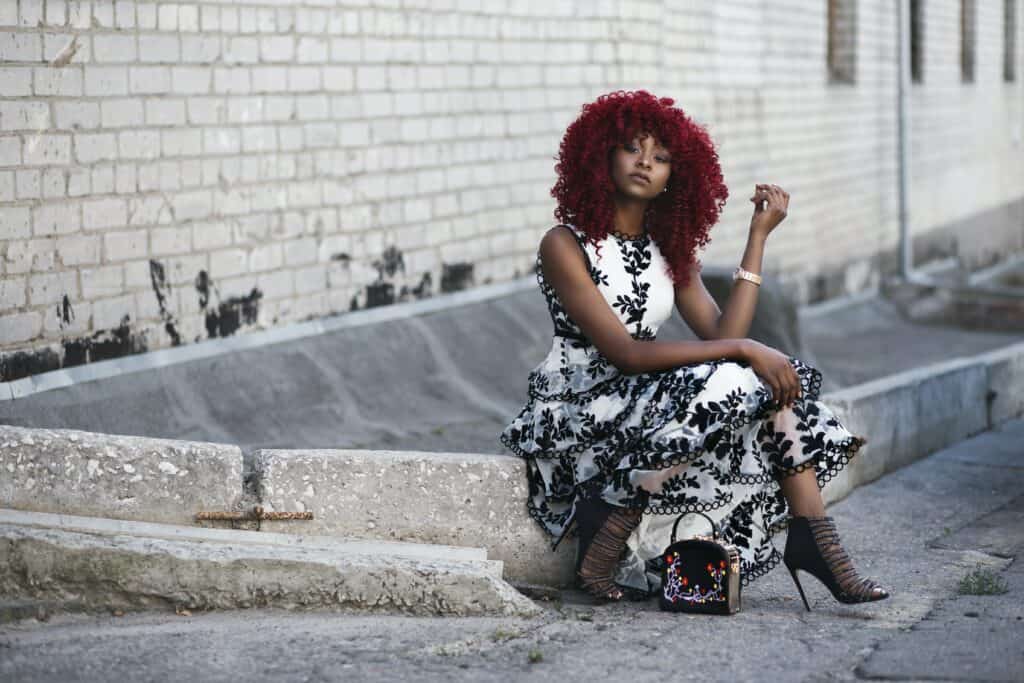
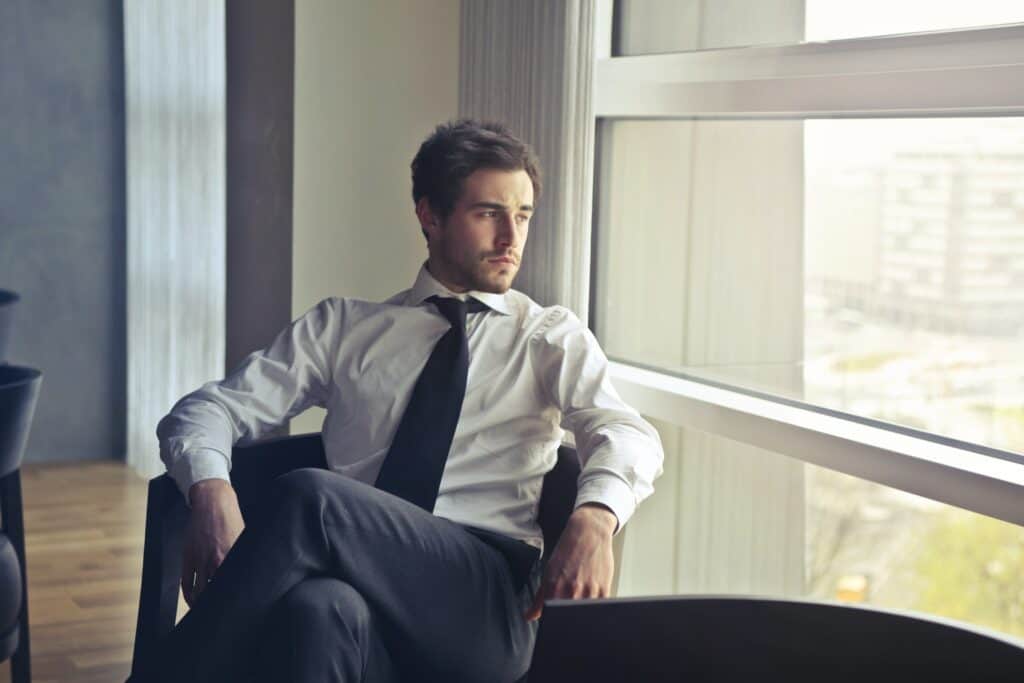
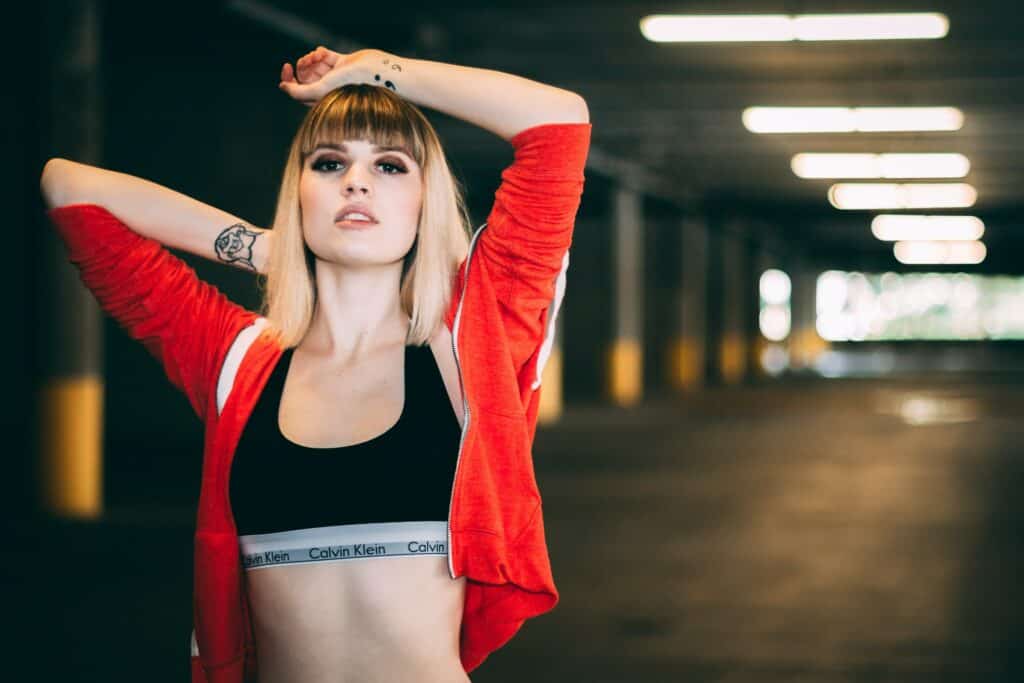
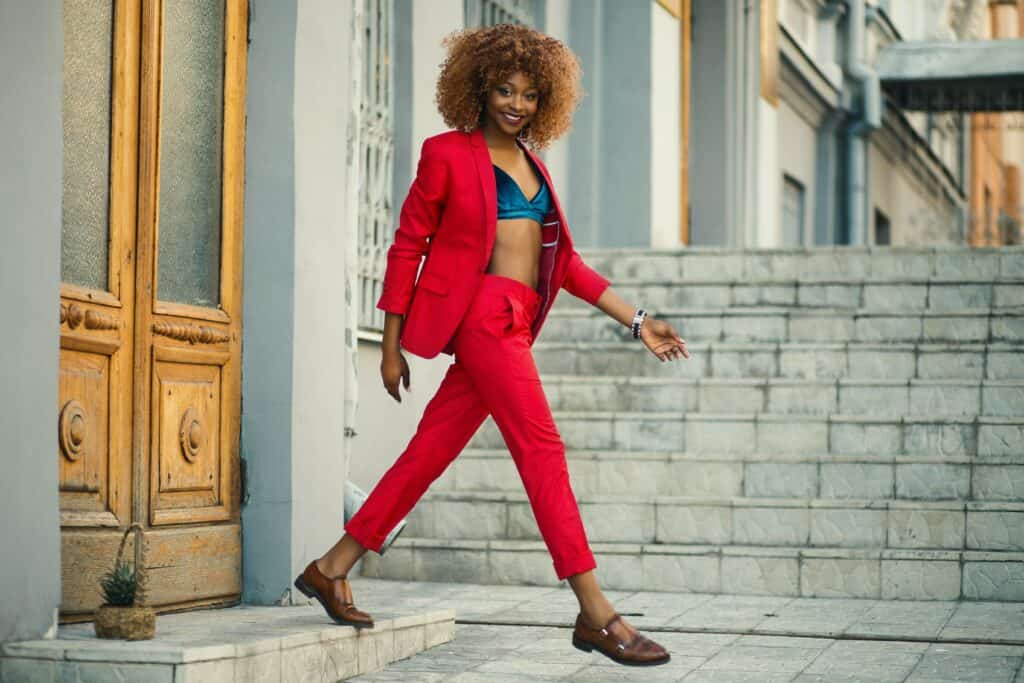
Street
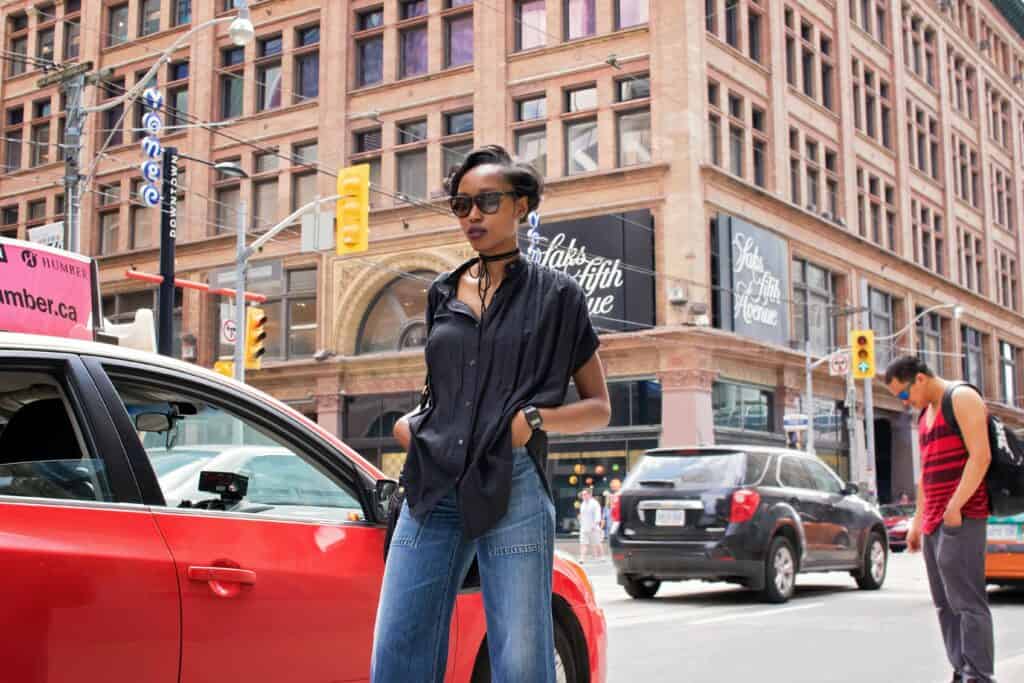
Street fashion photography is where candid photography, urban photography, and fashion photography collide. This photograph shows what is fashionable in society and how the clothing fits into everyday life. Most of these images are shot to appear candid, with models doing everyday activities (such as walking down the sidewalk in Manhattan) and showing off their outfits.
The Equipment
Before building a fashion photography portfolio, one needs the right tools to bring the vision to life.
Camera
High-resolution cameras are a must-have for fashion photography. Because this is a commercial type of photography, quality is key. The megapixel count begins to matter. You want to ensure that your image is captured in full detail so that no thread goes unshown. Full frame sensors are also pretty high up on the needs list, as a crop sensor will not have a high enough resolution.
A full-frame sensor is very important to this commercial type of photography. Don’t even bother with a crop sensor or APS-C camera. Commercial photography is printed and often blown up to a very large size. If you want to print large canvases, crop sensors won’t work well because the image will likely be too small! You would also need to look for a camera with many megapixels for a very big print. Sensors tend to go hand in hand with another technical term called megapixels. Megapixels are a unit of measurement for a resolution that translates to “one million pixels.” Megapixels dictate how much detail your sensor can capture. The larger the megapixel number, the more detail your camera can catch. Only full-frame sensor cameras have large megapixel counts.
Megapixels aren’t a gimmick to increase the price of a camera. Alongside prints, the megapixels impact an image’s details and quality. The more pixels, the higher quality of the image because there will be more details. Megapixels are units of measurement for the number of pixels in a photo.
All this talk of megapixels and focus points leads to talks about details. Details really do make the image, especially in fashion, in which the details define the craftsmanship and quality. With newer cameras, you can actually adjust the number of details and the type of detail rendering in an image! You can ensure the details have perfect clarity or soften the sharpening. This saves a lot of time in the editing room, and as any photographer knows, the closer you can get the image in the camera, the better!
Noise at high ISOs also impacts the details. The more noise, the more mucked up the image is. Noise control options help alleviate some grains when shooting in darker conditions. As such, having this option is pretty nifty!
It’s also important to look at how many focus points the camera has. How you select what is in focus and how accurate the autofocus is is through focus points. Focus points are the dots that the camera uses to lock onto focus. The more there are, the more accurate and detailed the focus can be. For touch screen cameras, you can tap the focus points on the screens and ensure that the specific detail you want in focus absolutely is.
Cameras with dual card slots are also a big bonus. Most new professional cameras have two card slots. These two card slots offer two options: simultaneous shooting and card-switch shooting.
Card-switching means the camera automatically switches to record on the second card when one is full. Simultaneous shooting means that both cards record simultaneously, creating a backup for one another. Choose the one that suits the shoot best (although simultaneous shooting is the suggested method).
Lens
The final image result is due to the lens. This is where a lot of the high-quality lies. Because fashion photography is such a popular niche, it is also very competitive- so the quality of your images aids you in standing out (and getting the jobs!). When determining which image to invest in, consider lenses that use pristine high-grade glass (preferably with fluoride coating to eliminate light glares).
For the most part, you will stick to standard and telephoto lenses for fashion photography. Both of these types of lenses have an equal benefit of not distorting the proportions of your subjects. The fashion you are capturing has to be fairly accurate to life, especially if you’re doing something like catalog photography. Models also don’t tend to favor when their features are being distorted due to the lens glass curving (the companies and fashion houses aren’t the only ones you need to make happy).
In the world of fashion, glass matters. Camera brands and lens companies have a high-end lens line and a low-end lens line. The high-end line uses high-quality glass to make images sharp, vibrant, and rich. This is because the grains of sand used to make the glass differ between the two qualities. High-end glass is clearer! The problem with lower-end glass is that it tends not to be very sharp and has a dull appearance.
Look for lenses with wide apertures so you have more control over the aperture you choose for your fashion photography. The aperture controls the depth of field. With fashion photography, studio sessions tend to have narrower apertures and a deeper depth of field. However, for many outdoor fashion shoots, a much shallower depth of field is used to keep the background from overbearing the model and the clothing they are wearing. You’re golden if you can invest in one lens that can do both.
Lighting
Fashion photography, more often than not, has artificial lighting involved (even when shooting outdoors). There are different types of artificial lighting to choose from, and neither is better nor worse than the other:
Continuous: Light that is always on and does not flash. These can range from LED strips and LED bulbs all the way to tungsten bulbs. These lights tend to have a softer look to them.
Flash/Strobe/Speedlite: A device used in photography that bursts a powerful bright light. For fashion photography, you’ll likely want to look at flashes that feature TTL to preserve the depth of field.
An acronym for “Through-The-Lens,” a setting in a flash, strobe, or speedlite that automatically determines the output of light based on the information it receives from your lens. This lighting tends to have a sharp and contrasted look to it.
Camera Settings
It’s inaccurate of us to tell you exactly what settings to use for fashion photography. This is because the genre has so many different aesthetics, locations, and conditions that no one setting works for all. Instead, read our guides on the following topics to aid you in selecting the proper settings for your shoot:
Tips for Location, Posing, and Composition
Here are tips for all of the major facets of a photograph.
1. Make Sure the Location Compliments the Clothing
Remember- your purpose is to make sure the fashion looks good. Speak with your client about the mood they want to achieve and the story they want to tell. Next, select a location accordingly.
An urban streetwear brand would look the best shot in a Downtown or bustling area. A cocktail dress may look beautiful in a refined loft. A bikini works best at the beach. You get the gist.
But, when looking for a location, make sure the colors complement the clothing. A brightly colored trench coat can look cool in a neutral-colored loft but would get lost in a vibrant flower field.
As well as this, consider the size of the crew and your composition. Can the location accommodate the space you require?
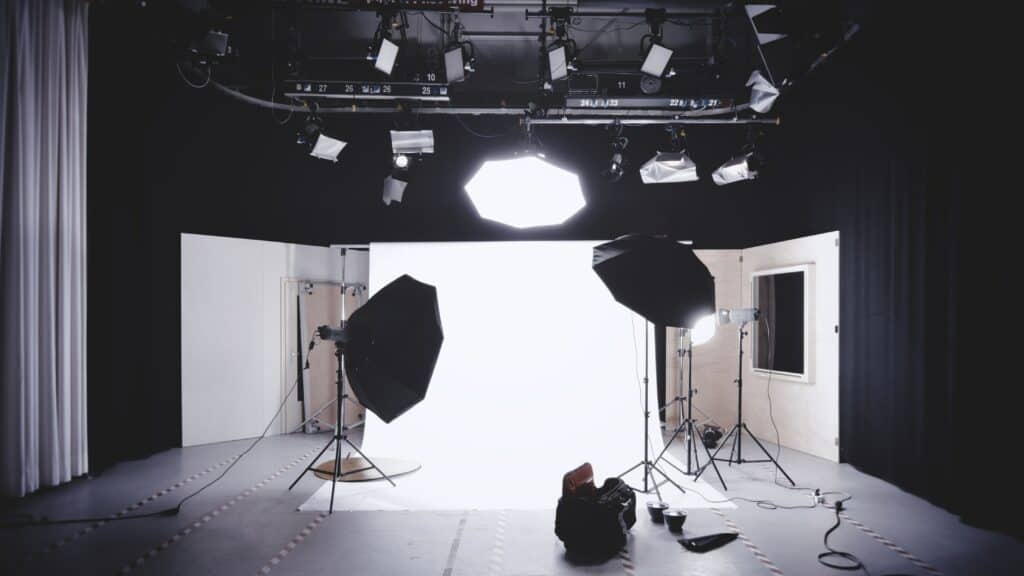
Sometimes, the best bet is to use a photography studio to not deal with natural variables such as location permits, weather, and other people. But even in a studio, choose backdrops that best show off the clothing.
2. Stay Away from Major Distractions
Nothing is worse than capturing an image in which the viewer’s eye goes not to the clothes but to something in the background or foreground.
Make sure to remove distractions that pull the eyes away from your subject, whether physically hiding these problem points or removing them in Photoshop and Lightroom. If neither can be done easily, then sometimes changing the color or desaturating the distracting element does the trick!
3. For Studio, Keep an Eye on Backdrop Creases and Tears
Trust me, editing creases and tears is an absolute nightmare. Best to avoid this problem in the first place! Look for these issues in your backdrop or background and remedy them before shooting. For fabric, you can steam creases out. For paper backdrops, you can put dents back out or pull the fresh paper.
4. For Outdoor, Use a Shallow Depth of Field for Separation
Shallow depth of field is when the subject is in focus, and the rest blurs away. This allows a beautiful separation between the subject and the background and ensures that attention is not taken away from the main point of the photograph.
Shallow depths of field is great to use when the background is less than ideal and distracts from your subject. It’s also great for detail shots so your audience focuses only on the parts you want them to see.
5. Give the Model a Character to Play
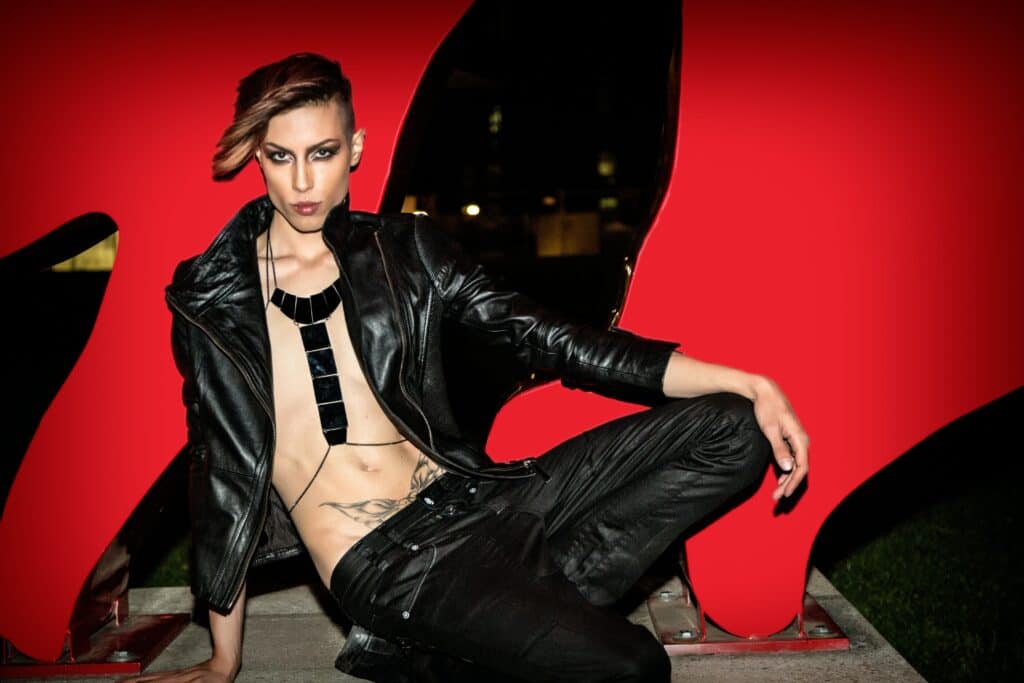
Fashion photography is also about selling an idea of the clothes as much as the clothes themselves. It can help your model tremendously if you give her a character to play or an attitude to portray.
For example, telling the model to play a punk rock kid for leather and spiked clothes can get the exact attitude you need!
This also helps the model figure out poses, facial expressions, and even makeup.
6. Have the Model Interact with the Location
Some locations do well with interaction. This is especially true for street-style fashion photography. Have the model lean on a stool, sip a cup of coffee, play with a flower, or any other interaction that makes sense in the location.
7. Play with Composition
Don’t be afraid to go out of the box if you’re shooting editorial or high fashion photographs. The weirder the composition, the better the outcome!
8. Tell the Model to Follow Her Nose With Her Eyes
A great posing trick is to tell the model to follow the line of her nose with her eyes. This creates the perfect ‘stare off into the distance’ shot without looking awkward.
9. Chins Up, Always!
Raise those chins! High chins prevent chin wrinkles, elongate the neck, and are flattering for almost every model.
10. If It Feels Uncomfortable, It Looks Great on the Camera
This is the golden rule for posing a model – if it feels uncomfortable, the result is fantastic. You can take this further in high fashion photography by utilizing as many quirky and bizarrely contorted poses as possible.
11. Show Movement
Images are static. Our goal as a photographer is to bring movement back into them. This creates visual interest and encourages viewers to engage visually with an image. Have the model show movement by spinning, lifting a leg, ruffling her hair, or anything that is more than just a static stance.
If the clothes you are shooting have flow to them or are made of a light material, really take advantage of this by having your model throw the material around or jump up and down. Anything that captures that breathtaking fabric sway.
12. Never Crop at the Joints
This is a big no-no. Don’t cut off any limbs if you photograph a living subject! That looks like you purposefully handicapped your subject. If you must crop tightly, never crop at a limb joint- always crop in the center between two joints.
Tips for Lighting
Lighting is a very important part of fashion photography!
1. The Triangle Arrangement Never Fails.
If you’re at a loss for eye-catching lighting, use the Triangle Arrangement. The Triangle Arrangement can be made with both continuous light and flashes. All you need are three lights and stands for them.
The arrangement requires one light in front of the subject and two at the sides. The two lights in the back provide your subject separation. If you want the background to be illuminated to separate your subject, turn these lights towards your background wall. If you want the subject to be separated due to a rim light around their figure, turn these lights towards the subject.
The light in the front always stays in place because that illuminates the face and body. You want this light hanging higher than the subject but pointing down towards him or her. Not directly overhead, but a few inches in front.
2. Use Flash Outdoors to Even Out Shadows

Did you know that flash and strobes are not just for the studio? Many of these artificial lights can actually be brighter than the sun. This is where they really excel. If you have to shoot outdoors during a difficult lighting hour, use flash to even out shadows, fill the shadows, or expose the subject properly against the background. Make sure to put the flash inside of a beauty dish or softbox diffuser. Bare flashes (flashes that have no modifying accessories on them) are rather harsh.
4. Watch Out for Chin Shadows
Shadowed chins can create an awkward lighting aesthetic on the model’s face. Place a reflector below the chin when capturing portraits to bounce light back to that area and illuminate it. If you’re doing full-body shots, have the model raise his or her chin up.
Tips for Editing
Here are some tips to take with you to the editing room.
1. Skin Retouching is a Must
It’s natural to have blemishes, wrinkles, and imperfect skin. Unfortunately, the camera brings these out much more than the human eye sees in person. You can smooth skin using a large variety of methods in both Photoshop and Lightroom. One method is using the Clone Stamp Tool to color clear skin texture on blemishes and other imperfections. Another is to use a little bit of Gaussian blur to smooth skin out. There are hundreds of methods under the sun. Use the one that suits your model’s skin the best.
2. Pay Attention to Details
The devil is in the details. Keep an eye out for stitching problems, threads, wrinkles, loose hair, and other details that would otherwise be a mistake in your picture. You can easily use the Spot Healing Brush tool in Photoshop and Lightroom to edit those out of the way quickly,
3. Color Correct for Accurate Colors
Because the clothing is intended for sale, ensuring the colors are accurate is paramount. Nothing is worse than ordering jeans and receiving a different color than what you saw in an advertisement! This is especially prevalent in catalog photography.
Try setting your white balance to compliment the shooting location, which can help keep colors as accurate as possible until you hit the editing room. Then use color sliders to bring the right tones back out.
4. Remove Footprints in Studio Paper Shots
Don’t forget to remove the footprints from the studio shots! Paper backdrops that spread to the floor are prone to scuffing, no matter how clean the shoes are.
5. Advise the Makeup Artist
For photography, makeup has to be done akin to theatrical makeup because anything subtle won’t show. Tell the makeup artist to go a bit more bold or contrast with the makeup, especially with contour makeup.
Business Tips
Aside from shooting, being business savvy will help you in your pursuit.
1. Use a Shot List and Mood Board
Simply put, a shot list is a detailed checklist of the images you need to capture during a shoot. This helps you schedule the shoot, organize your thoughts, and ensure no important photograph is missing. A shot list opens up communication between the photographer and their client so that both can equally express their needs, which is vital for fashion photography.
A mood board collages images that express the colors, tone, story, and overall feel of a photo shoot. Mood boards often comprise various reference photographs, paintings, accessories, color sets, and more. This helps in picking out a location, model, and editing requirements.
2. Have Insurance
If you’re serious about getting into fashion photography, you will want insurance on your equipment. If your lens gets broken, not only is that a costly fix, but you could also lose a lot of work. Luckily, many camera and lens brand names have their own insurances and member programs that can help! Or you can look into insurance companies that specialize in representing photographers. A yearly fee can grant you access to discounted repairs, free loans while your gear is being repaired, and liability protection against accidents.
3. Always Use Contracts
You’re playing with fire if a contract isn’t being used. Especially when large finances are involved, as often with fashion photography.
A contract outlines all of the expectations, and timelines, and ensures that the photographer meets their guarantee. The contract prevents the client from taking advantage of the photographer and vice versa.
This being said, don’t try to draft a contract yourself – it is likely to be riddled with loopholes or illegal terms and, even worse, likely to be entirely void. Hire a contract lawyer who is versed in photography law. You can bet that your client in this industry has already done that.
4. Acquire Permits When Necessary
Not all locations are free to use for commercial purposes. Look up the local ordinances in the location you are interested in and acquire the necessary permits. If you do not, you risk getting kicked out and your business license pulled.
5. Use Property Release Forms and Model Release Forms
Release forms grant you, and your client, permission to use the images commercially. Ensure you have a written release form from the subject in your images, allowing you to use his or her likeness freely. If you are shooting on recognizable private property, a property release form will be necessary to use the images commercially as well.
6. If You Have a Large Team, Make Call Sheets
If you’re doing a large and invested shoot that includes makeup artists, hair stylists, wardrobe stylists, prop makers or houses, models, lighting grip, and other such crew- make a call sheet to ensure everyone shows up when they are supposed to.
Call sheets quickly list important information such as location, a map for parking, time to arrive, contact information, and more.
7. Expect Some Payment Delays when Shooting for a Company
Many large companies pay their photographers like they pay their employees- via an accounting department and on the payroll schedule. Expect to be waiting to receive the rest of your payment rather than having it all on the day of the session. When a company presents you with a form that states “Net 30,” “Net 60,” or any number after ‘Net’- that tells you how long you’ll have to wait to see your payment.
It is suggested to take an upfront retainer or deposit before beginning work, but the rest of the payment may potentially have to wait.
8. Backup Your Files
One of the biggest causes of conflict between a client and a photographer is losing photographs. Ensure you don’t delete or format your camera memory cards until the photographs are safely backed up! It’s better to back up in multiple locations, such as external hard drives, online cloud systems, and your computer hard drive.
Conclusion
Once you’ve acquired the proper equipment and nailed down your lighting, the rest are just techniques and business practices that will aid you on your journey through the fashion world. Take this guide into your knowledge arsenal and go out there and capture beautiful fashion images!