

The camera features a variety of modes that are meant to help the photo-taking process! One such is metering, which helps you achieve proper exposure.
Metering modes are commonly overlooked and left on default, and as such, you may not be getting the most out of your camera! Here is our guide to metering modes.
What is Metering?
To explain metering, we must first explain exposure. Exposure is the amount of light that reaches your camera. Too much light and your image will be too bright. Too little, and it’ll be too dark.
Exposure comprises three key components: ISO + shutter speed + aperture = exposure.
These three variables can be controlled by the camera itself when set to any of the preset automatic modes, or they can be controlled by hand when the camera is set to ‘Manual Mode.’
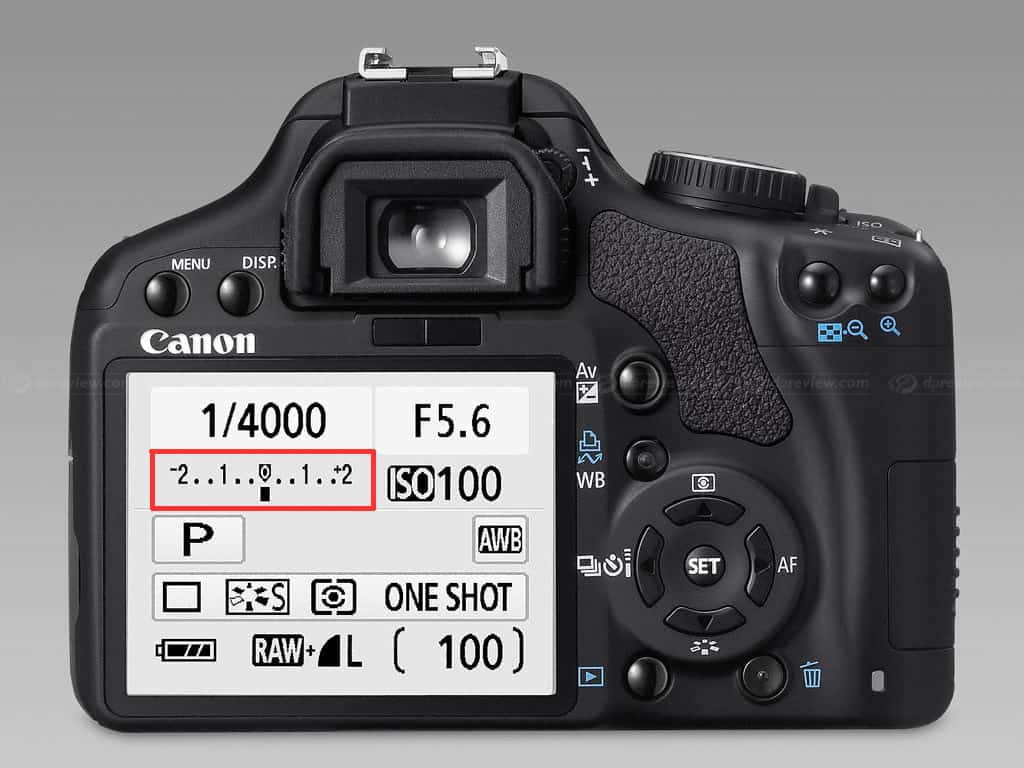
How this factors into metering is that to understand what the proper exposure is, we rely on a little guide on our camera called the Exposure Meter, also referred to as a Light Meter. This measures the intensity of light and tells us if our exposure settings are too light, too dark, or just right. The information is shown to us through a little parallel line with indications.
An exposure / light meter looks like this:
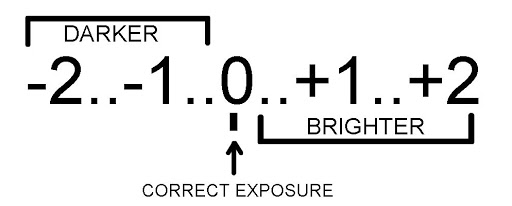
The ‘0’ and big mark in the center is considered ‘perfect’ or ‘neutral’ exposure. Everything to the left of the ‘0’ center (into the minus sign) indicates darker exposure, and everything to the right of the ‘0’ center (into the plus sign) indicates a lighter exposure. Above all, this floats an arrow that moves from side to side depending on how you adjust your settings or where your camera is pointed. This arrow tells you where your exposure is on the exposure / light meter!
What are Metering Modes?
How we set the accuracy for our exposure meter is with Metering Modes. Metering Modes help us tell the camera’s sensor what we want our exposure adjusted for! Whether you are adjusting exposure for an entire scene or just a specific subject, the metering mode is there to help.
The Different Metering Modes
Each DSLR and Mirrorless camera brand has a set of metering modes. Some point-and-shoot cameras do as well, but this is primarily a feature in proper cameras. These modes may change names between brands, but they do the same thing.
Matrix / Evaluative Metering

This is considered the most ‘new photographer’ friendly of all modes. It’s akin to an automatic mode on camera mode settings. This mode considers the entire scene, all of its shadows and highlights, when setting the exposure. Its goal is to expose the darkest part of your image and the lightest part of your image as equally as possible.
However, this mode tends to flop if you shoot in complex lighting conditions, such as lots of contrast with lights and darks. But, it is very advantageous when capturing a scene with artificial lights.
Best Used For?
This mode is used primarily when shooting with artificial light such as flash, speedlites, and strobes! This is also selected when your shooting location is lit evenly, such as directly under sunlight or in the shade.
Center-Weighted Metering

This metering mode gives exposure consideration to the center of your image. It exposes whatever is in the middle of the frame before anything on the corners of the frame. This is excellent for portrait photography, in which lighting your subject well is more important than the background.
Best Used For?
This one is best used for portraits, macro photography, and when your composition includes the subject being directly centered in the frame.
Highlight-Weighted Metering
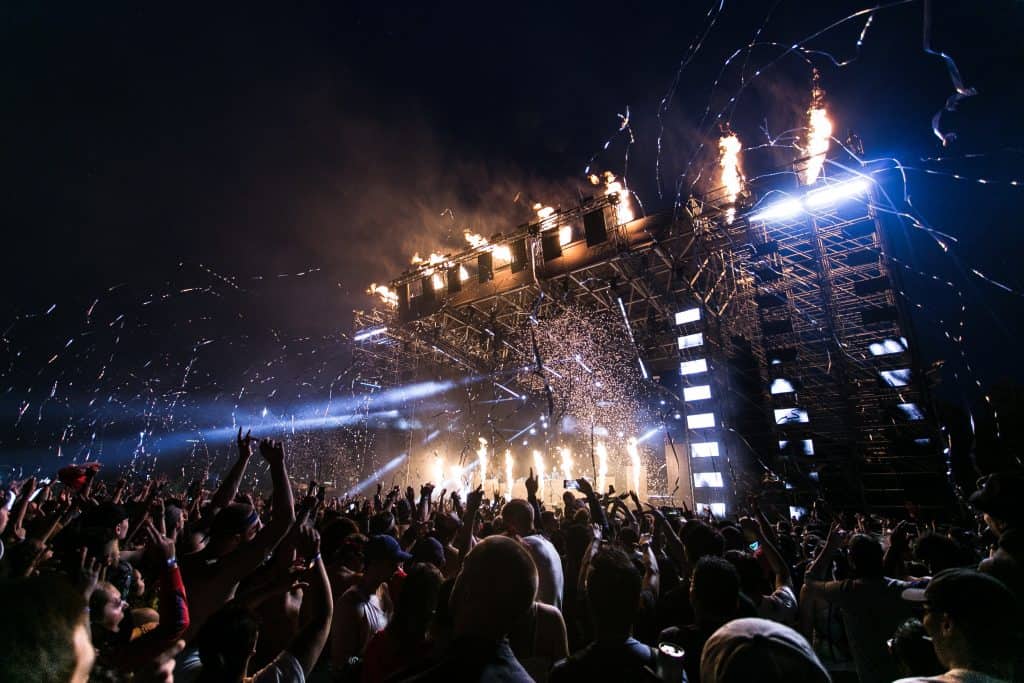
Available in Nikon and some newer cameras, Highlight-Weighted Metering looks at the entire image when considering exposure but focuses on the highlights of your image rather than the shadows and mid-tones. This mode is intended to save the highlights of your image from being overexposed!
Best Used For?
Concert and music photographers love highlight-weighted metering because it helps them work with bright, spontaneous lights! This mode is also commonly used in situations with bright highlights; you must expose them properly.
Spot Metering
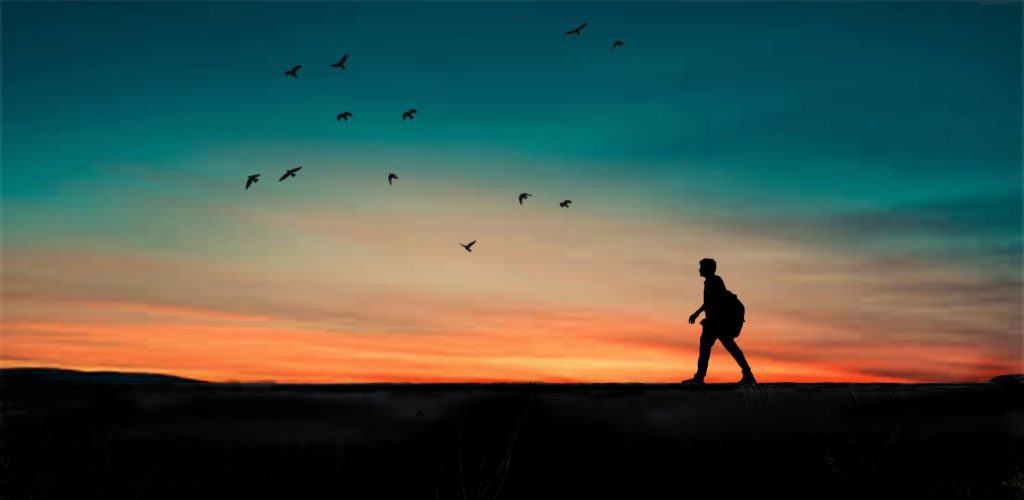
Spot metering is where you tell the camera what spot you want to expose. This is a well-liked mode because it requires more manual control. All you do is point the camera at the object or subject you want to capture exposure for, and that’s it! But remember, the exposure is based solely on that one spot and does not consider anything else as a factor.
Best Used For?
This mode is best when used in challenging lighting situations where you have a specific area (or spot) you need to be adequately exposed. This is often used for silhouette photographs, high-contrast situations, snow scenes (because snow is so bright and reflective), and backlit images (when the light source is behind the subject).
Partial Metering
Partial Metering is exclusive to Canon brand cameras and similar to Spot Metering. The purpose is the same, you aim at a specific area, and it meters for that. However, Spot Metering considers only around 2 percent of the frame, while Partial Metering considers about 7 percent. So it looks at a slightly larger area than Spot Metering does.
Best Used For?
Similar uses to Spot Metering, but when you want to meter for a slightly larger area.
Where Do You Adjust Metering?
Unfortunately, adjusting or changing your metering mode differs from camera model to camera model, so refer to the user manual for guidance.
Typically, in models such as the Canon 5Ds, you can change the metering mode on the display screen by clicking the “Q” symbol on the camera body and selecting “Metering.”
Some camera brands, such as the Nikon D5, have an actual physical button for metering modes.
When in doubt, look at the camera menu! All settings are located there, even if there are physical buttons on the camera for them.
Conclusion
In conclusion, setting the correct metering mode helps you have an accurate exposure guide. That takes the guesswork out of whether or not you set up your ISO, Shutter Speed, and Aperture settings properly! Making photo shooting easier, faster, and more enjoyable.