
When switching your camera mode to Manual, you can control every aspect of the picture-taking process. Most only focus on the primary settings, such as shutter speed, ISO, and aperture. However, several lesser-known options are also worth tweaking! One is White Balance, which will impact how the colors in your photographs turn out.
What is White Balance?
To explain white balance, we must first define the term Color Temperature. Color Temperature is defined as the characteristic of visible light. This means that color temperature determines if colors are cold, warm, or neutral depending on the light present.
Color temperature is measured in Kelvins (K). Larger Kelvin numbers make colors more blue, and lower Kelvin numbers make colors more yellow. Each light source has a different color temperature.

Digital and mirrorless cameras use their sensors to measure the light emitting from the colors red, green, and blue (RGB). Cameras tend to apply the same color temperature across the entire image, which pushes colors away from their natural state and into inaccurate colors.
In layman’s terms, the white balance adjusts colors to look more natural or accurate to the scene. White balance gets rid of something known as a Color Cast. Color Casts are visible tints in an image. For example, a blue cast makes every color look cold and blue. To reduce color cast, the white balance adjusts the temperature to bring colors back to their natural state.
For many, the easiest way to wrap your head around how white balance works is as follows: every color has some white. The color will change depending on the type of white you mix in.
For example, if you use a bright stark white, the color will be pretty rich and true. If your white is more off-white, like, a blue-ish white- the color will be different and cold. Remember that this isn’t really how white balance in a camera works, but it’s an excellent way to process it and simplify the understanding mentally.
What are the Different Types of White Balance?
Your camera will have some white balance options preset. These are the most common white balance presets that are found universally among camera brands:
Auto White Balance
This is when the camera attempts to select the proper white balance based on what its internal sensor is reading. Although this does work a lot of the time, it will not be accurate all the time as cameras are not intelligent. They rely on an internal program.
Daylight/Sunny
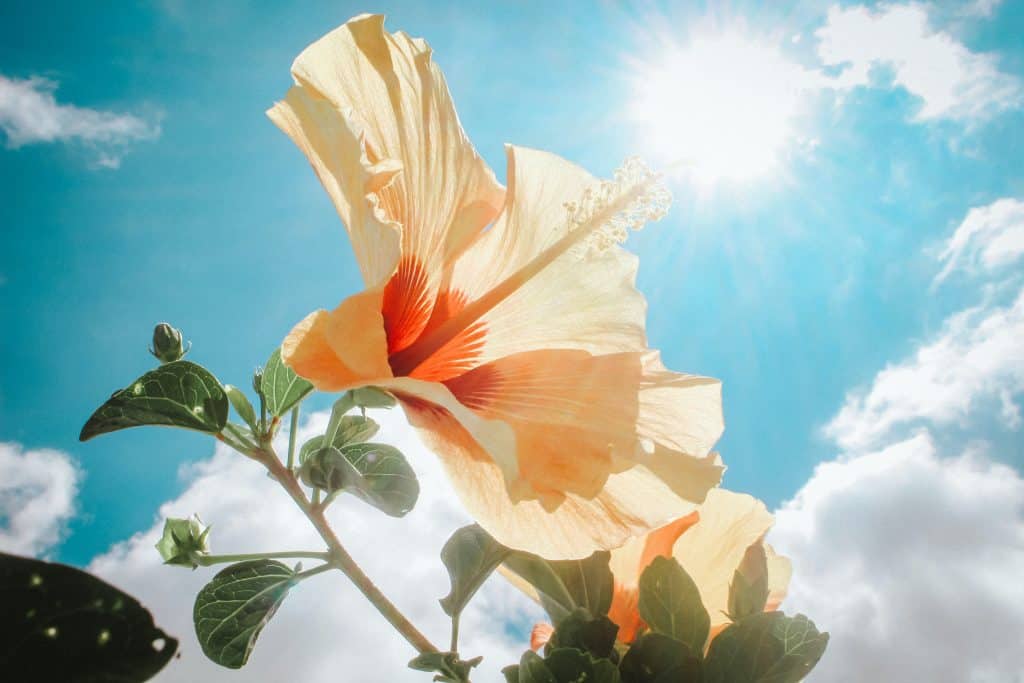
This is intended for bright days and adds a bit of a warmer effect to your photographs.
Cloudy/Overcast

Clouds act as a diffuser over the sun and can cast images to be a bit on the blue side. This preset counteracts the blue by warming images up a bit.
Shade

Shade causes colors to look even more blue than clouds – so this setting will add even more warmth!
Flash
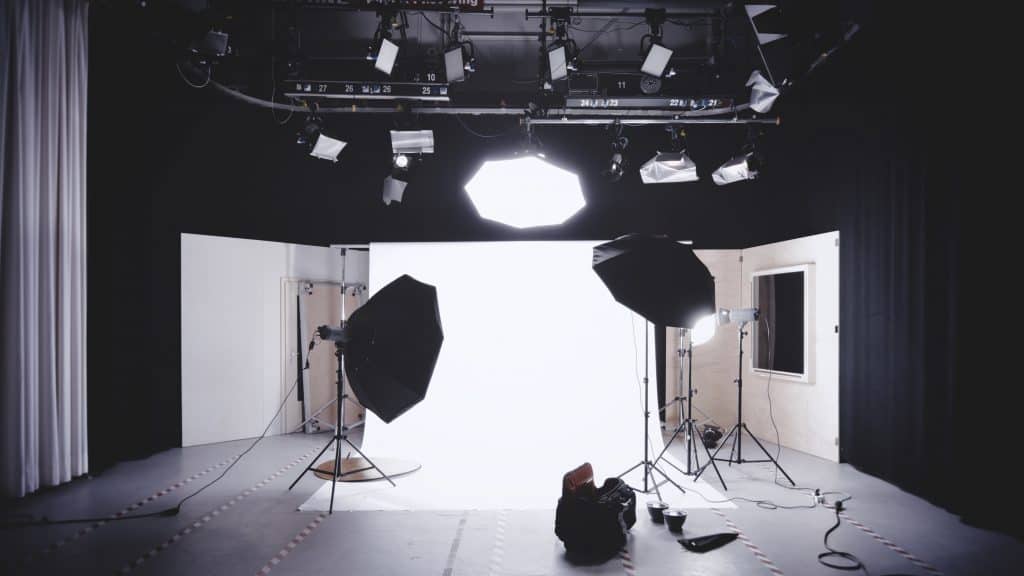
This white balance is intended for artificial light, and it combats any color casts that may arise from using flashes, strobes, and speedlites.
Fluorescent
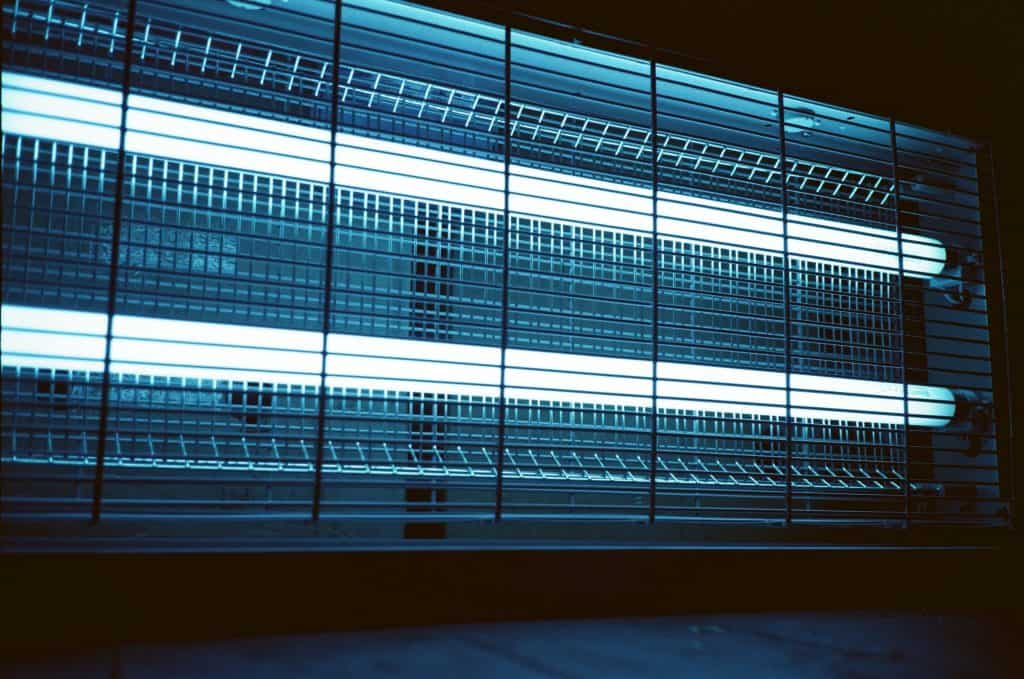
Probably the least liked type of lighting for photographers, fluorescent lights turn your subject green or blueish and very sickly colors. This white balance brings back a natural look to your images.
Tungsten/Incandescent
These lights are pretty standard in indoor settings. These lights are very warm, so the white balance setting will counteract by cooling the colors down.
What About Custom White Balance?
If none of the presets work for your present situation, you can always make a custom white balance! This requires a bit more effort than manually changing other settings in a camera. This is because you need a frame of reference when making a custom white balance.
First, find something that you would consider pure white. This can be anything from a white square, a piece of paper, or an object. For this exact reason, some photographers buy white balance cards (a set of cards that feature white and various shades of gray).

Then, click on your custom white balance option (this name may change between camera brands). Next, aim your camera at this white reference point. Press the shutter button like you would take a picture. The camera will scan the color temperature of the light that hits the sensor and store this information, adjusting the white balance based on the item you used for reference.
How Does White Balance Affect Your Editing?
White balance’s biggest application is saving you time and energy in the editing room. White balance’s core purpose is to ensure that colors are accurate – applying the proper white balance to your images will reduce the need to adjust the white balance in post-processing.
Although programs such as Adobe Photoshop and Adobe Lightroom have batch processing available (batch processing is when you apply the same edit to many images automatically), you may find that the same adjustments may not work for every image. Therefore, you’ll still have to sit there manually and check each photograph (counteracting the purpose of batch processing).
Another problem is that a severely improper white balance may make recovering the colors impossible. The damage may be irreversible!
What White Balance Should You Use and When?
What white balance you use depends on the lighting at your photo shoot.
You must change this preset for specific lighting situations, such as fluorescents.
For those more complicated ones, it’s a good idea to photograph with your camera and then look at it. Based on what you see, you can determine if your white balance needs adjustment or if it is just right!
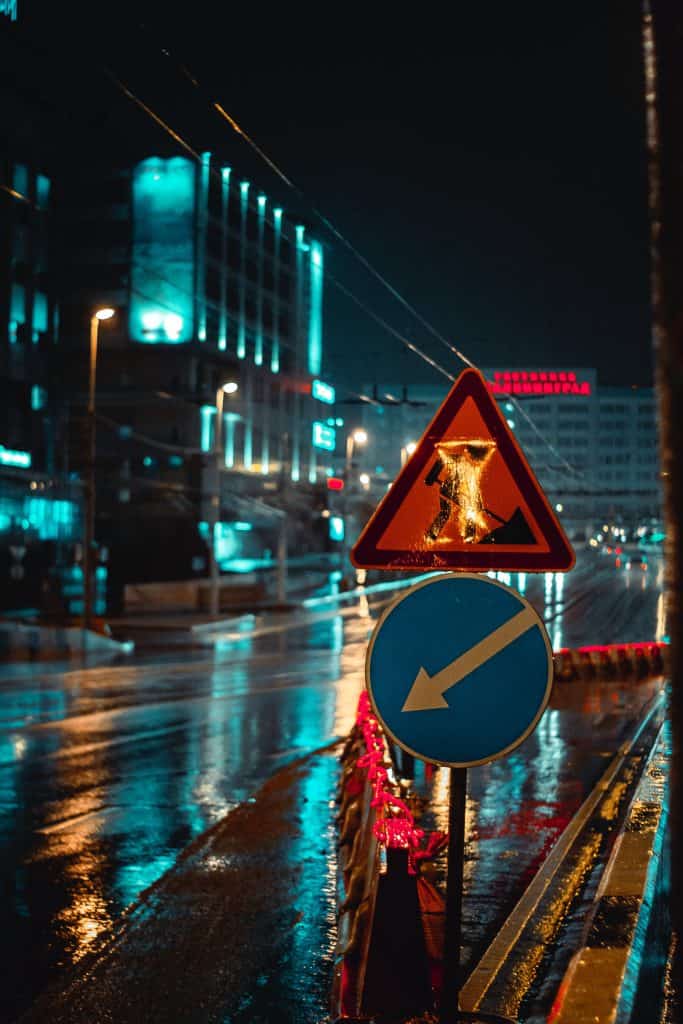
For lighting situations that feature different kinds of light, such as a nightscape, prioritize what part of the image you want to be colored in what way. Do you want the main lighting to be more blue? More yellow? Warmer? Colder? Adjust based on your aesthetic.
Conclusion
The goal of a photographer is to get the image to look as close to finished as possible directly in the camera so that you don’t need to hassle yourself with excessive editing. Understanding white balance helps reduce your editing time because your colors will be accurate!