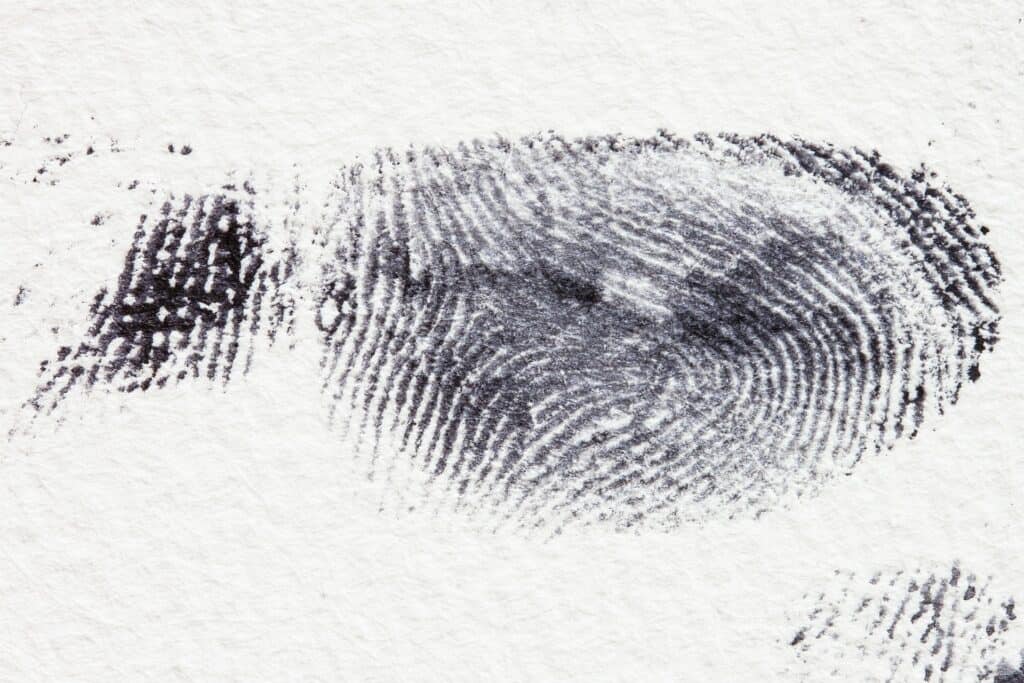
If you’re a big fan of shows like Law and Order or CSI, you know that fingerprints are a big piece of evidence for all of the cases. But did you know that you can be a crime scene investigator at home and capture fingerprints too? Here is our quick how to guide on how to photograph fingerprints at home!
What You Need
A camera that is capable of photographing in RAW mode is a must-have! RAW is a file format that is famous for recording completely uncompressed images. When a photograph gets recorded as a file format, it becomes compressed to fit within that format and you may lose some quality or some forms of editing capability. RAW contains the direct image data from the camera sensors which stores the fullest details of an image.
The lack of file alteration allows significantly more control over editing adjustments. This is because you’re able to, in most situations, recover information in the image that would otherwise be lost if it is compressed. If you need to recover some of the fingerprint data by adjusting exposure, you can do so much better in RAW format.
A camera with a good amount of megapixels is also very helpful! The megapixels do impact the details and quality of an image. As you may deduce, the more pixels, the higher quality the image because there will be more details. Megapixels is a unit of measurement for the amount of pixels in a photo. For any sort of forensic photography, 25 megapixels of more is highly suggested.
As for lenses, any standard or macro lens works brilliantly. Standard lenses are those that range from 35mm to 70mm and feature no distortion (the glass is flat). Standard lenses are the closest to the human eye and what you see. Macro lenses magnify whatever they capture, more so than that of any other type of lens which solely does close-up photography. Macro photography features a more significant degree of magnification and a lot more fine detail. Macro photography can even make the most miniscule details seen.
Artificial light such as flashes or flood lights. Oblique lighting is used for most photographs of fingerprints.
If you want to dust for prints, you can pick up special dyes or powders specifically to ensure fingerprints are more visible.
Step By Step on Photographing Fingerprints
Here is the easiest way to become your very own CSI right at home!
Step 1: Find a Surface with Fingerprints
First thing is first, find the fingerprints! Most prints you can see, such as on glass. However, if the prints are less noticeable, you can dust for prints.
Step 2: Test the Lighting
Next is illuminating prints well. The most effective way to ensure your lighting works is by looking at lighting from several different angles. Pick the one you can see fingerprints the best in. It’s usually at an angle!
Fingerprint impressions in soft substances (such as clay, tape, grease, or dust) may require the use of oblique lighting at a low angle. This will create small shadows in the impression. Fingerprints on porous surfaces (such as wood or brick.) may need almost a 90–degree lighting angle. Dusted fingerprints with good visible detail can usually be photographed without special lighting techniques.
Step 3: Adjust the Settings
Third, set your camera settings.
For aperture, you’re going to want a narrower aperture to ensure that all of the details are clearly visible. With a narrower aperture, such as F/8, your exposure will be darker- as such, you’ll need to raise your ISO a wee bit. Don’t raise it too high as the noise that develops from high ISO numbers can distort your fingerprint details.
Finally, adjust your shutter speed accordingly. As you aren’t capturing action or sport, you can have a slower shutter speed! Just make sure the camera is stable on a tripod or other such surface so that camera shake doesn’t come into play.
Step 4: Take the Shot
Frame your image and press down on that shutter button!
In conclusion, you should be able to track down awesome fingerprints and capture them brilliantly on camera.
