

Nothing is more frustrating than checking your photographs after an exciting shoot only to see they are blurry! Blur is really hard to remove in photo editing, if not completely impossible. So what are you supposed to do?
Here is our tip list for reducing camera shake, ensuring that all your images come out clear and beautiful!
What Is a Camera Shake?
Camera shake describes the blurriness or shakiness you may see in your photograph. This happens for several reasons.
One of which is that the camera is not stable. Camera equipment is heavy, and our hands naturally tremble when holding something heavy.
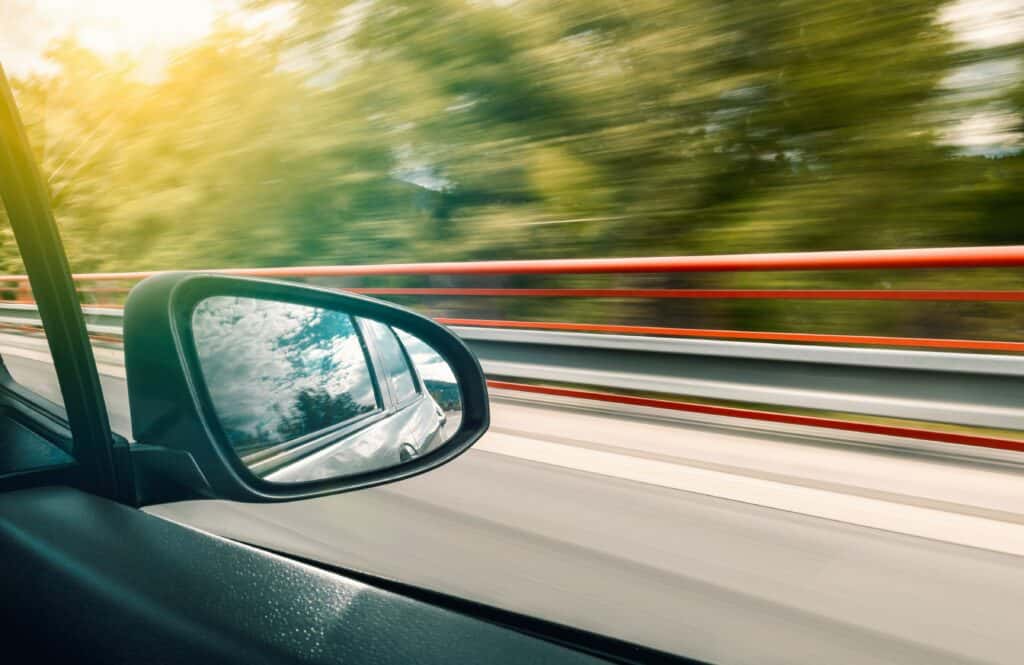
Also, vibration can be caused by clicking the camera’s shutter button to capture an image. Longer focal lengths, such as telephoto lenses, are prone to this problem.
That being said, note that there is a difference between camera shake and motion blur!
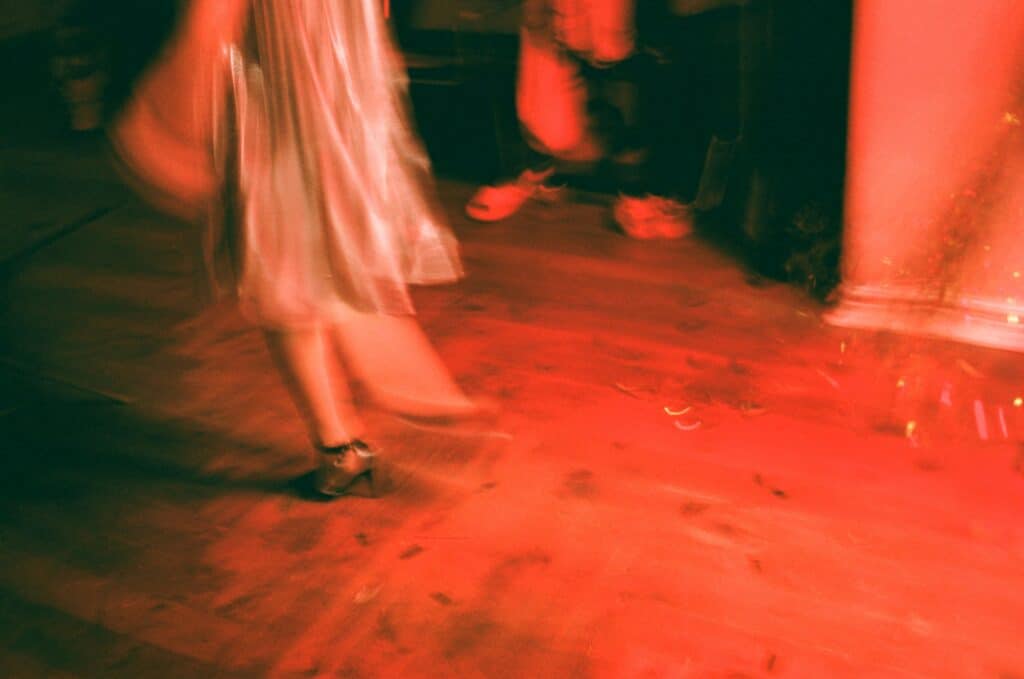
Motion blur happens because the camera’s shutter speed is too slow. The shutter is like a door; it opens and shuts (hence the name). Every time it opens and closes, a picture is taken. When the shutter is slow, motion blurs because the doors don’t close quickly. Motion blur looks very fluid and smooth.
The camera shake is very jerky and shaky looking. It looks like someone jerked the camera as it was taking a picture.
Tips for Reducing Camera Shake
There are some very simple tricks to reduce camera shake.
1. Turn on Image Stabilization (If Available)
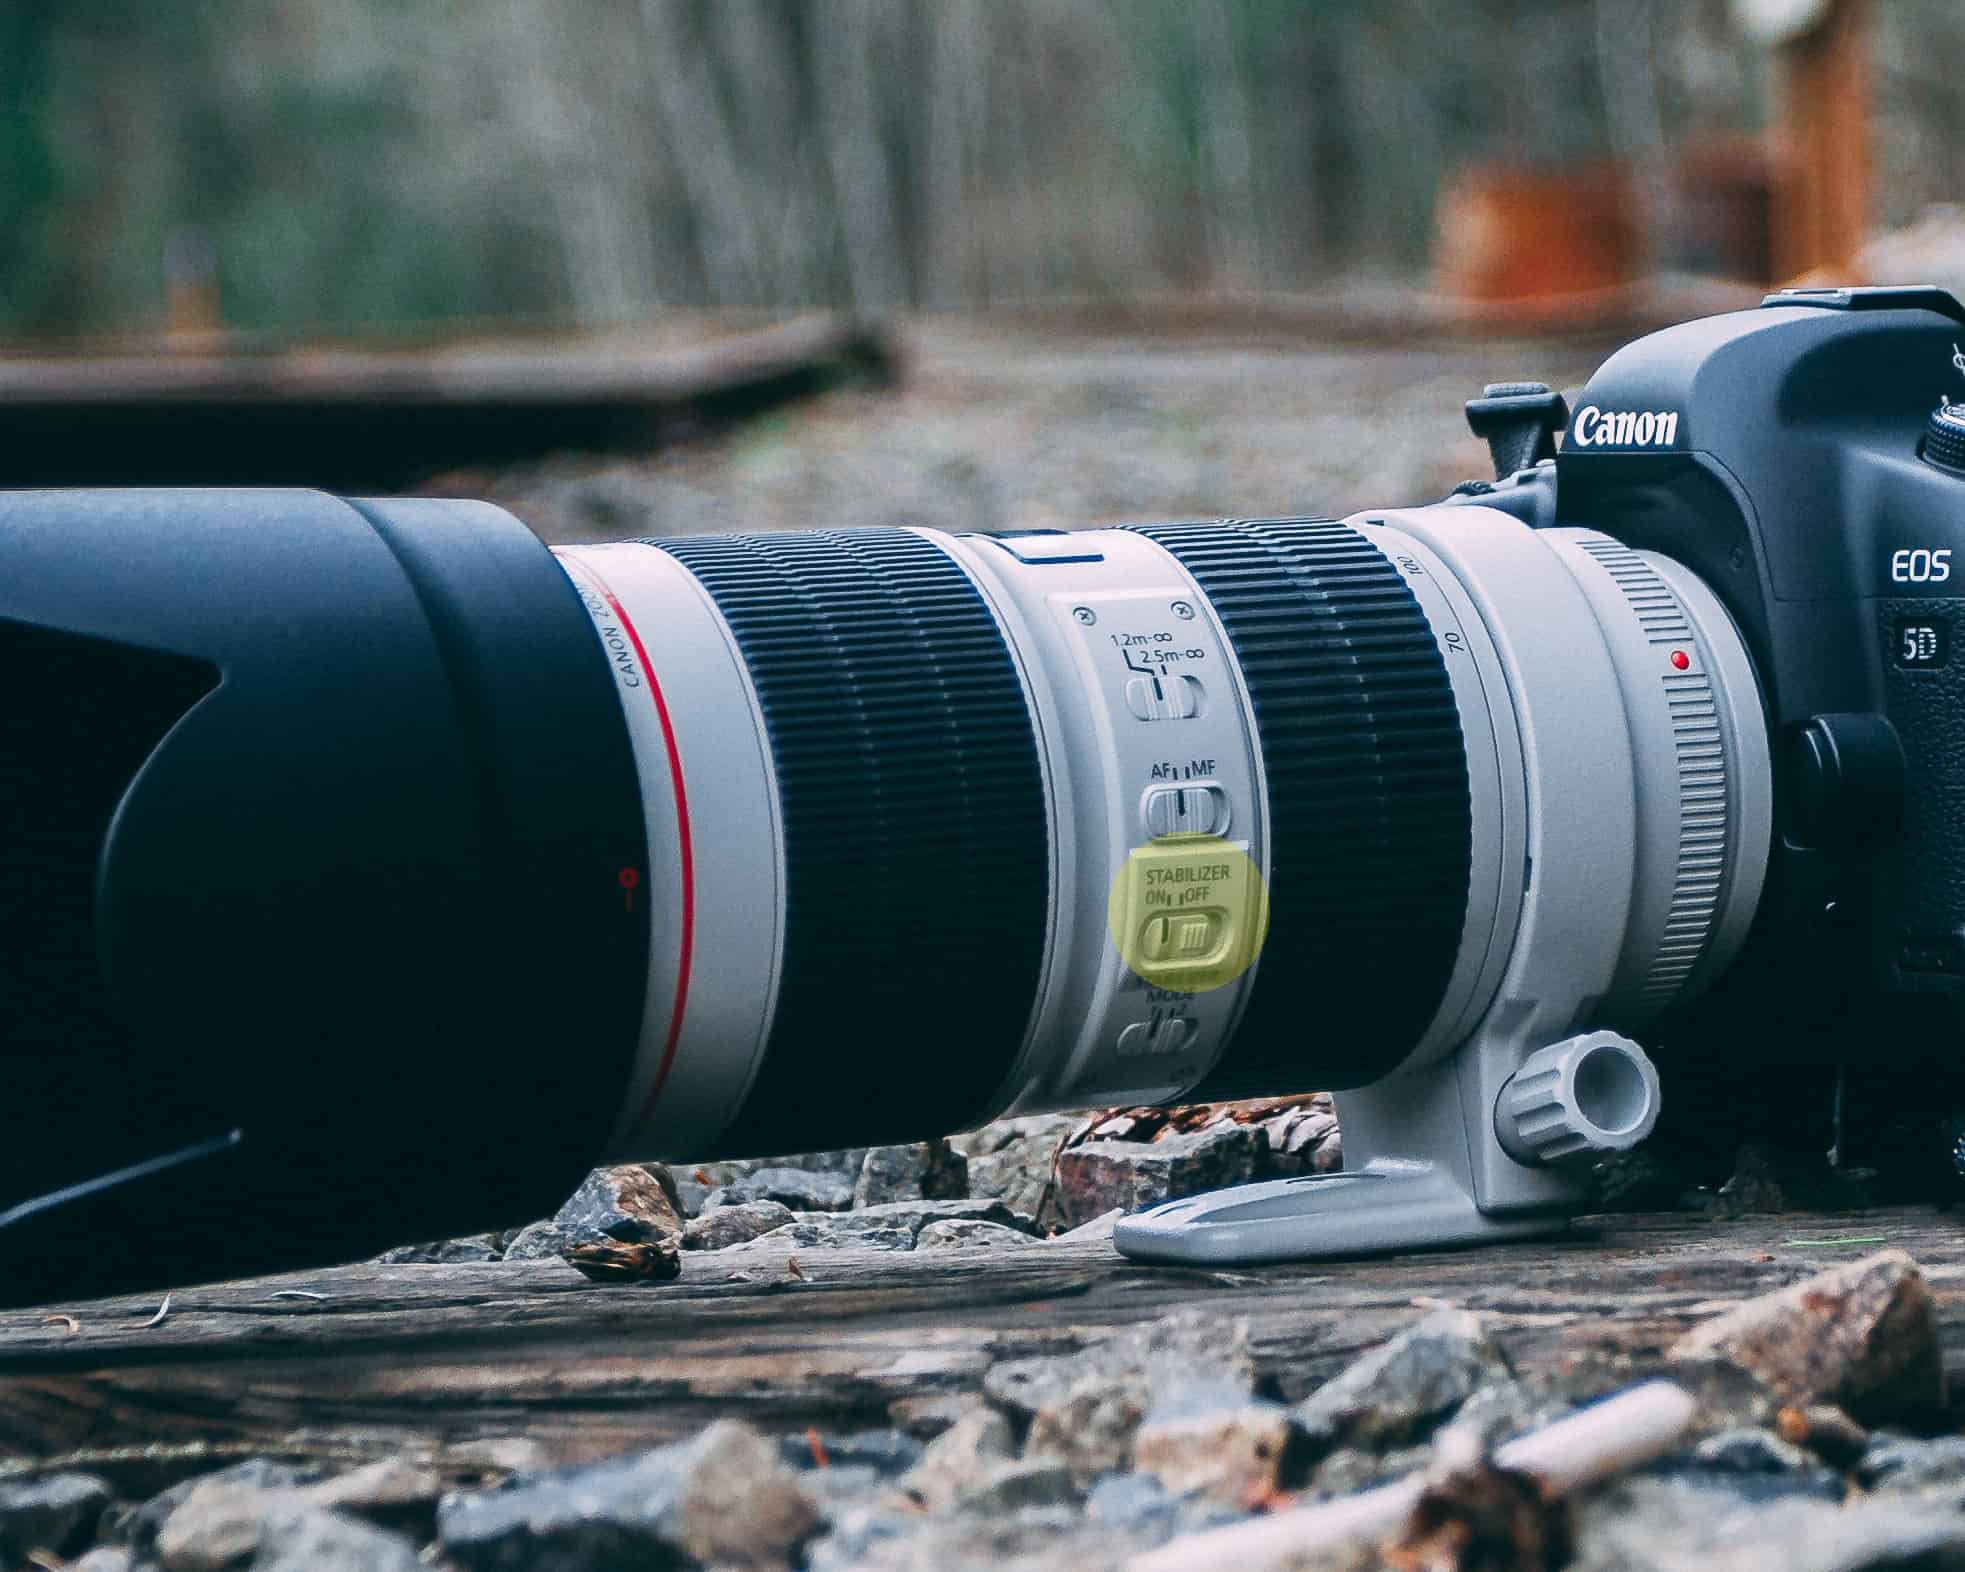
If your lens has the option, enable Image Stabilization. This system in a lens reduces motion blur in images caused by camera shake.
The system keeps all of the components inside a lens ‘floating’ on a gyroscope which counteracts all movement. For example, if you shake to the left, the gyroscope will move to the right.
This is a great way to shoot handheld and know your image will be stable! Image stabilization is usually seen in telephoto and zoom lenses.
2. Use a Fast Shutter Speed
Fast shutters capture photographs more quickly than slow shutters. Keeping your shutter moving quickly is what freezes action!
This also applies to camera shake. You can counteract any movements with a fast shutter speed because if you keep your shutter at a maximum of 1/8000, no amount of severe jerky movement will cause blur. If you’re above 1/500, no hand held movements will really affect your shot.
3. Switch the Camera to Burst Mode
Unfortunately, fast shutter speeds aren’t always possible for all shooting conditions. The faster the shutter speed, the darker the photograph, so there has to be a significant amount of light to use.
But, there is a remedy. Set the camera to Burst Mode. When you take all possible shots according to their Frames-Per-Second, at least one shot will be perfectly clear and sharp, with no camera shake. This is because the frames-per-second is faster than your hand will shake.
4. Stabilize the Camera and Lens
Even outside your settings, ensuring the camera and lens are sturdily held or positioned really remedies most shake problems.
Hand Held
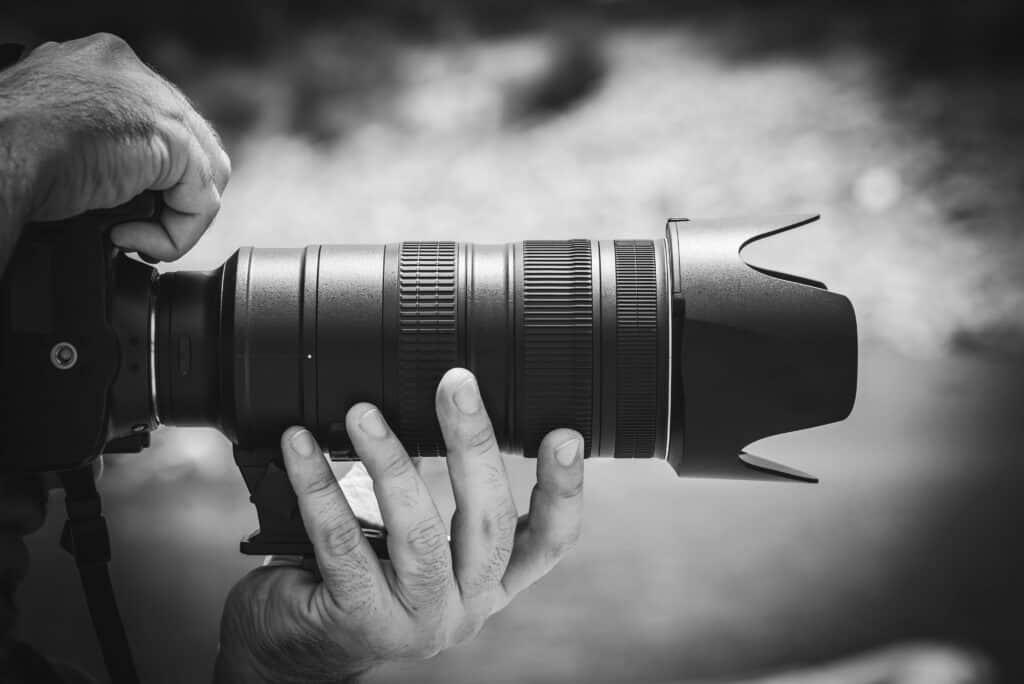
If you’re shooting hand-held, you must turn your body into a stable force. Holding your camera correctly eliminates camera shake.
With your hand on the grip, use your index finger to press the shutter button (you won’t need to remove your hold on the grip). When holding the lens, rest the lens on your left hand and cup the lens from the bottom.
You can twist the lens barrel (the focus ring and/or zoom ring, depending on the lens) with your fingers without loosening your hold on the lens.
Ensure you tuck your elbows into your body to keep the camera sturdy. This is most important!
With a Tripod
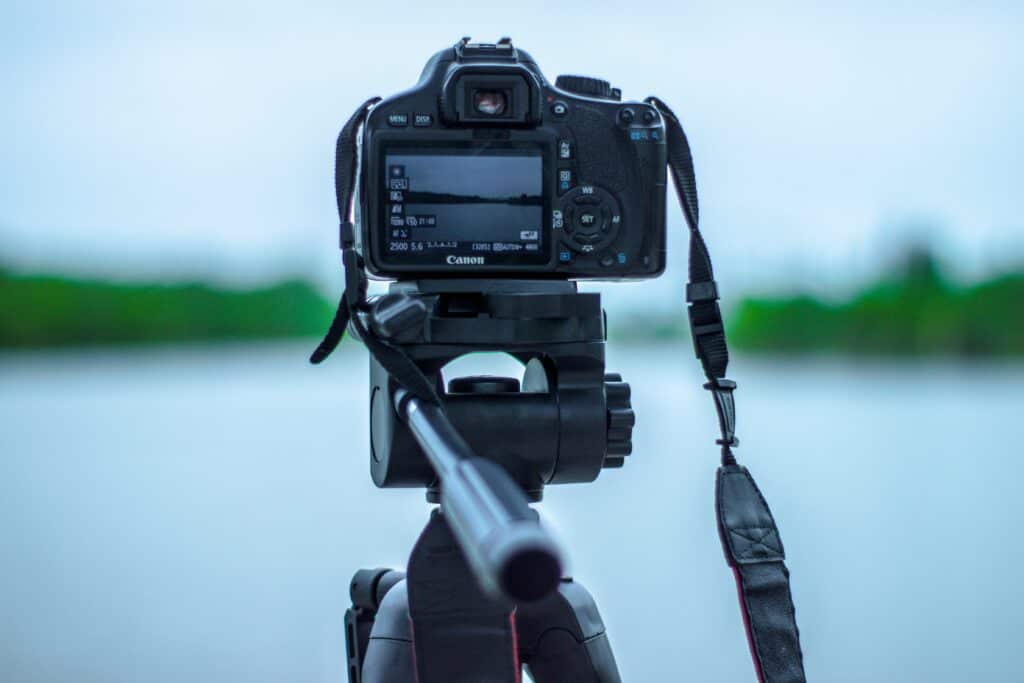
Tripods are three-legged stands for supporting and holding a camera. They naturally stabilize a camera because it’s on an inanimate object! You can use a remote or shoot on a timer to operate the camera for even more stability.
If you don’t have a tripod, place your camera on a stack of books or a table as a stable surface instead!
5. Shoot Wider, Don’t Zoom In
The more you zoom in, the less stable your lens becomes unless your shutter speed is fast and you’re very stable. When you shoot wider, that minimizes shake from affecting the center of your image. You are good to go as long as you keep the subject in the center! You can then crop into your desired composition in post-processing.
Conclusion
Take these tips with you to your next photoshoot and never worry about camera shake again!