
Whether you’re a fabric maker or clothing designer, capturing fabric is likely a day-to-day need for you! However, ensuring your fabrics come out beautifully on camera can really influence how well the public perceives your business. As such, good photographs become quite important.
Understanding how different fabrics photograph make a big difference, and start as the first step to doing great fabric photography. Adjusting your white balance and metering modes can help significantly as well! Here is our ultimate guide on photographing fabric, with everything you need to know.
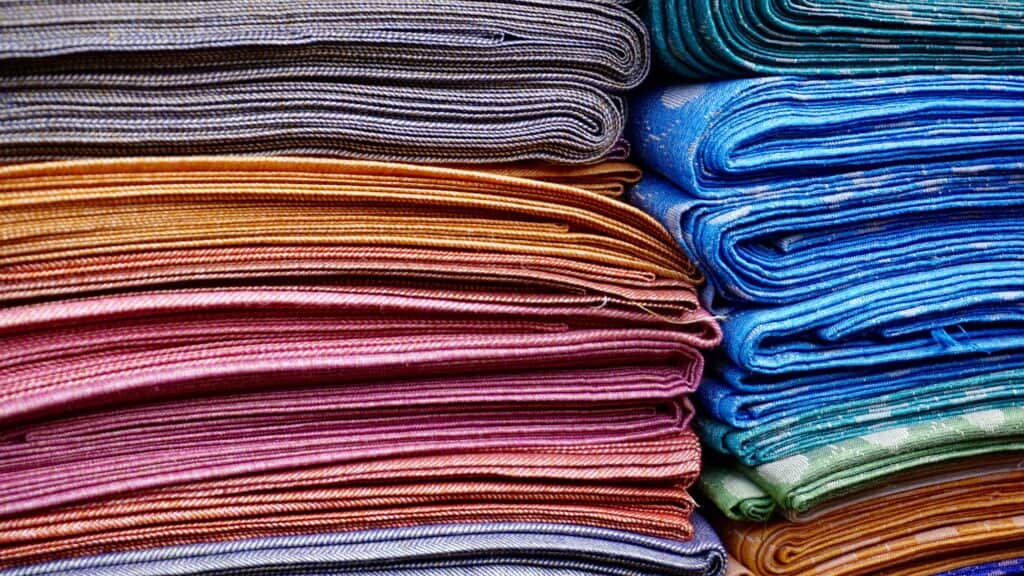
Commonly Photographed Fabrics
There are several fabrics that end up in front of the lens the most often, and each one requires something a bit different in order to capture well.
Cotton or Polyester
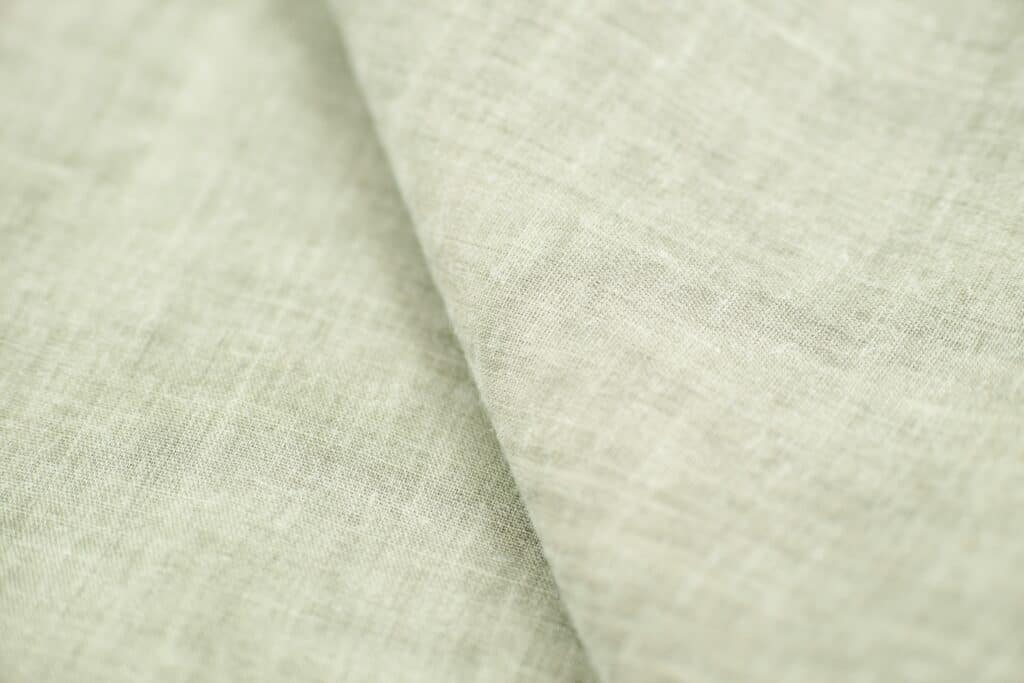
The most common fabrics we wear are natural cotton or artificial polyester. Although these two fabrics feel very different, they appear the same on camera! This is the easiest fabric to capture because it is generally matte and is easy to light up.
Satin and Silk
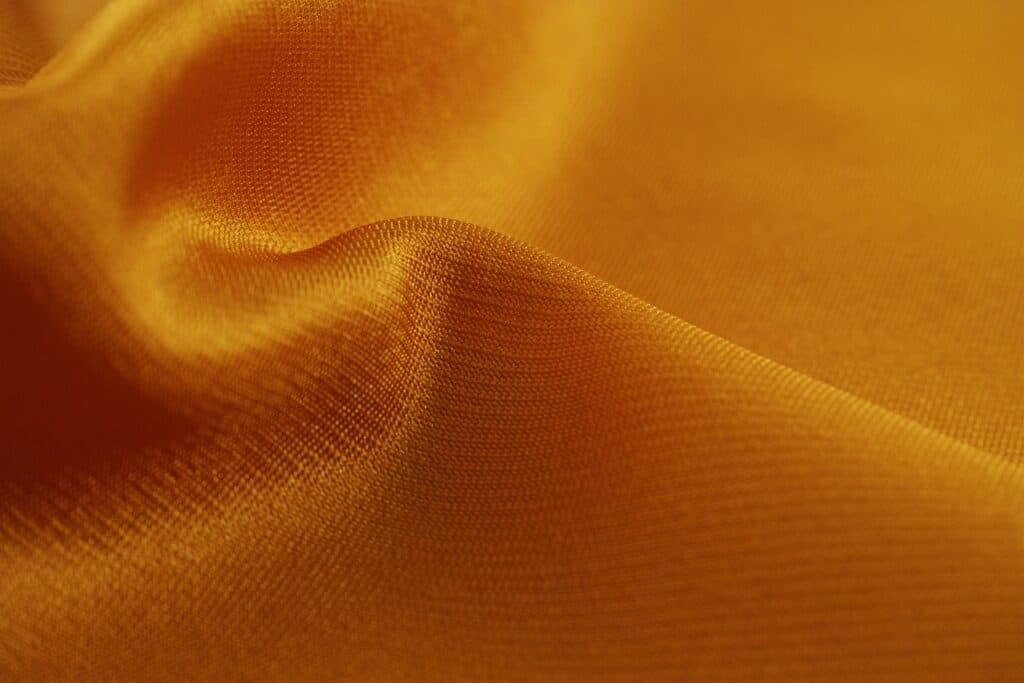
Satin and silk are luxurious fabrics often associated with royalty. The colors can range from bright and vibrant to moody and deep. The difficulty with photographing these two fabrics are their reflective nature, they are very shiny and bounce light around! As a result, they are best captured with a light source at an angle rather than directly aimed at the satin or silk. To show off the sheen, photographers often curl or create mountains with this fabric.
Velvet
Another fabric associated with luxury, velvet has short furs on it that change color depending on the direction you brush them. Velvet tends to absorb light when photographed, so a bright light source is necessary.
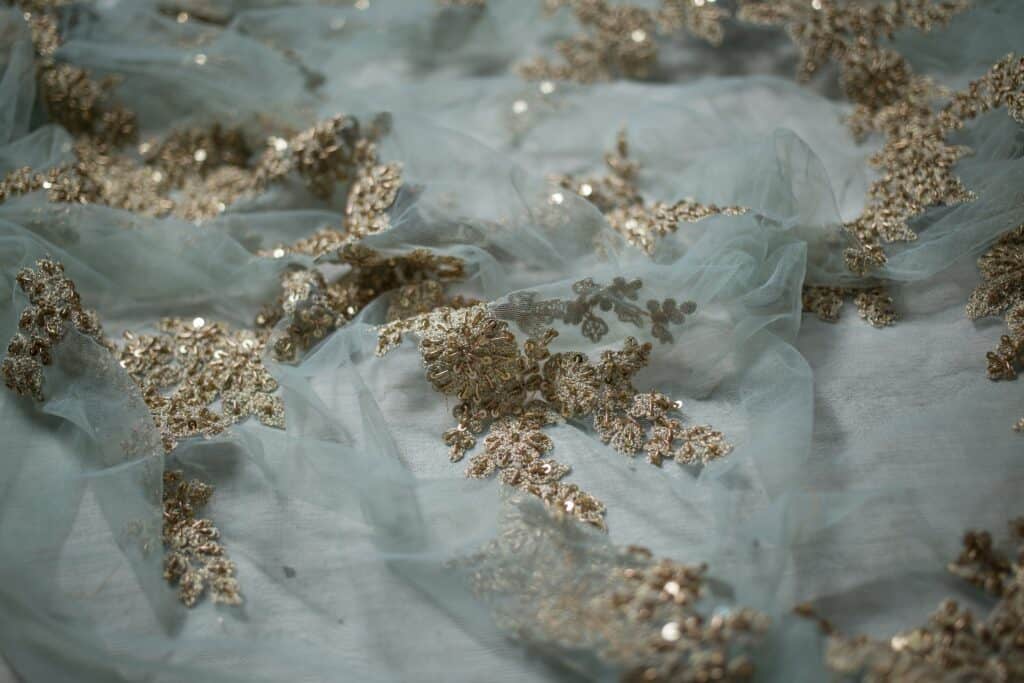
Sequin
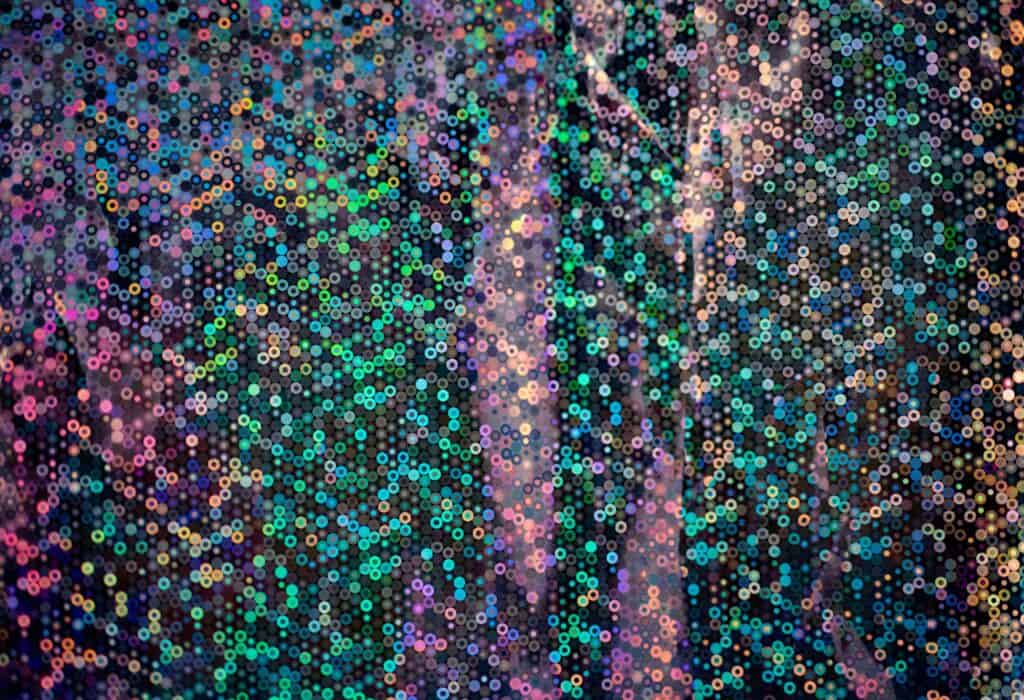
Sequin fabric is sparkly and glittery! This type of fabric has actual sequins stitched into it, creating an array of color and sparkle. This fabric only ‘works’ when light hits it in a certain way. Using this principle, we can assess that the right light will equal good photographs. For the most part, sequin gleams best with a direct light source.
Wool
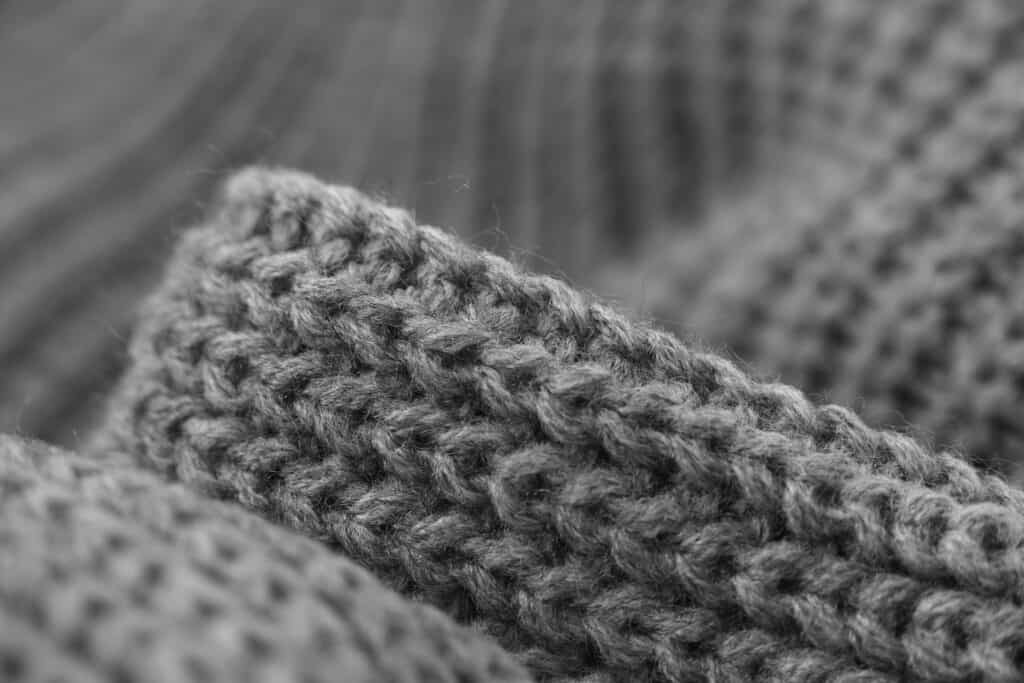
Wool is similar to cotton in regard to photography, but much thicker. Because wool tends to have dips and an uneven surface, it can be more difficult to light to ensure all of it is nicely bright. That being said, the coziness and texture of wool can work well when you leave the uneven surface visible.
Jean
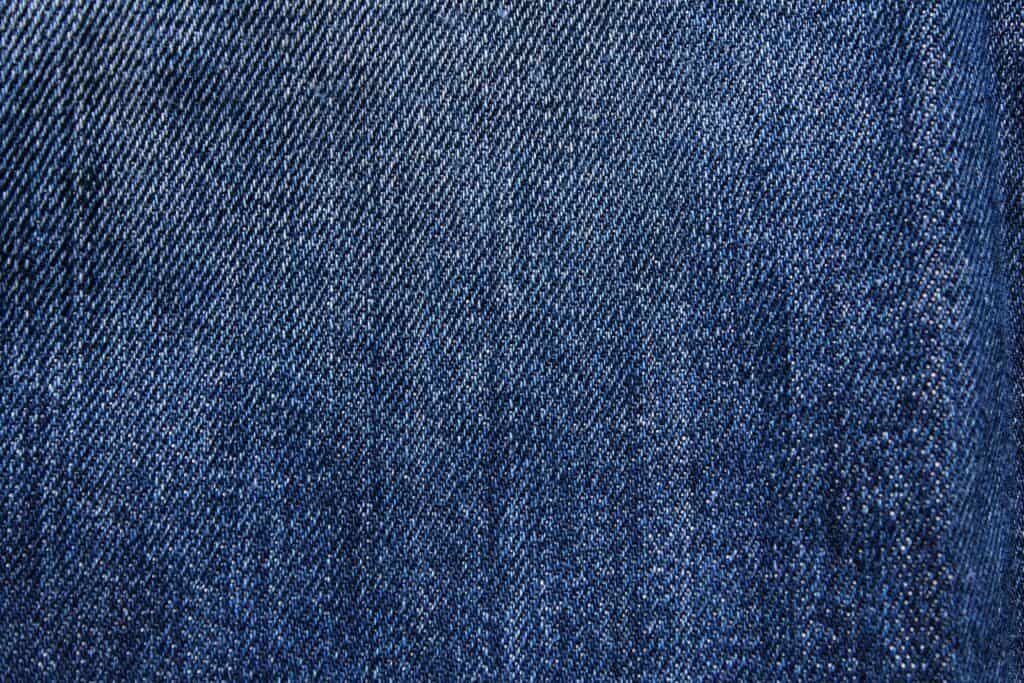
Jeans have a very recognizable look to them, we all likely have a pair! Jeans are fairly easy to light up due to its even surface. However, jeans are the most difficult to get right in regard to color- the subtle tones make all of the difference! Jeans tend to require some post processing color correction to keep true to life.
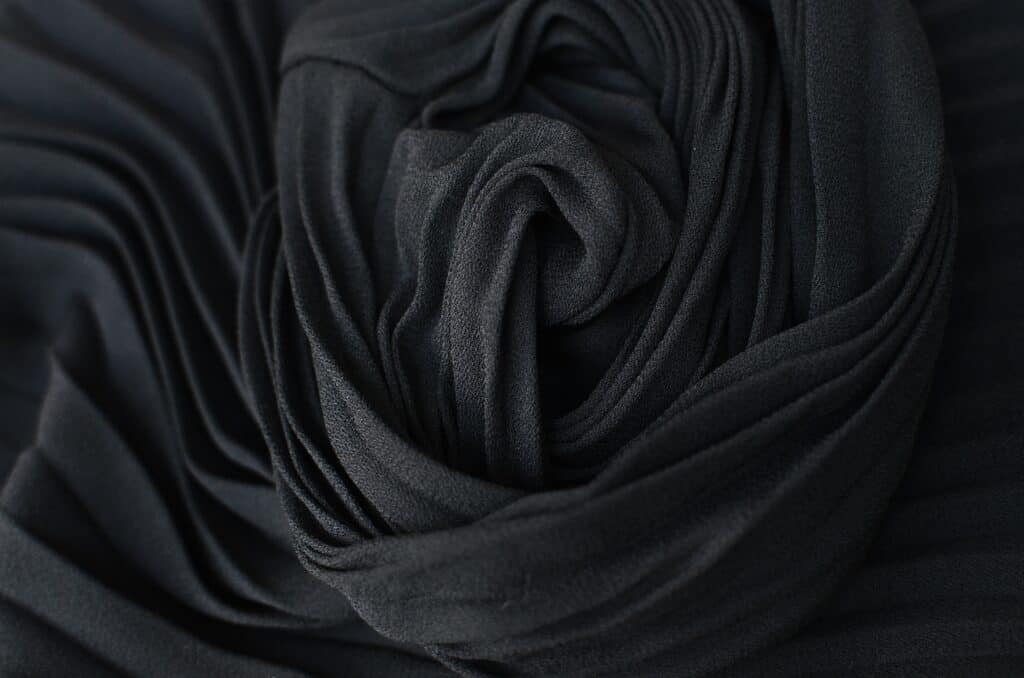
Chiffon
Chiffon is a photographer’s dream for fabric- its light, sheer, and flowy! Easy to capture on a living model, and tend to work best on a subject. However, if you have to photograph chiffon as a flatlay, make sure the surface it is laying on is light in color to show off the chiffon tones.
Photographing Fabric Textiles and Flat Lays
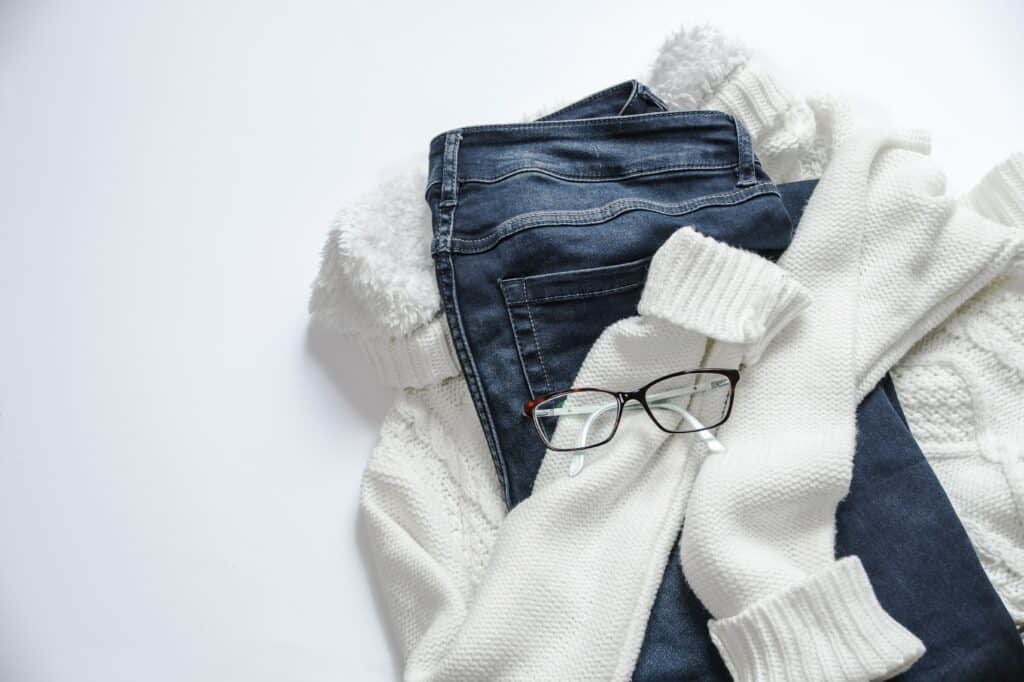
Flatlays are when you place the fabric down on a surface and photograph it that way. This is most often done for e-commerce or online sales photography, as well as fabric catalogs and stores! This type of photography requires you to ensure the fabric is in pristine perfect condition and then you capture just the fabric.
When doing flatlays, if the surface you are shooting on will be visible, make sure that it compliments the fabric you are photographing. If your fabric is rich with pattern or color, keep the surface neutral. If your fabric is neutral, make the surface a bit poppier- the contrast helps it stand out!
Flatlays are most often done with the camera on a tripod, positioned directly overhead.
Photographing Fabric on Models
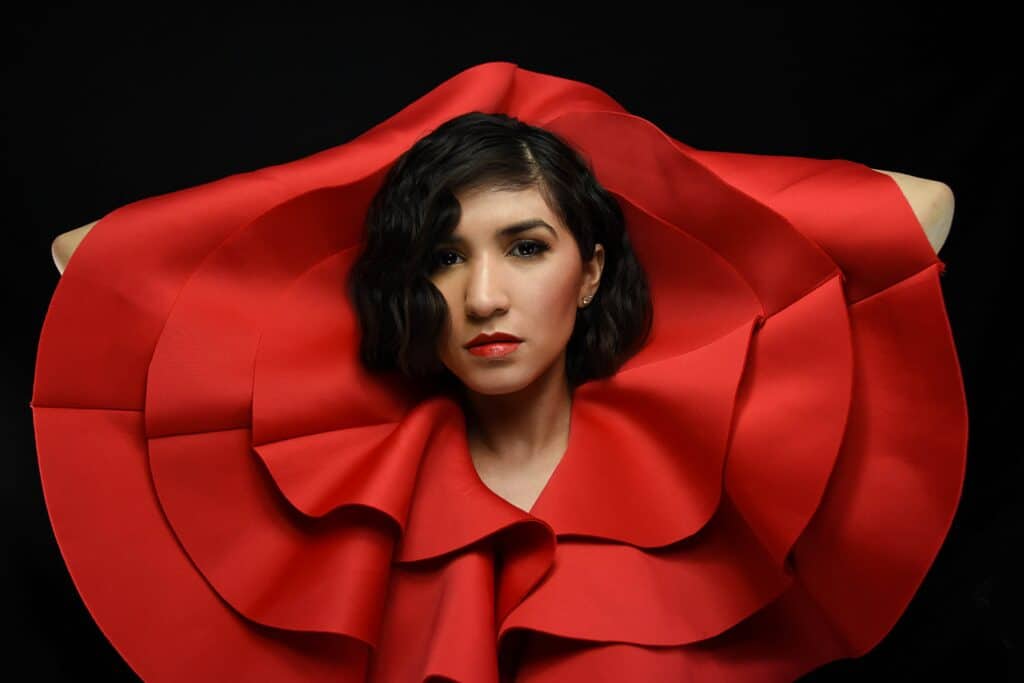
Photographing fabric on models, in the form of clothing or a fabric wrap, shows how the fabric moves or looks on someone! This is also done often for catalog and commercial photography. Even though this type of photograph features a model, it is still all about the fabric itself.
Much like flatlays, make sure that the location compliments the fabric. Stay away from major distractions, as there is nothing worse than capturing an image in which the viewer’s eye goes not to the subject, but to something in the background or foreground.
Try to show movement- with fabric, how it moves is so important! On top of that, movement creates visual interest and encourages viewers to visually engage with an image. Have the model show movement by spinning, lifting a leg, jogging, anything that is more than just a static stance.
If the clothes you are shooting have flow to them or are made of a light material, really take advantage of this by having your model throw the material around or jump up and down. Anything that captures that breathtaking fabric sway.
Lighting for Fabric Photography
Whether you’re capturing fabric for a flatlay store or on a beautiful model, lighting is important. Lighting is what easily separates the professional photographer from an amateur one! As well, lighting showcases fabric in its most flattering way, helping show off or sell the patterns to the public.
There are two primary types of lighting, studio and natural.
Studio Light
There are different types of artificial lighting to choose from, neither is better nor worse than the other:
Continuous: Light that is always on and does not flash. These can range from LED strips and LED bulbs all the way to tungsten bulbs. These lights tend to have a softer look to them.
Continuous lights are the easiest to use because you can see the intensity and direction of the light at all times, but camera sensors tend to interpret this light as rather weak so you’ll find your shutter speed slowing and ISO level being higher in order to achieve a proper exposure. Just something to keep in mind!
Flash/Strobe/Speedlite: A device used in photography that bursts a powerful bright light. This lighting tends to have a sharp and contrasted look to it. There are different names depending upon what brand you use, but all essentially do the same thing.
This type of flashing lighting is very bright, which allows you to keep a low ISO level (reducing noise) and a faster shutter speed. That being said, because you can’t see the light until it flashes, it can be more difficult to work with if you’re a newer photographer. To make it easier, there are flashes available that feature TTL to preserve the depth of field. An acronym for “Through-The-Lens”, this is a setting in a flash, strobe, or speedlite automatically determines the output of light based on information it is receiving from your lens. This is best for fabric photography because it’ll prevent the flash from being too powerful and washing out the fabric!
The big tip for artificial lighting is to never aim it directly at your source as it may be a bit too powerful.
Natural Light
Natural light is when you use whatever light is available for your shot, such as ambient light indoors or the sun outdoors!
Natural light is preferred because it brings out an organic feel and beautiful colors. However, the bright sun can be a bit too harsh. Try to aim for indirect sunlight spots- such as shadowed areas or during an overcast day. Clouds act like a diffuser on the sun, softening the light and making it more even.
Best Camera Settings
So many factors come to play when you talk about camera settings. Camera settings refer to the exposure equation, which is ISO + Shutter Speed + Aperture = Exposure. We can’t tell you the exact settings to use, but reading our snazzy guides on ISO, Shutter Speed, and Aperture can help!
White Balance
White balance is important in fabric photography (as it is in any product type of photography). To explain what white balance is, we must first define the term Color Temperature. Color Temperature determines if colors are cold, warm, or neutral depending on the amount of light present. As you can imagine, this affects the authenticity of the colors themselves.
White balance adjusts colors so that they look more natural, or accurate to the scene.
Your camera will have some white balance options preset. Select the one that brings more realistic colors out in your photography. If none of the presets are working for your present situation, you can always make a custom white balance!
All of this being said, you may need to do some color correction in post processing anyways. Ensuring the colors are accurate is of the utmost significance.
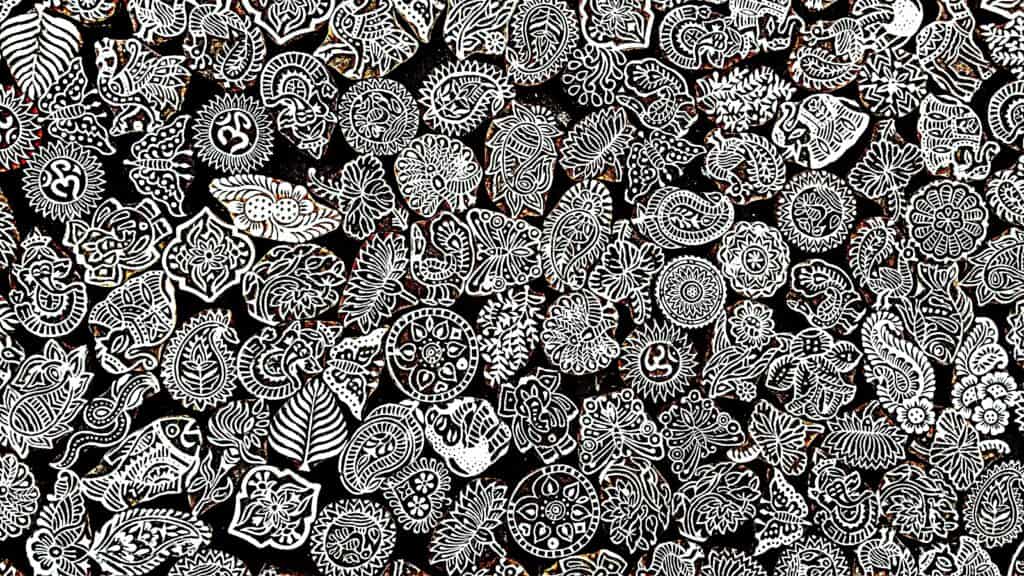
Metering Mode
Now, after you have the white balance set, it’s a good idea to adjust your metering mode. If your fabric is black and white or very contrasted, you may find some difficulties exposing it properly.
In order to understand what the proper exposure is we rely on a little guide on our camera called the Exposure Meter, also referred to as a Light Meter. This measures the intensity of light, and tells us if our exposure settings are too light, too dark, or just right. As we adjust exposure settings, we watch the meter to see the change in real time.
Now, the problem that happens with contrasted fabric is that the camera’s metering system is causing our exposure reading to jump up and down depending on whether the camera is sensing more of the dark color or more of the light color. It cannot give a very accurate reading because you expose for the two types of colors differently.
You can help this situation by switching the camera metering mode to Spot Metering.
Spot metering is where you tell the camera what spot you want to expose for. This is a well liked mode because it puts more manual control in your hands. All you do is point the camera at the object or subject you want to capture exposure for and that’s it!
In conclusion, this nifty guide should help you ensure that all of your fabric images come out perfect!