
To create awe-inspiring images, you want to capture super clear and sharp photographs! Especially at night or in low light, something that cell phone cameras fall flat at.
However, if you’ve tried capturing photographs with limited lighting, you may have found your images looking a bit murky. This is caused by noise, a problem all low-light photographers must contend with.
Here is our guide on how to avoid and reduce noise and make it a problem of the past!
What is Noise?

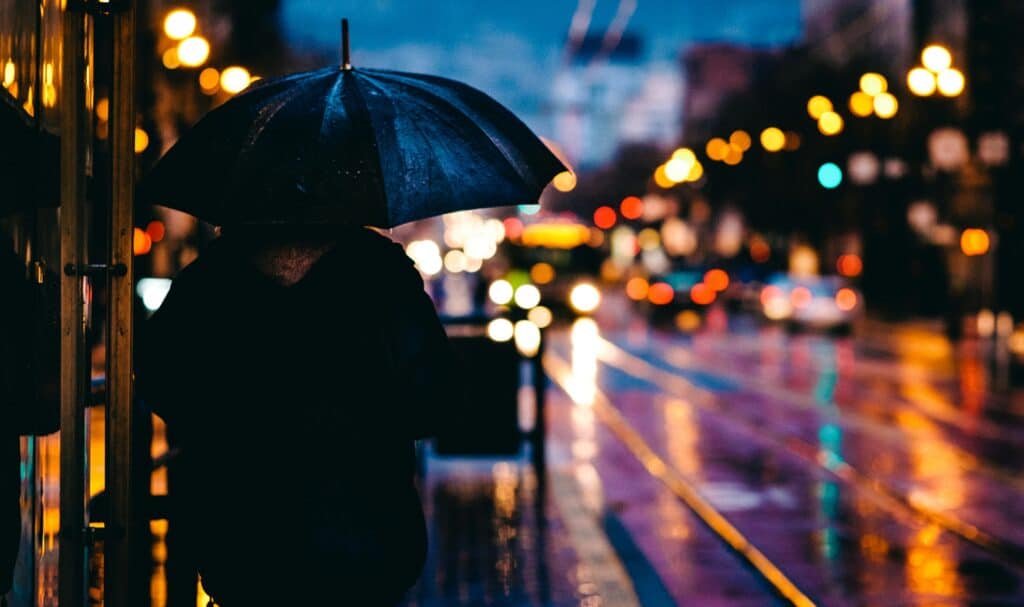
Noise is those annoying little specs and weird color dots in a photograph, as seen above.
Noise happens because the camera is trying to fill in the information that it does not know (which is why something entirely black may have red, green, and blue speckles. The camera is trying to fill in the missing information).
This occurs because the pixels in a sensor get brightened with specific camera settings to a point where artifacts appear.
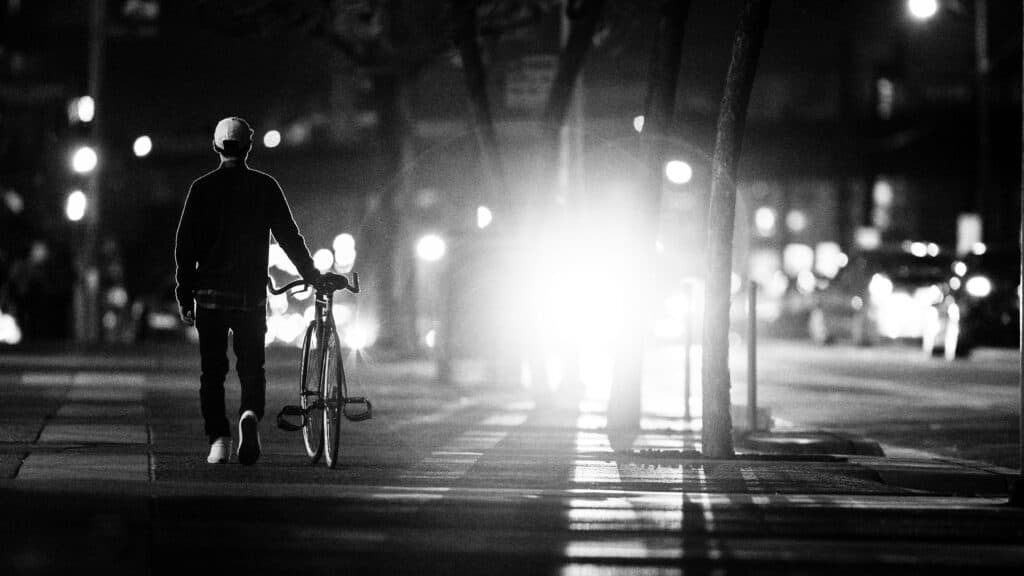
You can see the noise specs even in black and white, like the image below.
Why Do You Want to Reduce Noise?
Unless griminess is a part of your photography aesthetic or you’re attempting a vintage look, noise tends not to be very flattering.
Noise can cause your photograph to look murky and fuzzy and reduce sharpness.
Noise is often associated with low quality because noisy prints look unprofessional. As such, a photographer’s constant goal is to reduce or eliminate noise entirely so that their image looks clear, clean, and sharp.
Can Noise be Avoided?
Yes and no. It depends on how much light is present in the scene.
If you are capturing a photograph inside a home with just a few lamps creating ambient light, the noise can be avoided by using the right camera, paired with the right lens, and set to the correct settings!

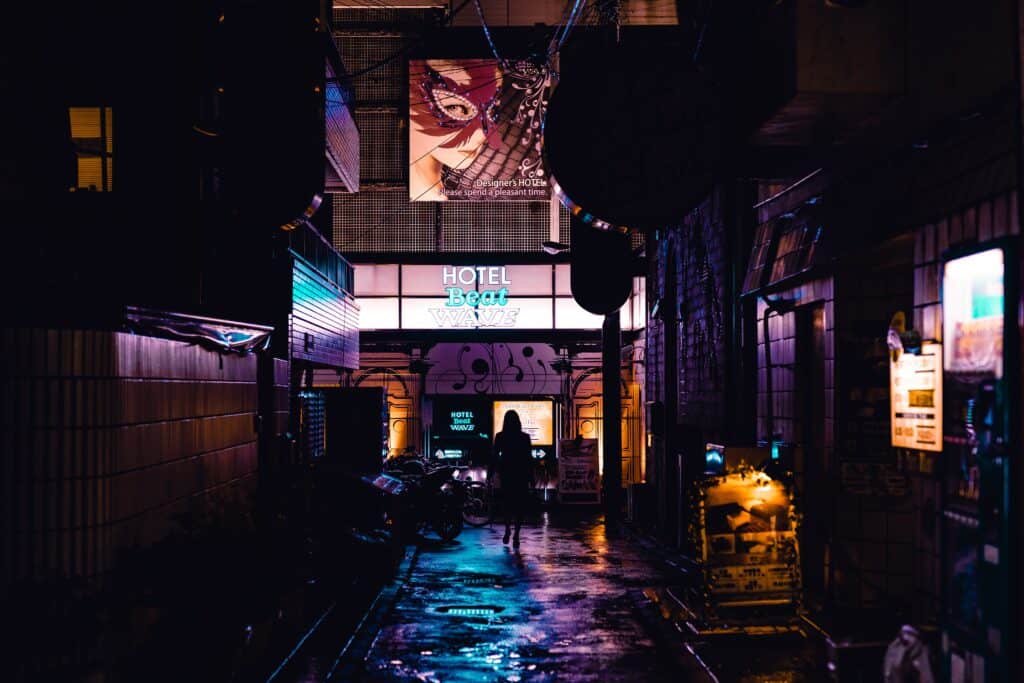
But suppose you’re capturing a shot in almost pitch darkness with maybe only one minor light source. Unfortunately, noise cannot be avoided because even with all of the right equipment, you’ll still need to set your camera sensor sensitivity pretty high to expose the frame properly – and that will bring out the noise.
Reducing Noise with Your Camera
A camera with a full-frame sensor and great low-light ability can help alleviate noise (if not remove it entirely in some situations).
A sensor in a camera collects light information and renders an image onto your screen. Sensors can be weak or powerful and of different sizes. The largest size is known as full-frame.
Many photographers won’t notice how much the sensor affects photography in what is known as ‘difficult’ conditions (such as low light photography) because they don’t put their camera through the ringer like that. But for those nighttime mavens, the sensor makes a huge difference. The larger the sensor, the more light it can collect. The more light it can collect, the easier it is to photograph with less light available!
This pairs right along with a camera’s low light ability. Low light ability refers to how much noise an image has at higher ISO levels. If the camera does not have a lot of noise at higher levels, it means that it has good low-light capability. You can figure out where your camera falls here by looking at sample images of different cameras at the same ISO levels.
Reducing Noise with Your Lens

Your lens can factor in significantly by reducing noise. Paired with a low-light camera, you’re golden!
This is because the lens controls the aperture, a window in the lens that controls how much light does (or doesn’t) hit your sensor. The wider the aperture, the more light it lets in. You see, to reduce noise, you want to increase the amount of light able to hit your sensor so that you can keep your ISO level down (more on ISO later). You’re trying to maximize the light!
To reduce noise, you want to use a lens with a minimum width of F/2.8, with a wider, even more ideal.
Reducing Noise with Your Settings
Your ISO setting directly impacts whether or not your photograph has noise. The higher the ISO number, the brighter your image. The lower, the darker your image. So you would assume you should raise your ISO to illuminate darker shooting locations? Well, that’s where noise problems come into play.
The concept of noise comes from film photography. The more sensitive the roll is to light, the more grain the photograph has. Grain is of course crystal emulsions on film rolls. The larger the grain, the more light can be exposed. But the larger the grain, the more you can see it. This comes out as specks in a photograph. The less sensitive the roll is to light, the lighter the grains and the less you see them.
Digital ISO has a similar problem in the form of noise. The higher the ISO number, the more noise your image will have.
This is because digital cameras have sensors that record light and images. The sensor has pixels in it. When light hits the sensor, the voltage in each pixel is changed depending on the intensity of the light, and the camera records these voltage values. Depending on what ISO number you select, these pixels have their brightness increased in a process called Gain. This is always recorded at a base ISO (usually a base ISO of 100). The ISO numbers beyond that tell you how much gain is added to the base ISO after the image is taken.
Here is an example:
Say you set your ISO to 200. The image is still recorded originally at 100 ISO but is then brightened by a gain of two, as signified by the 200 ISO value!
Now, sometimes the Gain will bring out Noise in your photographs.
Adjusting your exposure settings to keep your ISO level as low as possible is the key way to reduce or eliminate noise. Shoot with wide apertures and slower shutter speeds to keep your ISO below ISO 3200!
Use Artificial Light
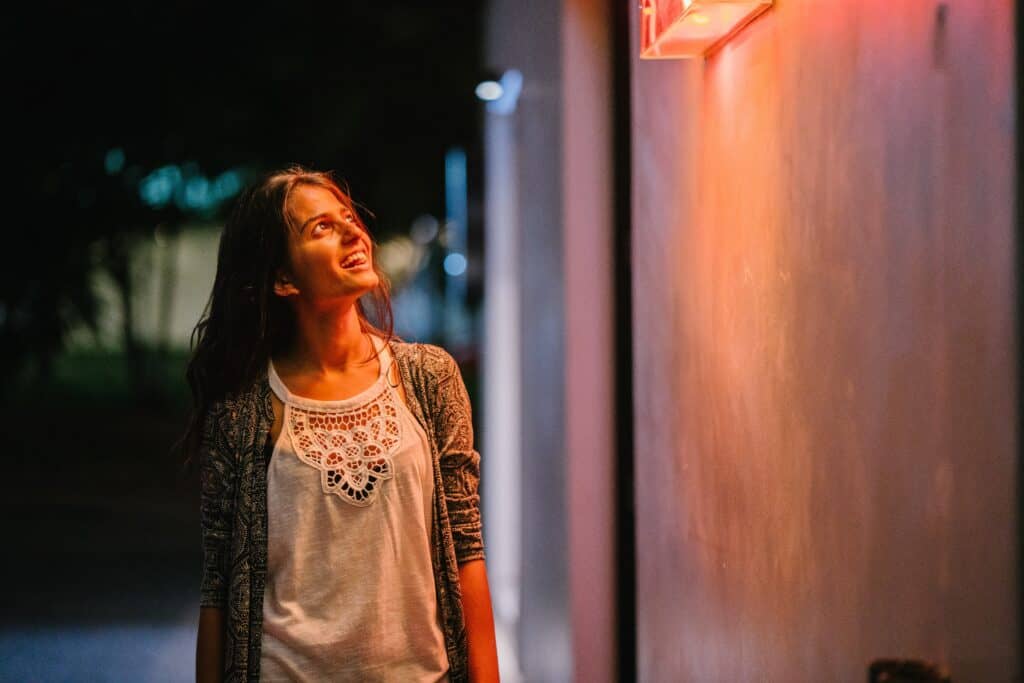
If you’re doing some fashion photography or portraiture in low light settings, noise can impact skin tone and key details.
Try using artificial light to reduce the need for high ISO settings! You can use artificial light to light up your subject while still preserving the ambient light to make the shot look like it was taken at night.
A good choice would be with a flash, strobe, or speedlite attached to your camera with a diffuser on the front so that the light is softened and isolated solely to your subject.
Otherwise, you can attach an LED video light to your camera’s hot shoe and use that as a light source! Anything to bring in just a bit more light.
Reducing Noise with Post Processing

Depending on what you capture, noise may be unavoidable. However, you can reduce it greatly in editing programs!
Firstly, you’ll want to capture your images in RAW format so that when you do reduce noise, you have more information in the photograph to work with.
Next, nearly all photo editing software, especially Adobe Photoshop and Adobe Lightroom, have noise reduction sliders. Use these to adjust how much the noise is removed in your image. Removing too much may make your image lose some of its clarity and sharpness, so you can use the Sharpness sliders to bring some of the detail back in.
If your editing program does not have a noise reducer, you can try to alleviate noise by slightly blurring the image. Ever so slightly, just so the specs of noise blend a bit!
Conclusion
In conclusion, pairing any of the above methods of reducing noise will lead to success in capturing unique images in tumultuous situations.
From concert photographers to night adventurers, eliminating noise problems is possible and will make your images stand out from the masses.