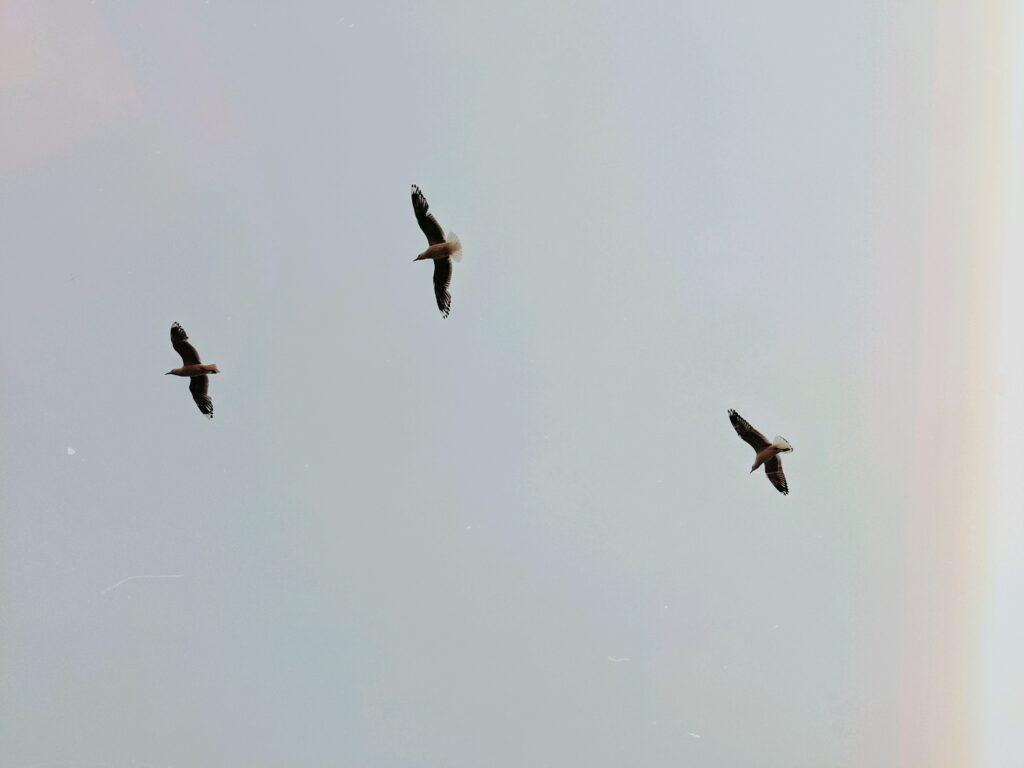
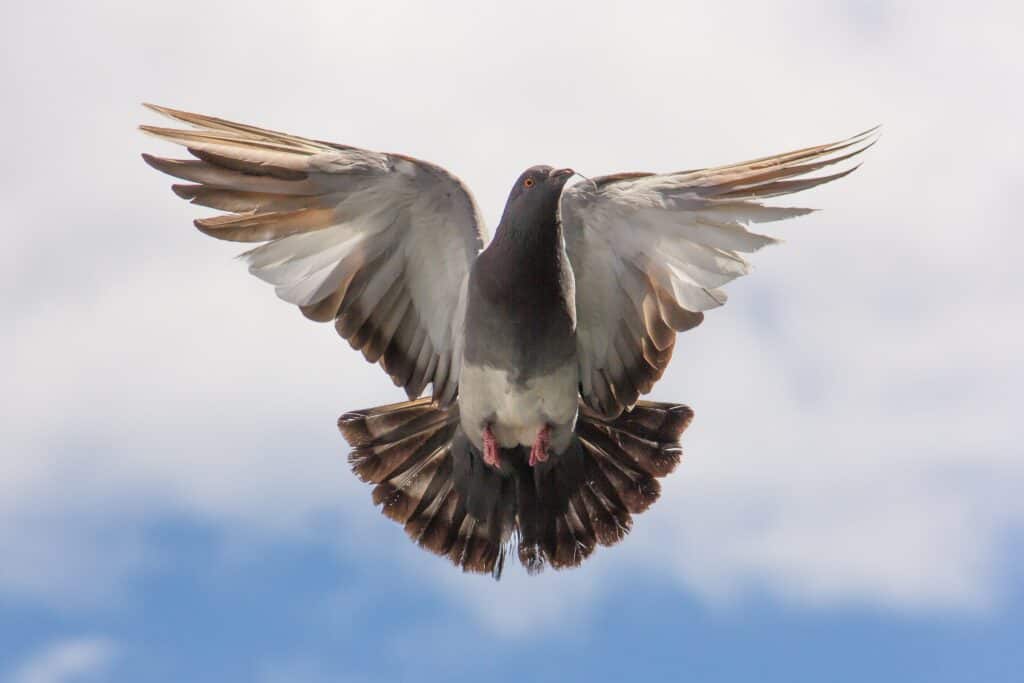
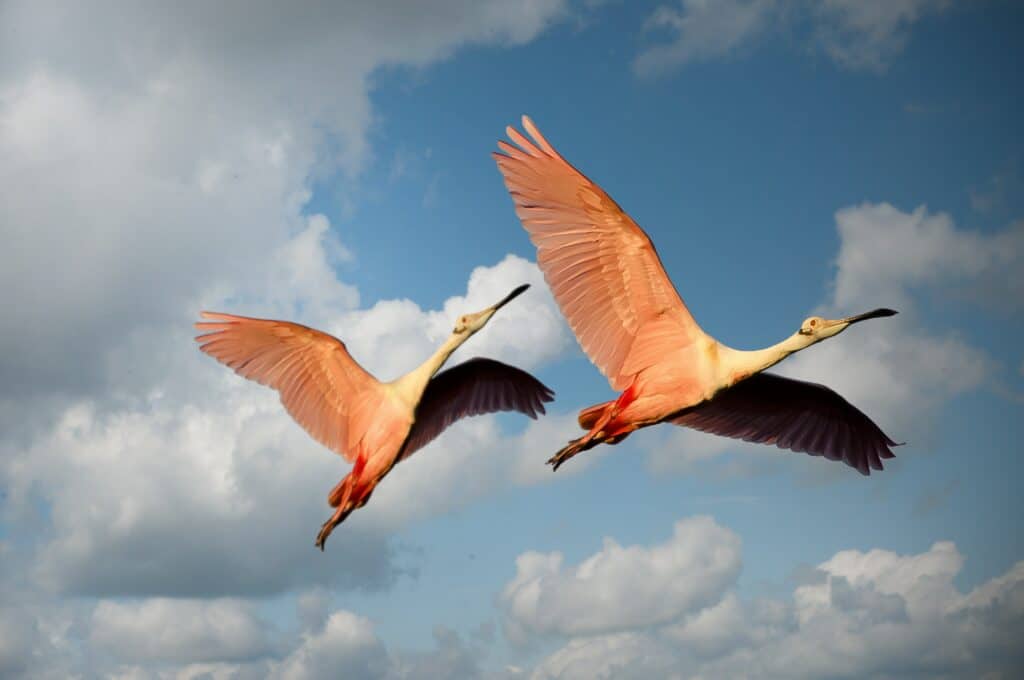
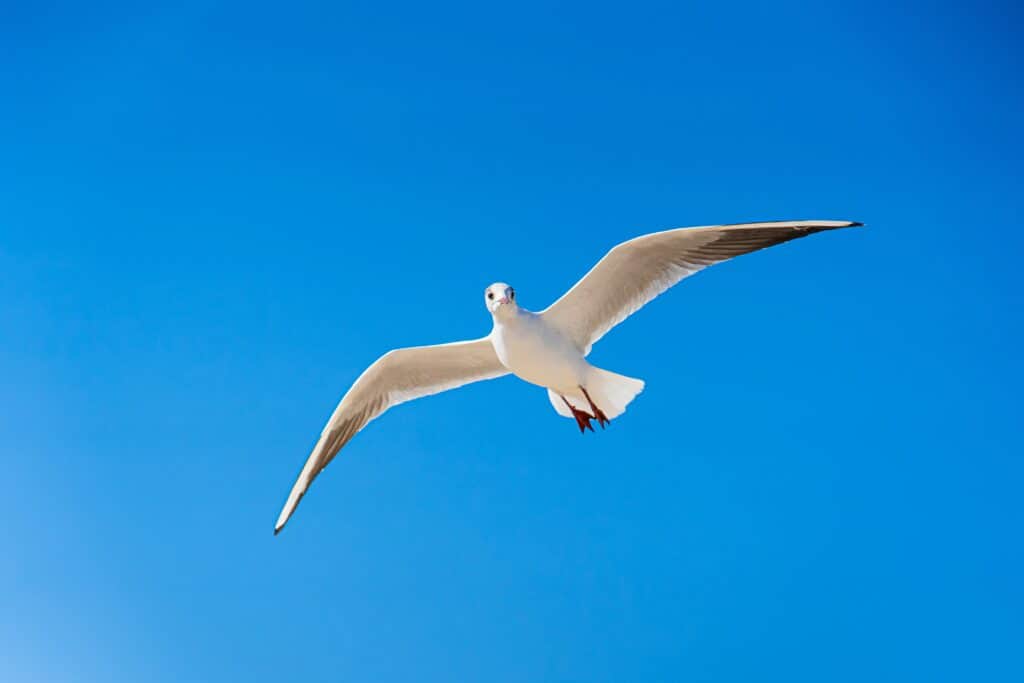
Frozen photographs of birds in flight are some of the most iconic photography images in the history of the craft. There is something marvelous about freezing the flapping of a wing! However, from our vantage point, birds are flying against the sun- which can cause difficulty in exposing the shot.
The solution revolves around specific camera settings and a bit of editing magic! Here is our guide to photographing birds against a bright sky.
The Problem

The problem with photographing birds in flight against a bright sky is the same problem you will encounter capturing any subject against a light source- exposure issues.
Exposure is the amount of light that reaches your camera. Too much light and your image will be too bright, called overexposure. Too little, and it’ll be too dark, called underexposure. Good exposure is constituted as an image in which you can see the details and clarity in the shadows, highlights, and midtones. Having one or the other lose its detail is considered a poor exposure.
The problem with birds against a bright sky is that the camera will be unsure of what proper exposure is. If you were to point your camera towards the bird on a sunny day, you’ll find that getting the right exposure is a confusing mess.
If you are metering off of the subject, the settings will majorly overexpose the shot, in which the subject may have proper exposure, but everything around will be painted in white with little to no detail.
If you are metering off of the subject, then the sky may be nicely exposed, but your subject will be so dark you won’t be able to see any details!
This is because you cannot expose a backlit subject and the backlighting itself at the same time.
The Solution
Fear not, for we have solutions to the exposure problem!
1. Switch to Manual Mode and Spot Metering Mode
Firstly, you’re going to want to use Manual mode and control the exposure variables.
Exposure is a formula, sometimes demonstrated as a triangle: ISO + shutter speed + aperture = exposure.
Like a mathematical formula, if one variable is changed, the rest are affected by the change. As such, your combination of the above three elements dictates how your image looks. For birds in flight, set your shutter speed to a minimum of 1/800-1/2000 seconds to freeze those wings! To ensure the whole bird is in focus, an aperture of F/8.0 is excellent. Then, adjust the ISO accordingly.
In order to understand what the proper exposure is we rely on a little guide on our camera called the Exposure Meter, also referred to as a Light Meter. This measures the intensity of light, and tells us if our exposure settings are too light, too dark, or just right. As we adjust exposure settings, we watch the meter to see the change in real time.
Exposure meters have their own modes you can switch to. By default, your metering mode is set to Matrix / Evaluative. This mode considers the entire scene, all of its shadows and highlights, when setting the exposure. It’s goal is to expose the darkest part of your image and the lightest part of your image as equally as possible. As much as this sounds great on paper, this mode tends to flop if you are shooting in complex lighting conditions, such as birds in flight against a dark sky.
You want to switch to Spot Metering. Spot Metering is where you tell the camera what spot you want to expose for. All you do is point the camera at the object or subject you want to capture exposure for and that’s it! But remember, the exposure is based solely on that one spot and does not consider anything else as a factor. As such, you want to point it at the most important part of your image- the bird subject and expose for the bird.
2. Watch the Histogram
The histogram is a graphic representation of how light is distributed in your image, such as the shadows and the highlights. This can be super helpful when exposing for birds in flight! The histogram is directly related to your exposure settings. The brighter the exposure, the lighter your histogram will show the pixels are. That being said, the histogram can tell you whether or not your exposure is good and how much recorded information you have to work with in post processing.
If the histogram is primarily an upwards mountain, that is a good thing! The left side of the graph represents the blacks (your shadows), the middle represents the midtones (grays), and the right side represents the whites (highlights). The mountains tell you how much of the shadows, midtones, and highlights are present and to what intensity. The higher the mountains go, the more intense the blacks, whites, and grays. The lower, the less they are present.
3. Set the Camera to Record RAW File Format
Exposing both the sky and the bird can take a bit of editing magic, as such, set your camera to record RAW format instead of the default JPEG.
When a photograph gets recorded as a file format, it becomes compressed to fit within that format and you may lose some quality or some forms of editing capability. Basically, RAW contains the direct image data from the camera sensors with no loss of quality and alteration. This stores the fullest details of an image.
The fullest details and the lack of file alteration allows significantly more control over large editing adjustments such as overblown highlights or an underexposed image. This is because you’re able to, in most situations, recover information in the image that would otherwise be lost if it is compressed. As such, make sure that you shoot in RAW because you can save some of the otherwise lost information.
4. Post Processing

Which leads into our 4th solution which is to use editing programs! In software such as Adobe Photoshop and Adobe Lightroom, you can lower the highlights to bring back the sky and raise the shadows to save the details of the bird! A great solution to complicated lighting.
5. Change the Time of Day

If all else fails, change the time of day that you shoot. Capturing images during the sunrise or sunset can aid in the contrasting issues because the sky will begin to darken, therefore reaching a similar tone as the bird! Plenty of avians are still active around sunrise or sunset time, although you may have better luck during the sunrise (especially for birds of prey that hunt around those hours).
This guide should aid you in capturing incredible photographs of birds in flight!
