
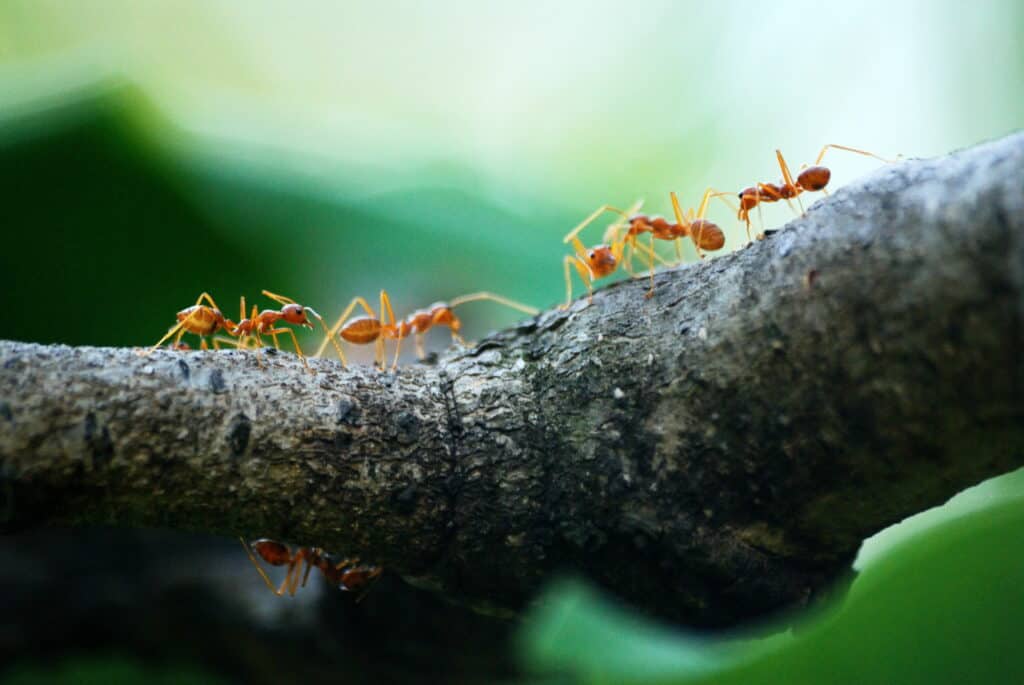
The tiny world is a fascinating world- filled with magnificent architecture, dramatic battles, and crazy social gatherings. We’re talking about ants of course! Mother nature’s little helpers, ants clean, restructure, and contribute significantly to the ecosystem. Watching these busy critters work can be fascinating, which makes them excellent photography subjects.
Although very common creatures that are easy to find, ants being small in size can make them more difficult to photograph than expected. Much of the success has to do with using the right equipment and just a wee bit of patience!
Equipment for Awesome Ant Photography
Because of the small subjects, you need the right equipment to capture these little ants.
Camera
We always start with the base of the photography component- the camera! As ants are captured outdoors, you don’t need a low light sensitive camera for this type of photography (so you can save some money here). However, you’re going to want to look at a camera with a lot of focus points and a decent amount of megapixels.
Every camera has a series of dots called focus points. These points tell you (and the camera) where to focus. Each point refers to an area the camera is able to focus on. The more expensive the camera, the more points there are, and the more accurately you can focus. This is primarily activated by autofocus or AF Selection, in which you can tell the camera exactly what points you need it to use to focus on your subject.
Why this is important for ants is because of their size and proximity to everything around them, the more focus points you have, the easier it is to make sure those little ants are nice and sharp in the frame.
The next component to consider is the megapixel count. Once considered a gimmick to sell cameras for a higher price, megapixels actually do make a difference if you’re into capturing little things. Megapixels is a unit of measurement for the amount of pixels in a photo. Pixels are little dots that make up an image. As you may deduce, the more pixels, the higher quality the image because there will be more details. With something like ants, all of the details matter.
Lens
The lens is what gives your image its final appearance. The optics you are using will affect perspective, field of view, and the depth of field- all three of which are necessary for ant photography. As such, your lens choice is pretty important.
Because you are capturing the tiny world, most ant photographers prefer Macro lenses. Macro is a unique type of photography in which small objects are photographed so close up that they are made to look life-sized or larger than they are in a photograph. The term “Macro” itself means “large scale”. There are specially made lenses to do just this!
Popular lenses for ant macro photographs are 70mm Macros and 100mm Macros, both sitting at F/2.8.
Macro Lens
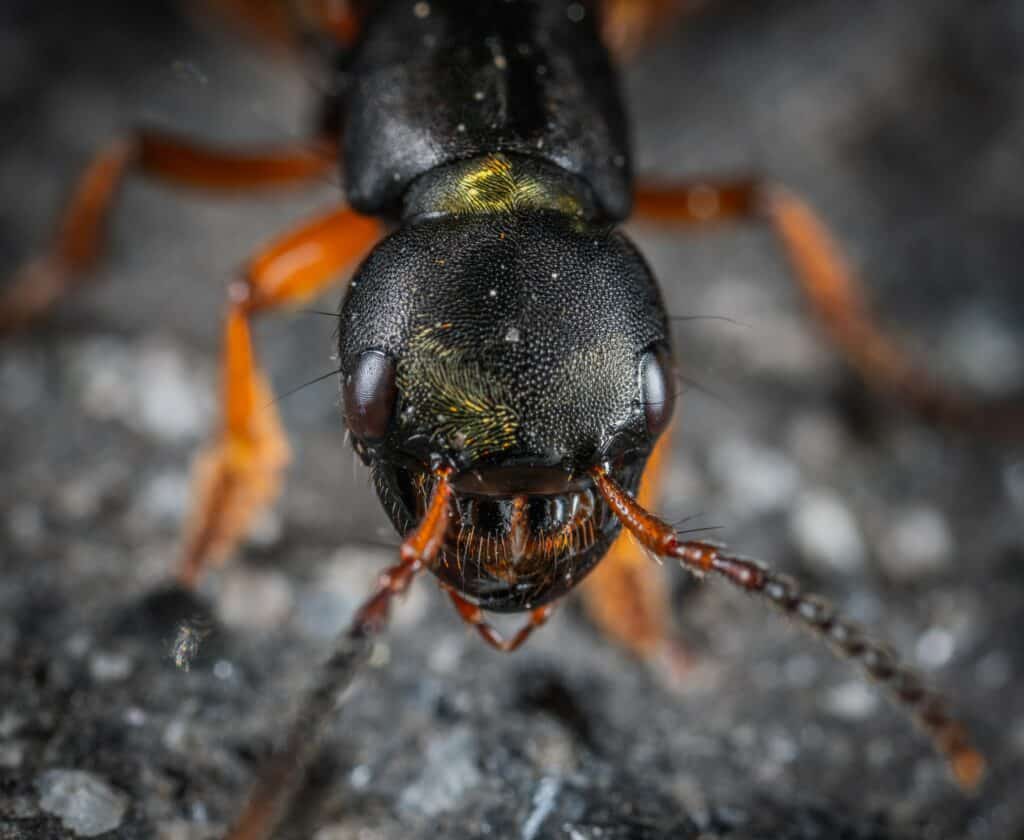
You might be wondering why you would use a dedicated Macro lens instead of just a zoom lens that can capture subjects up close. Well, that’s because there is a difference between true Macro photography and close-up photography.
Close Up photography is done by photographing objects at a very close range with a standard, non-macro lens. How this differs from true Macro photography is that true Macro photography features a more significant degree of magnification and a lot more fine detail. Macro photography can even make the most miniscule details seen.
Standard | Zoom Lens
If capturing every fiber on the top of the ant’s head is not really your style, standard or zoom lenses work just fine for close up photography! Standard lenses are amongst the easiest lenses to use because they feature no distortion (the glass is flat). Standard lenses are the closest to the human eye and what you see, which makes these millimeters popular choices. Zoom and Telephoto lenses are long lenses that can remind you a bit of a telescope. These lenses can zoom you very close to your subject!
Common zoom lenses for ant photography are 24-70mm lenses and 200mm lenses, also at F/2.8.
Lighting
For capturing ants, usually natural light would be your go to. The beautiful sun rays coming through the leaves makes a popular lighting situation for capturing nature. However, sometimes the sun doesn’t quite touch where the ants are lurking around. As such, bringing a small continuous portable light, such as a rectangular video light, can help! The light isn’t so harsh that you get flashes reflecting off the critters, but is just enough to allow you to lower you ISO level.
Tips for Capturing Ants

Although we can’t tell you exactly what settings to use because ants can be encountered in a wide array of locations and lighting situations, what we can do is share these five neat tips for ensuring your ant photography is awesome every time.
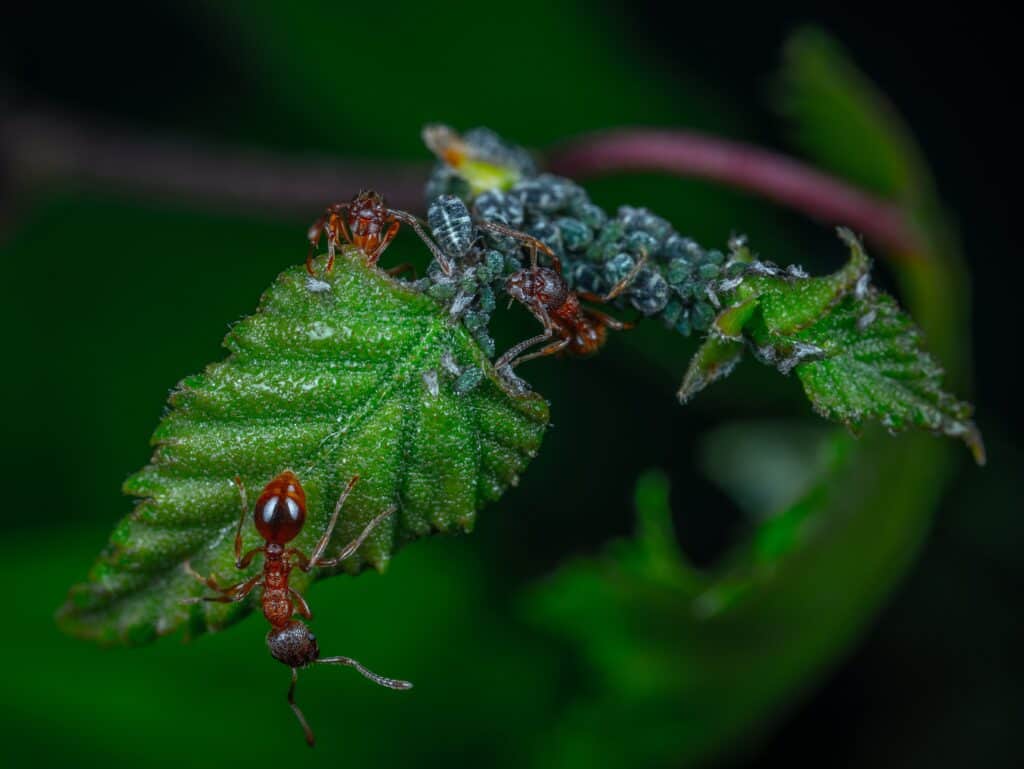
1. Photograph Cool Behavior
One of the primary reasons ants are great subjects is due to their expressive behavior. If you have enough patience, watch the ants and document what they are doing. Whether they’re killing a threat or carrying pieces of leaf back to their home, all of these behaviors make for some amazing photographs.
Sometimes you can influence the behavior by placing obstacles or food down for the ants if you don’t have too much time to sit around and wait. Just be mindful not to do so near your home, the last thing you want is for a photo shoot to turn into a home invasion!
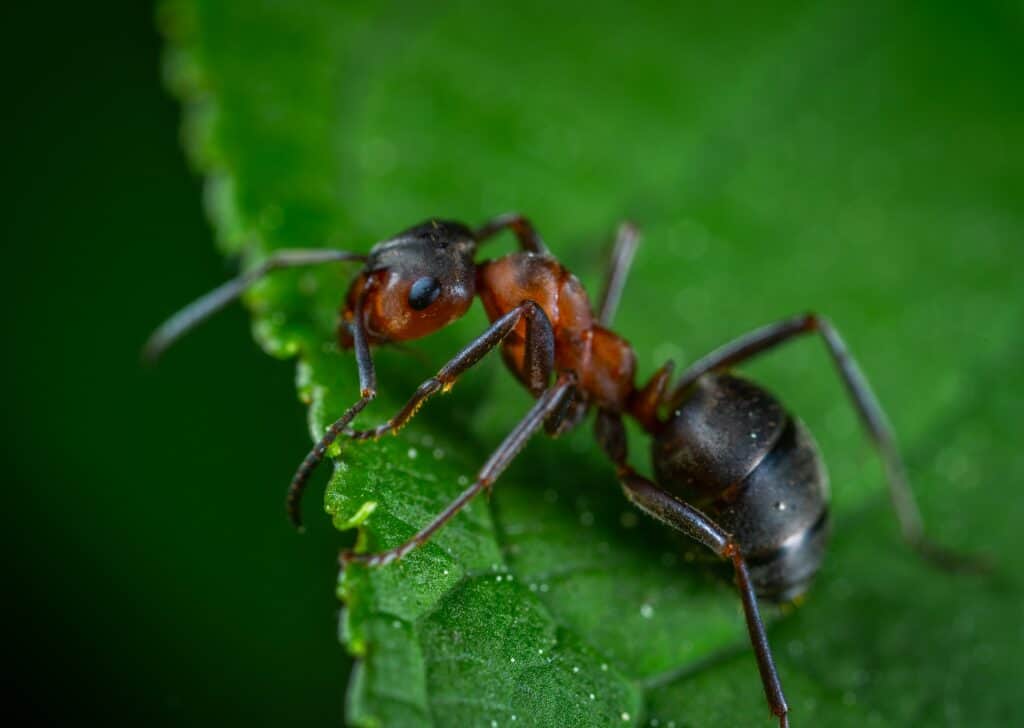
2. Vantage Point Makes a Difference
Vantage point refers to the perspective at which you photograph. Capturing ants at the eye level vantage point can make for some of the most dynamic images, because you don’t typically see ants that way! Using an eye-level vantage point can feel quite direct and intimate. It also conveys a sense of empathy in an image.
3. Select Your Focus Points
If you’ve set your camera to autofocus (which is the default on cameras and lenses), you’re going to want to switch your camera over to Selectable Focus Points. You can then use the dial to select exactly what focus points you want to use in order to make sure the ants are sharp and clear in your image.
4. Manual Focus (When All Else Fails)
If you’re finding that autofocus continues to hunt (goes in and out of focus looking for a subject to lock on) for the ants, switch over to manual focus! As the name implies, manual focus is when you lock on to a subject by hand. You find focus by turning the focus barrel ring until the subject is nice and clear in your viewfinder.
Just make sure that you practice manual focus before attempting to shoot a difficult subject like an ant, because you will have to be fairly fast with turning the focus barrel!
5. Tell a Story
Most importantly, you want to tell a story with your images. What are the ants doing? Why are they interesting? What adventure is the viewer going on in this image? All important questions to ask yourself when figuring out how to compose your ant photograph.
In conclusion, ants make a fun photography niche to explore!