
Likely the most common question professional photographers get is “how did you get into photography?” Better yet, “how can I get into photography?”
Here is our guide on how to get into photography, mingled in with important information to get you started right away!
Find a Passion For Photography
Like anything in this world, you must first discover a passion for your pursuit. Finding a love for photography can be as simple as picking up a camera and clicking the shutter button, or it can take a bit of time to build. But in either case, you really need to have a love for what you’re doing in order to really invest into getting in photography.
Photography is an expensive endeavor- both financially and with time. Photography takes a lot of time to get good in and the more you do it, the more you want to buy!
The Equipment
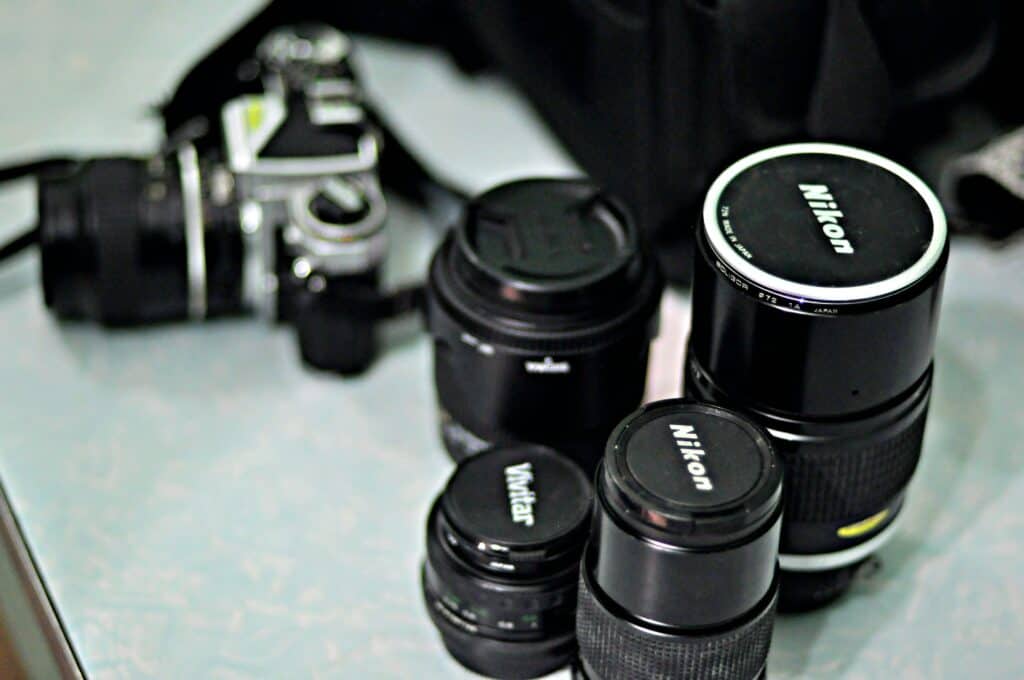
The immensely large array of equipment to choose from can make photography incredibly overwhelming. The first thing that wards off many people from the craft is the selection of cameras and lenses to choose from.
Fear not! To get into photography you just need to start with a camera and a lens. Many camera companies such as Canon and Nikon sell combination kits that include a camera and a lens together.
It’s best to start with either a DSLR or Mirrorless camera so that you have full control over the settings. As much as that may be intimidating, it’s the best way to learn the craft. Point and Shoot cameras do everything for you (making them easier to use) and you learn very little from them.
In the beginning, the equipment is less important than learning how photography works! You’ll eventually outgrow the gear you started with naturally, so don’t even worry about it when starting out.
Basic Principles To Understand
To give a crash course in photography to get you started, here are the basic principles to understand. For more in depth information, check out our 38 Settings, Techniques and Rules For New Camera Owners article!
Exposure
Exposure is the amount of light that reaches your camera. Too much light and your image will be too bright. Too little, and it’ll be too dark.
Exposure is a formula: ISO + shutter speed + aperture = exposure.
Like a mathematical formula, if one variable is changed, the rest are affected by the change.
The ISO is your camera’s sensitivity to light. The lower the ISO number, the less sensitive the camera is to light (but the less noise the photograph has). The higher the ISO number, the more sensitive the camera is to light (but the more noise the photograph has).
The aperture controls how much light does (or doesn’t) hit your sensor. The lower the aperture number, the more light the camera lets in. The higher the aperture number, the less light the camera lets in. The lower the aperture number, the shallower the depth of field. The larger the aperture number, the deeper the depth of field.
The shutter speed is how fast your camera takes the photograph. The higher the shutter speed number, the more frozen the action will be (but the photograph will be darker). The lower the shutter speed number, the more motion blur your photograph will have (but the photograph will be lighter).
Together, these three components keep balancing each other out to create the perfect exposure for your photograph!
Light
Photography revolves around light. Light is what creates a photograph in the first place! With exposure settings all revolving around how light hits the sensor to camera limitations revolving around light, to be a photographer means understanding this key principle.
When starting out, the best thing you can do is to just learn how light affects an image and your exposure. Practice photographing with different kinds of light, from sunlight outside to a floor lamp indoors. Really explore the difference between natural light and artificial light.
It’s okay if you prefer one type of light over the other! That helps you figure out what kind of photographer you are meant to be.
Metering
Metering tells the camera how to accurately express the exposure meter to you. In order to understand what the proper exposure is, we rely on a guide that we see at the bottom of our viewfinder called the Exposure Meter. This measures the intensity of light, and tells us if our exposure settings are too light, too dark, or just right.
In order to get a proper reading, you have to change your camera’s metering mode. For new photographers, the best metering mode to use is Matrix / Evaluative Metering. This mode considers the entire scene, all of its shadows and highlights, when setting the exposure. It’s goal is to expose the darkest part of your image and the lightest part of your image as equally as possible.
Composition
Composition is the arrangement of elements (subject, objects, foreground, background, and negative space) in a photograph. The composition will make or break your image.
Although most photographers go by their aesthetic preferences or what ‘looks right’, there are a few key rules to keep in mind.
The first is the Rule of Thirds. This is the most basic compositional rule. If you divide your photograph evenly into thirds, both horizontally and vertically, the subject of the image needs to be placed at the intersection of the dividing lines. Any of the intersections! But it must be at an intersection.
The idea is that this provides the most accurate amount of negative space. Negative space describes all of the parts of your photograph that do not have your subject in it.
The next is Implied Sense of Movement. Implied sense of movement means the direction that you think the movement will go in a still image. For example, if a dog is running to the left in a picture, the implied sense of movement is towards the left. If a model is looking to the right, the implied sense of movement is to the right. If the subject is looking into the camera, the implied sense of movement is towards the viewer.
Next comes Eye Lines. Eye lines are a way of describing a perspective. When photographing living subjects, you generally want to photograph from their eye level. This is because photographing from eye level allows the viewer of a photograph to sympathize and empathize with the subject and develop a mental relationship with the photograph.
When photographing living subjects, remember to keep limbs intact! If you’re photographing a living subject, such as a person or pet, don’t cut off any limbs! That looks like you purposefully handicapped your subject. If you have to crop tightly, never crop at a limb joint- always crop in the center between two joints.
Focus Settings
Focus is the process of achieving sharpness in an image. When something in a photograph is in focus, it’s the sharpest and clearest part of your entire image. Focus requires moving various lens elements until sharpness and clarity are achieved.
Now, ensuring your subject is in focus can be achieved manually, with manual focus, or with the help of your camera with autofocus. To get into photography, start with autofocus.
In many newer cameras, autofocus has three modes you can set it to called One-Shot, Continuous, and Automatic. These mode names differ by brand, such as, Continuous is known as AI Servo in Canon cameras, so please refer to your camera manual for clarification.
By default, your camera is set to One-Shot right out of the box. One-Shot achieves automatic focus on your subject for only one image, best used when capturing still life or product photography.
Continuous Focus is when the camera’s focus keeps refocusing on the subject as it moves. This is great for action photography and is how sport photographers are able to capture sequences of movements!
Automatic Focus means that the camera will attempt to decide between One-Shot and Continuous as your focus mode based on your subject and how you are using the camera. This mode is seldom used as it tends to not be accurate when picking out the focus mode.
These settings can all be adjusted either in the camera menu or on the display screen by clicking the ‘Q’ button and selecting focus mode.
Train Your Eye to Study the Environment
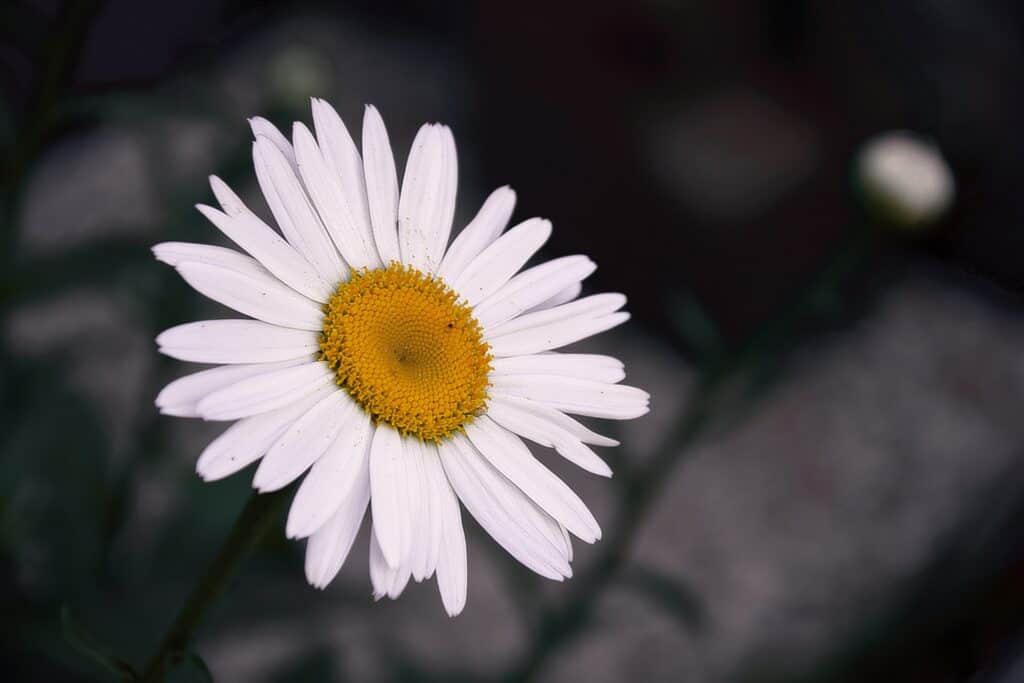
The beauty of photography is showing the world life in a brand new way. The way you photograph something brings attention to details you may otherwise overlook. As such, photography is very much about learning how to see things in new ways.
This requires training your eye to study the environment. To pay attention to how light falls on subjects and fills spaces. See unique details that create patterns worthy of photographing. Looking at locations and envisioning how to compose them for pictures.
You can practice photography without even having a camera in your hand! It’s all about learning to see. Look for beauty in the otherwise ordinary.
Photograph Different Subjects and Find What You Like
There are so many different niches of photography out in the world, that you can find something for everyone! But how do you know what type is right for you?
Well, that’s simple: try everything and see what you like!
Even if the type of photography doesn’t interest you, you won’t know if you have an inclination towards it until you try it out. Best to try it all and then say no to what you dislike.
Make the Leap Into Manual Mode
It may sound daunting to jump directly into Manual Mode, but you really will learn so much more this way! Be leaps and bounds ahead of the rest that are wanting to explore this artform.
With camera modes, switch to Manual Mode. Camera modes are different preset features or options that tell the camera how you want to take a picture.
Manual Mode turns off all of the camera’s automatic settings. This is really the ideal mode for photography because you adjust the entire exposure equation yourself, as well as all of the more minor configurations such as the Auto Focus Settings and White Balance.
This mode also prevents the camera from glitching during an automatic mode and causing you to miss your shot. Lessening frustrations you may feel!
Develop Your Personal Style
You’ll be amazed at how quickly you find your personal style in photography. Everyone sees the world differently, everyone has different tastes, and as a result, everyone takes photographs differently. Your personal style will start to develop as a result of your explorations and experimentation!
It’s a great idea to look at the work of other photographers and see what you like and dislike about what they do. This helps sincerely in developing a personal style. This personal style will set your photographs apart from the rest and be exclusive to you!
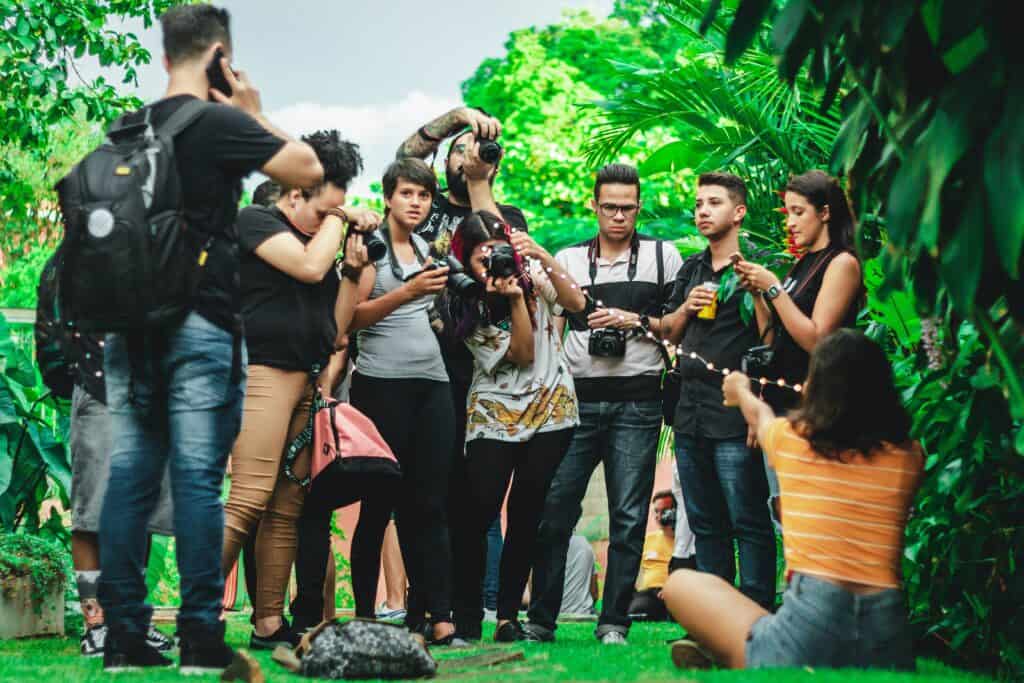
Network with Like Minded Individuals
Art is very much a community, and nothing is better than learning with your peers! With the power of social media, networking with like minded individuals is easier than ever.
Join some Facebook photography groups and chat with other photographers, learning from their pursuits, rejoicing at their successes, and being inspired to find your own voice in the art medium. Look on websites such as MeetUp and find local groups that go out on photo walks!
Becoming a part of the community really helps you get into photography.
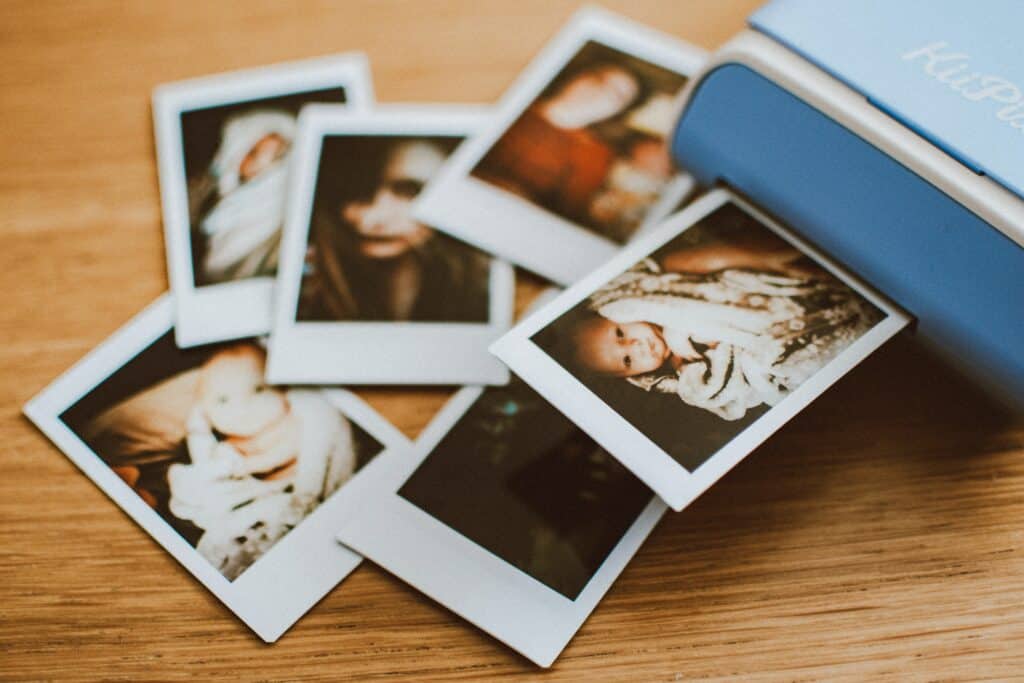
Build a Portfolio
If you want to get into photography as a job, you’re going to need a portfolio. A photography portfolio is a showcase of images you have taken that represents your skill competency, your style, and the types of photographs you like to produce. Without a portfolio you will not be able to showcase yourself to prospective clients and job opportunities.
Make sure your portfolio only shows you best work and has a lot of diversity in it!
Learn Post Processing
Taking the picture with a camera is only half the battle. Knowing how to process the images is the other half. Familiarize yourself with editing software, such as Adobe Lightroom and Adobe Photoshop.
Editing really does open up an even bigger world of possibilities for your art. From adjusting colors via color grading to cropping into even better compositions, learn how to edit your pictures!
Post processing doesn’t have to be a very strenuous pursuit at first- learn the very basics. How to adjust your shadows and highlights. How to edit your colors. How to crop pictures. How to export photographs. The more you understand about editing the more you’ll be able to do as a photographer (and it can even affect how you take a picture in the first place). Later on you can get into skin retouching and other more complex techniques.
There are hundreds of free software out there if you don’t want to immediately jump into paid programs like Adobe Photoshop and Adobe Lightroom.
Never Stop Learning: How To Further Your Knowledge
In conclusion, as with any endeavor, you must always seek to improve your work by learning more and more. The best part about photography is you will never run out of things to learn.
Keep reading our helpful guides to increase your photography knowledge toolbelt! Participate in photography workshops to get some cool hands-on experience with the craft. Watch countless videos online on tutorials. There is so much you can do to further your knowledge.
Don’t be afraid to explore complex concepts and techniques, because that only helps you get better. Don’t get discouraged by any perceived failures, everything is a learning opportunity and helps you become an absolutely incredible photographer!