
Light painting is a very unique photography niche in which a source of light is used like a paint brush to create a picture. Light painting describes a technique of moving a light source while taking a long exposure photograph.
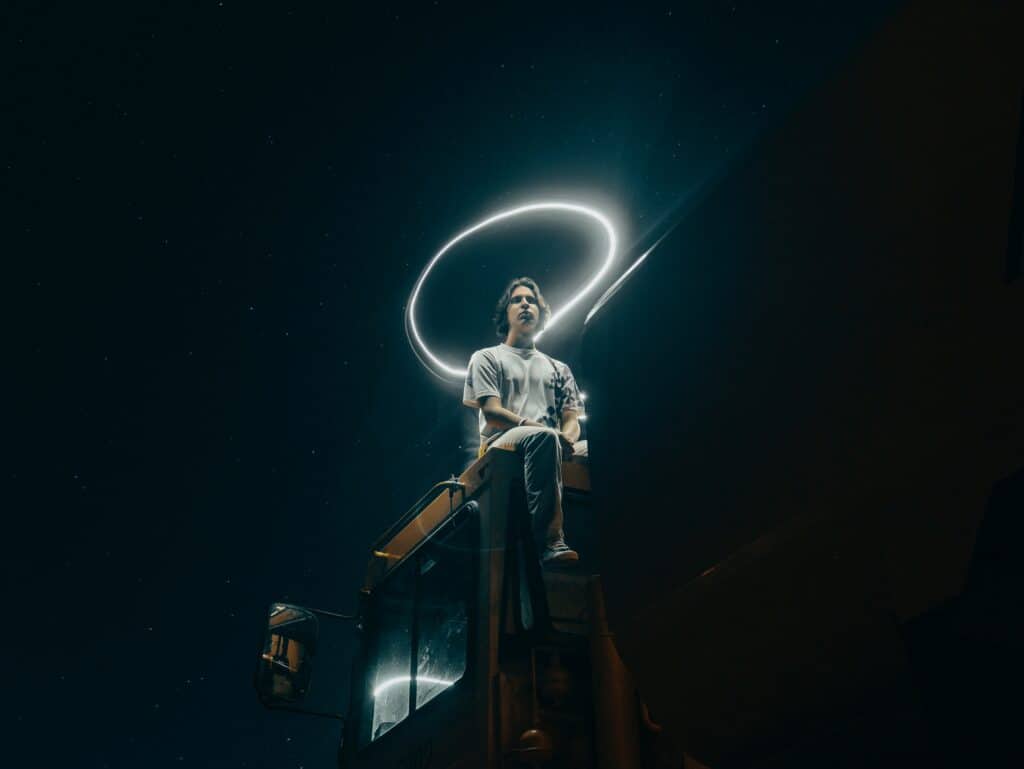
Light painting takes various forms. Sometimes it is used to illuminate a subject or space and other times it is used to shine light at the camera to ‘draw’.
Here is our guide on how to do light painting in photography!
What Do You Use For the Light ‘Brush’?
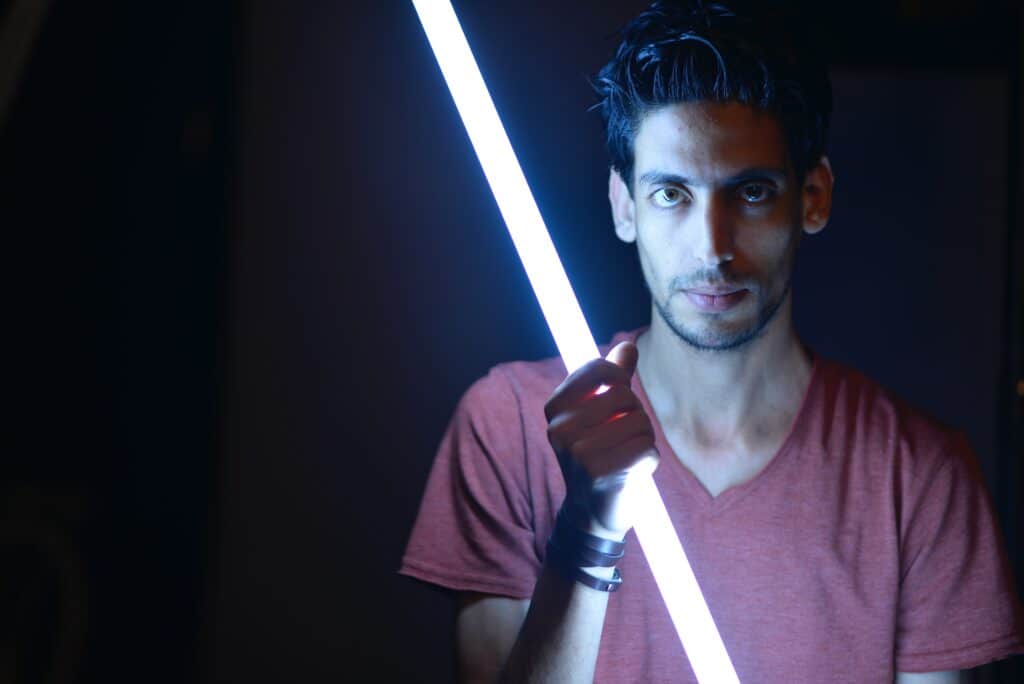
Anything that emits light can be used as a brush! Don’t limit yourself on objects you can use. Let your creativity really flow with this one.
Common light painting ‘brushes’ include headtorch, 900 lumen strobe/floodlight, flashgun, wire wool, windproof lighter, LED wires, LED lights, home-made LED sticks, wheels with attached LEDs, glowsticks, and laser pens.
Some companies even sell specific light sticks for this very purpose.
Settings for Light Painting
Light painting settings are akin to light trails and other long exposure techniques! You’re essentially creating a light trail but instead of using a vehicle, you’re using a ‘brush’!
A slow shutter speed is your best friend- that’s the only way that long exposures are possible. Long exposures for light are around 1/10” – 1/15”, or you can switch to Bulb mode (more on this later).
With slow shutter speeds, your exposure equation will need to be filled out a specific way to compensate for the amount of light coming in to the sensor.
Exposure is a formula: ISO + shutter speed + aperture = exposure.
Like a mathematical formula, if one variable is changed, the rest are affected by the change.
In the case of light painting which happens in the dark, your slow shutter speed will allow the sensor to have a lot of light reach it.
As a result, you’ll be able to keep your ISO level much lower than before and prevent a lot of noise. Most keep it at ISO 100.
As for the aperture, most photographers set their aperture to their lens’s sweet spot (the aperture at which the lens is sharpest). Many images feature an aperture of F/4 – F/8.
Since you will be using artificial light, set your White Balance to “incandescent” or “tungsten”.
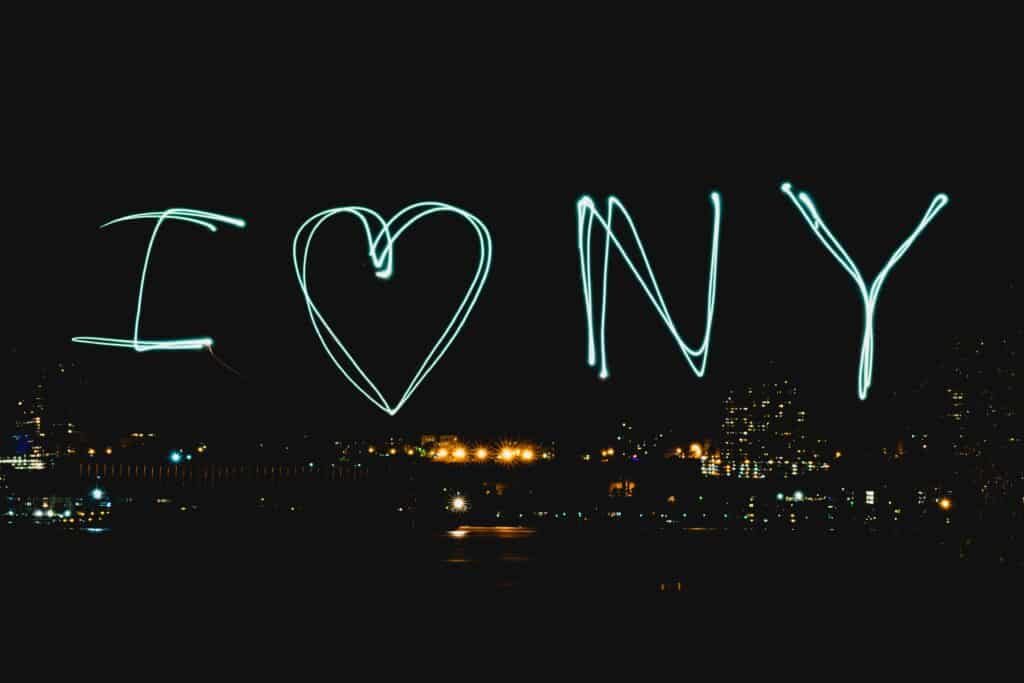
Different Light Painting Patterns
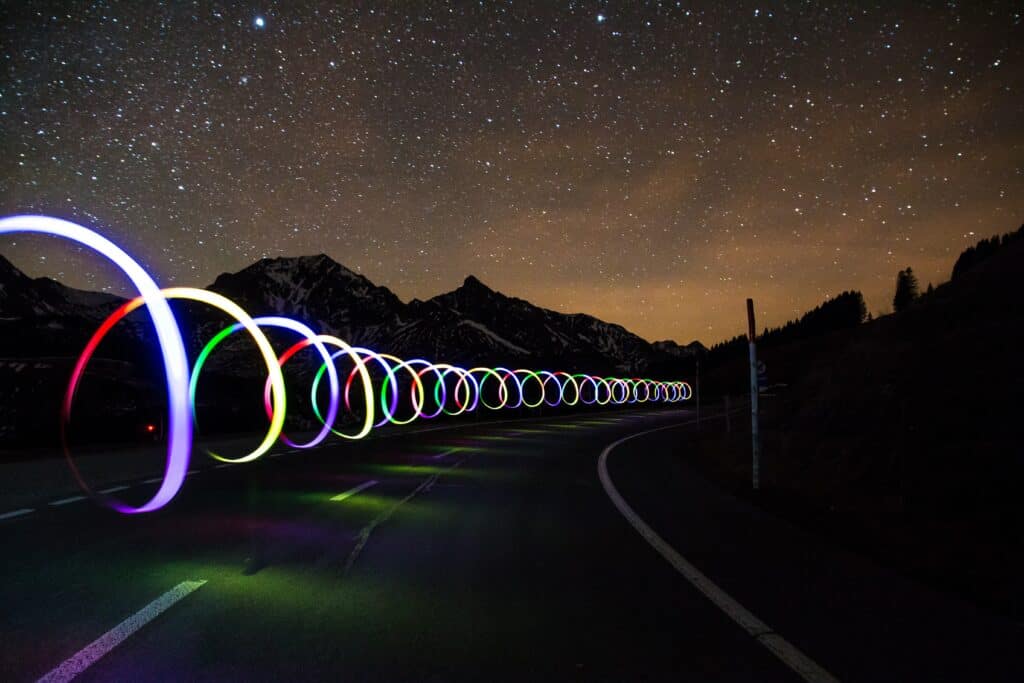
There are so many different patterns and motions you can do with light painting. Much of this depends on the specific tool that you use. For the most part, photographers use LED sticks.
You can swing the stick side to side for a fluid motion! You can turn it to face the camera and use it to draw a heart or write a name. You can take christmas lights and spin them for a cool psychedelic look. You can take a bar and spin it around your subject. The possibilities or truly endless.
Steps for Photographing Light Painting
Here are the 4 steps for light painting.
1. Set the Camera on a Tripod and Adjust the Settings
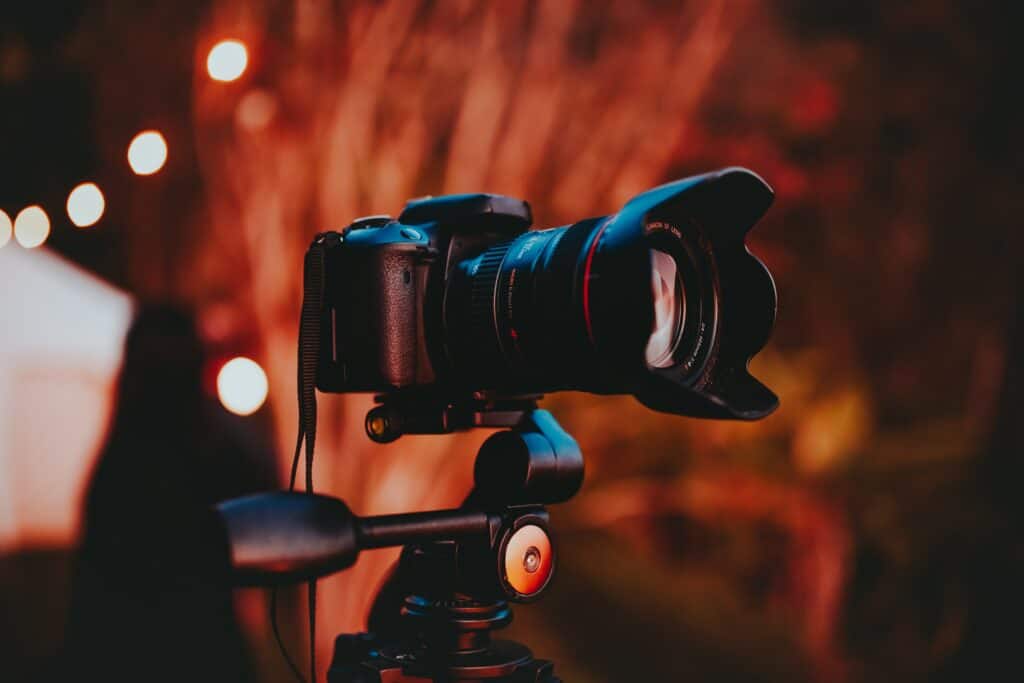
Because you’re going to be working with slower shutter speeds and other unstable camera settings, having a stable force to keep the camera steady is key. Invest in a good tripod that is sturdy and durable!
Go ahead and mount your camera to the tripod. Make sure that your camera’s brought up to eye level by the height of the tripod’s legs, not the height of the center column. For maximum camera stability, keep the center column as low as you can.
After doing so, start to adjust your settings. Remember to keep the ISO as low as you can and the aperture at a width that represents your photo-taking aesthetic. Be sure to take some sample shots to make sure your exposure is proper, you don’t want to have to go through all of the painting effort only to find your image too dark or too light!
Bonus tip: If you’re able to keep your ISO low, like, ISO 100 or ISO 200, go ahead and turn off Long Exposure Noise Reduction. This is a setting that is found in most new DSLR and mirrorless cameras. This is because Long Exposure Noise Reduction will double your wait time. What this setting does is take a second exposure of equal length of just black, then merges it with your shot to get rid of the noise.
2. Switch the Camera to Bulb Mode and Have a Shutter Release Ready
Light painting heavily depends on a camera setting called Bulb Mode. Bulb mode keeps the shutter open as long as the trigger is pressed. Pressing the camera trigger for minutes will lead to a blurry image. This means you can use as long of a shutter speed as you want, either it’s 1 second or 10 hours. This allows you to have plenty of time to draw out your pattern.
A shutter release or remote will help you prevent unnecessary movement from clicking the shutter button to take a picture. Just press on the remote or release when you’re ready to capture an image.
Many new cameras such as Canon, Sony, and Nikon have corresponding cell phone applications that turn your smartphone into a remote and shutter release for your camera! This is a great solution that doesn’t cost any money.
3. Press Down to Open the Shutter and Direct your Subject to Paint!
When you are ready to take your shot, press down on your shutter release (whether it be a cable, remote, or phone) and direct your subject to start painting! Or have place down the lights to the necessary places, such as to illuminate a dark building.
4. Close the Shutter When the Painting or Exposure are Done
When you feel that you are done, close the shutter by pressing on the release again and see what comes out as a result.
Conclusion
If this hasn’t motivated you to go out there and play with light painting, then I don’t know what will! Let your creativity shine with this amazing photography technique.