
Where many focus on freezing action perfectly still, others find the art in fluid movement. Long exposure photography has been long used to paint with light, add a mysticism in nature, and expose the darkest of places.
But what is long exposure photography and how do you achieve it? Here is our ultimate guide to long exposure photography!
What is Long Exposure Photography?
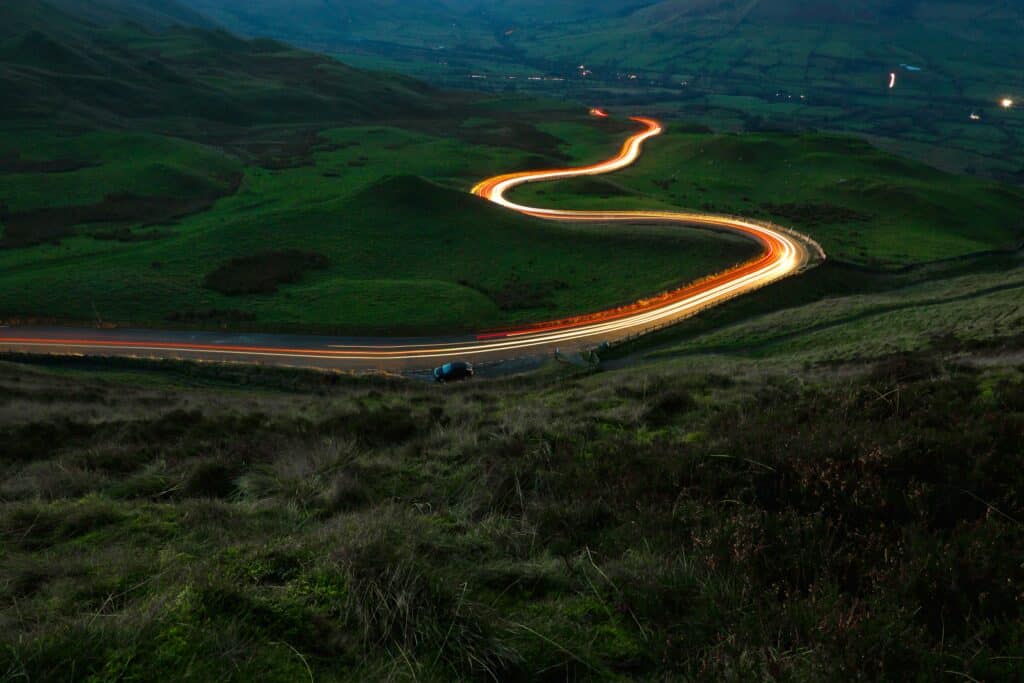
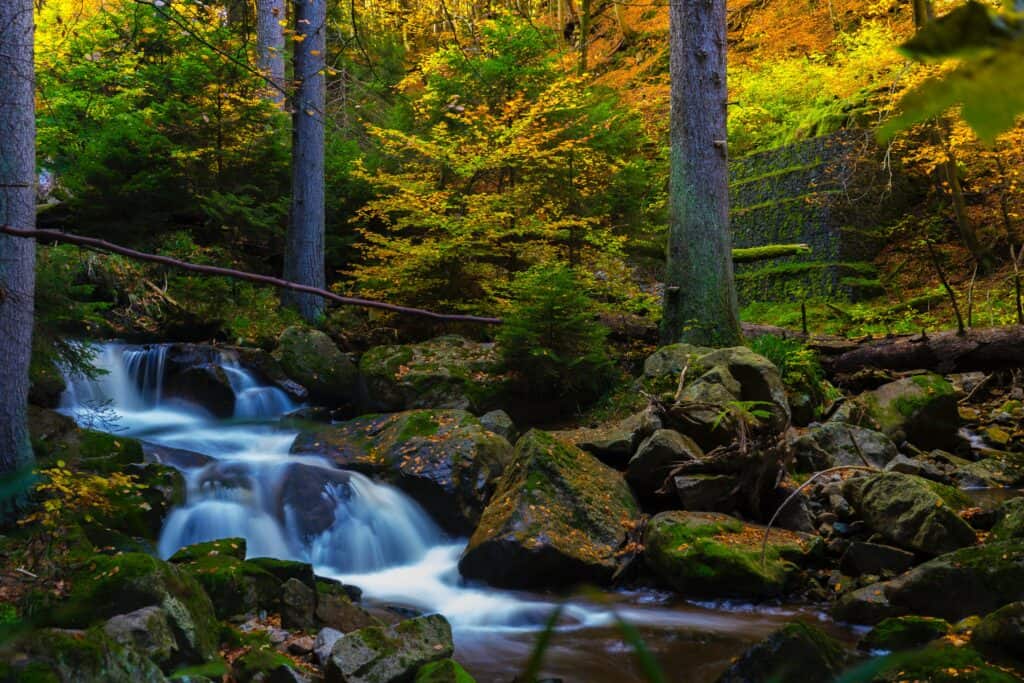
Long exposures are when the shutter is open for a long period of time. This is used to blur movement or obscure elements and create a more artistic-looking image. If you’ve ever seen a photograph of a freeway with light trails or a waterfall with water that looks silky smooth, those are achieved with long exposures!
Long exposure is also referenced to architectural or still life photography in darker settings in which the shutter staying open is intended to properly expose the shot.
Types of Long Exposures
Long exposures are used for a variety of subjects and photography niches. These include…
Landscape
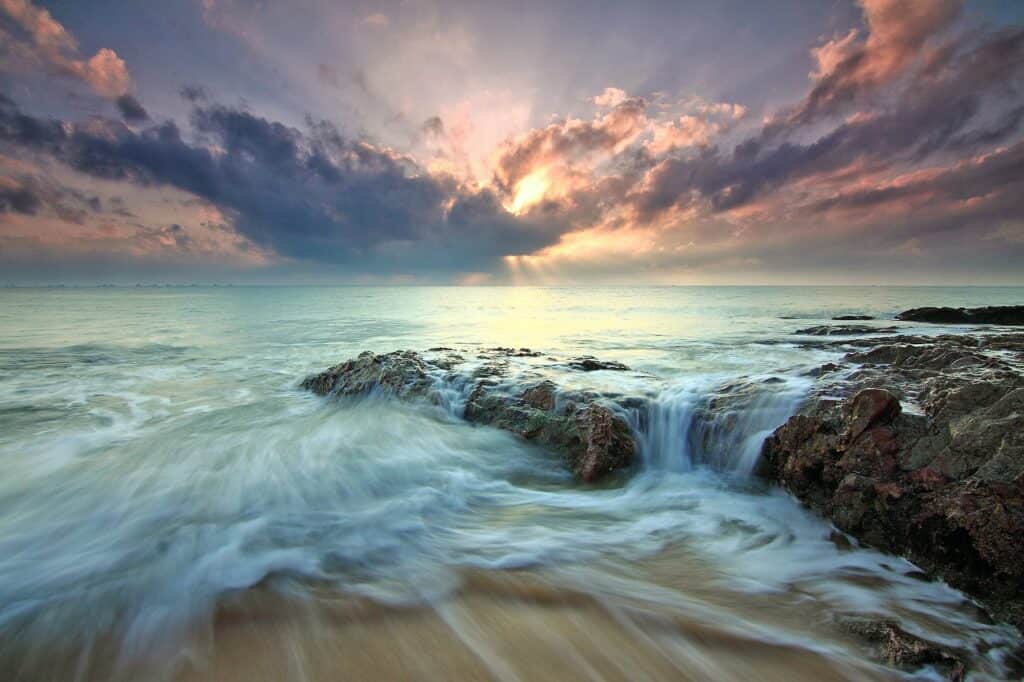
Seascape
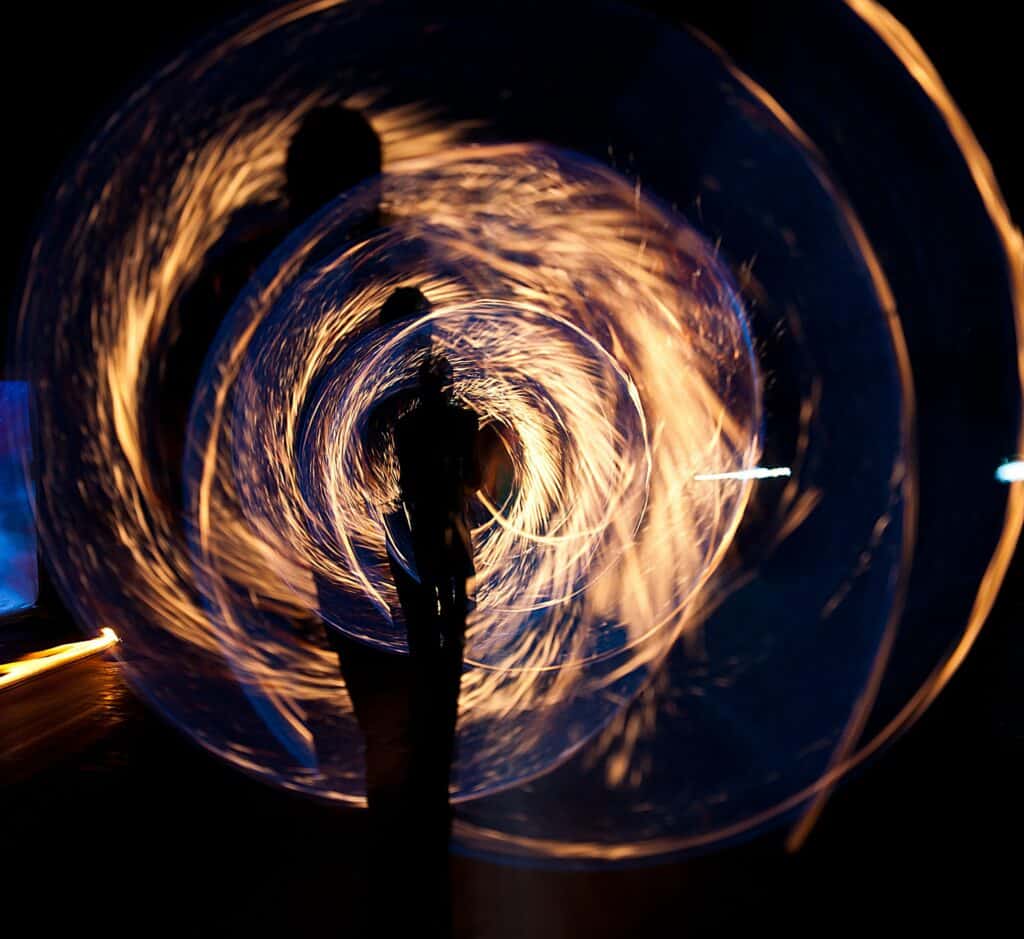
Light Painting
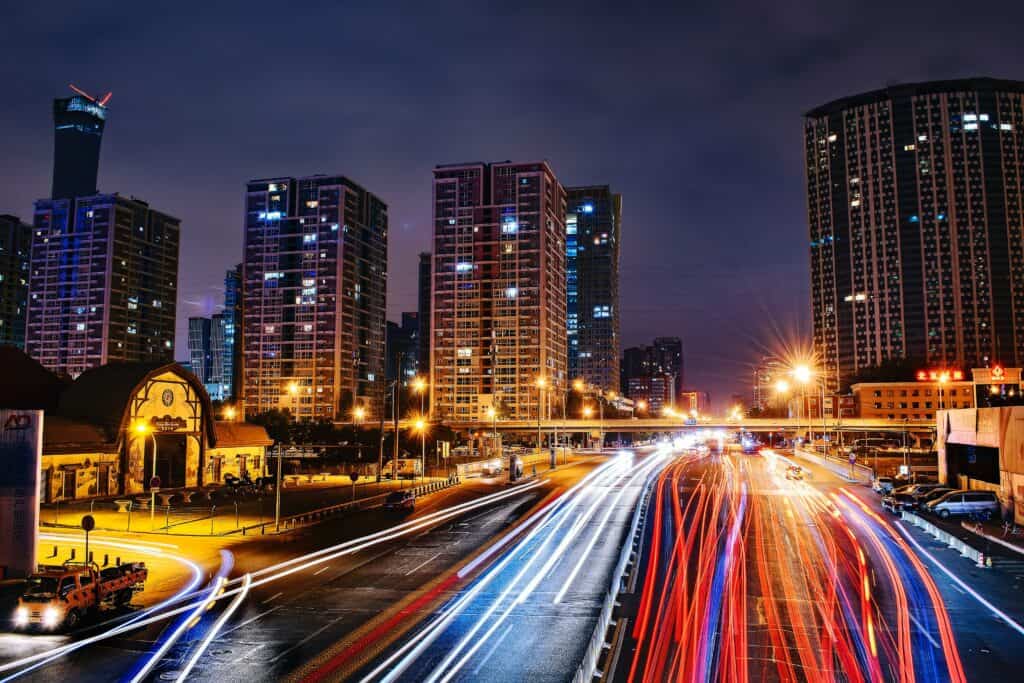
Light Trails
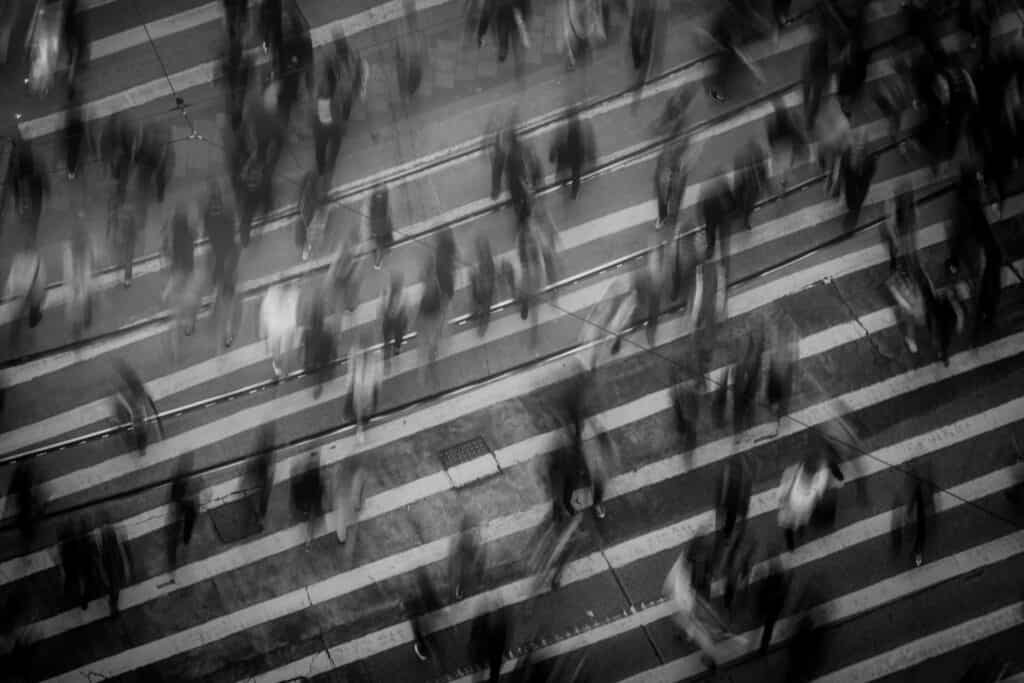
Movement
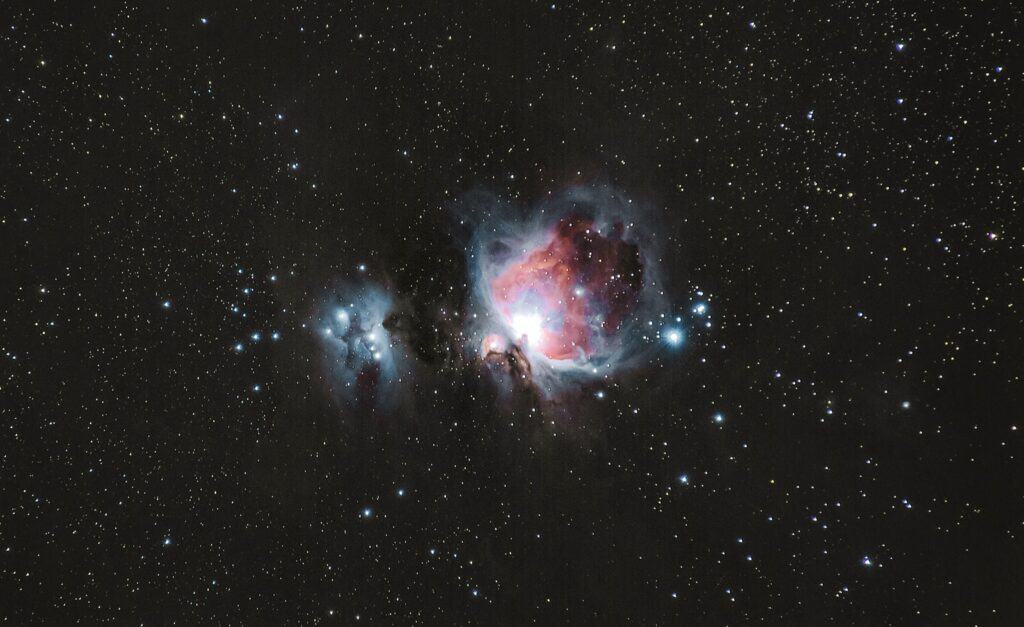
Astrophotography
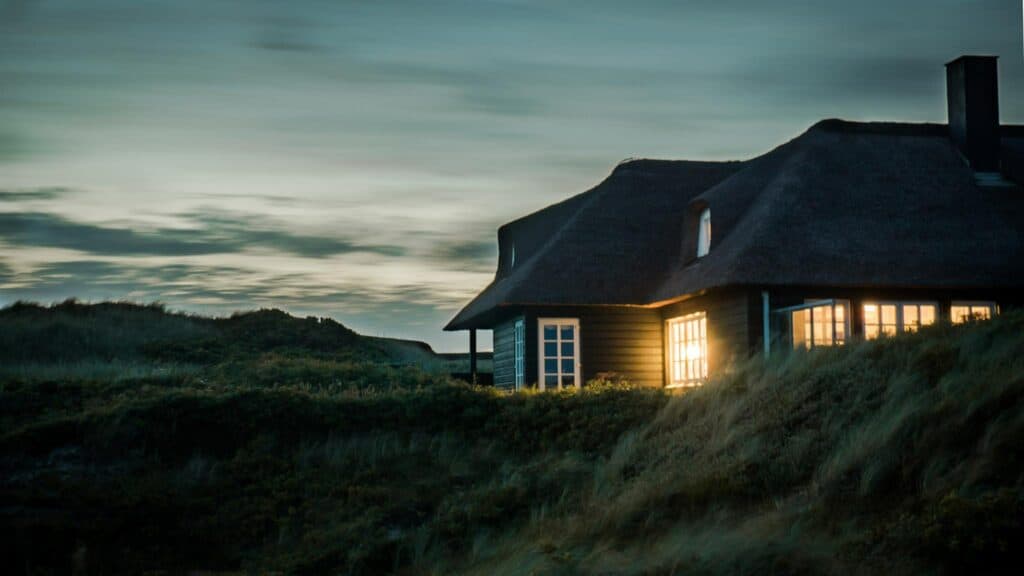
Architecture
Shutter Speed and Long Exposures
In layman terms, shutter speed is how fast your camera can take a picture. The shutter is like a door, it opens and shuts (hence the name). Every time it opens and closes, a picture is taken. The larger the number after the 1/—, such as 1/1000, the faster the shutter moves. The smaller the number, the longer the shutter remains open because it is moving slower.
In the case of long exposures, you want a slow shutter! The longer that the shutter is open, the smoother and more motion blurred the image becomes.
Because the shutter is like a door, it has an unintentional purpose of controlling how much light hits the sensor. The shutter is located right between the lens and the aperture, which is the hole that leads to the sensor. The slower the shutter moves, the more light hits the sensor, and the brighter your image will be.
Long exposures are achieved with shutter speeds of the following:
Landscape (making water look silky): Around 1/60
Speed light trails: Around 1/10” – 1/15”
Night sky: Around 1/20”
The Rest of the Exposure Equation
Exposure is the amount of light that reaches your camera. Too much light and your image will be too bright. Too little, and it’ll be too dark. With slow shutter speeds, your exposure equation will need to be filled out a specific way to compensate for the amount of light coming in to the sensor.
Exposure is a formula: ISO + shutter speed + aperture = exposure.
Like a mathematical formula, if one variable is changed, the rest are affected by the change.
The ISO is your camera’s sensitivity to light. The lower the ISO number, the less sensitive the camera is to light (but the less noise the photograph has). The higher the ISO number, the more sensitive the camera is to light (but the more noise the photograph has).
The aperture controls how much light does (or doesn’t) hit your sensor. The lower the aperture number, the more light the camera lets in. The higher the aperture number, the less light the camera lets in.
Together, these three components keep balancing each other out to create the perfect exposure for your photograph! Because your shutter speed is slow, your ISO will likely be fairly low and your aperture may be narrower depending on the time of day or night you’re capturing images.
Bulb Mode
If you’re capturing extremely dark conditions, you’ll likely want to use a camera that has a function called Bulb Mode. Bulb mode keeps the shutter open as long as the trigger is pressed. Pressing the camera trigger for minutes will lead to a blurry image. This means you can use as long of a shutter speed as you want, either it’s 1 second or 10 hours.
Best Lenses for Long Exposures
Focal length is a description of the lens that tells you what angle of view and magnification you can capture. Angle of view is how much or how little you can see in your picture. For example, a wide field of view will show you more of the frame than a narrow field of view.
Long exposure can be achieved with any focal length lens because the technique has to do with the camera settings. However, it is best to use either a wide angle lens or a standard lens for long exposures.
This is because long exposures work best with wider compositions and frames, this gives a grand sense of movement. Telephoto lenses and lenses that shoot far away subjects up close can be too narrow of a field of view for effective long exposure photography.
Stabilizing Your Equipment and Reducing Camera Shake
With slow shutter speeds comes the very real problem of camera shake. Depending on your slow shutter settings, even the most minor shake can cause a problem. Camera shake describes the blurriness or shakiness you may see in your photograph. This happens for several reasons with slow shutters:
One of which is that the camera is not stable. Camera equipment is heavy and our hands naturally have a tremble to them when holding something heavy. As well as this, vibration can be caused by clicking on the camera’s shutter button in order to capture an image.
The solution for a long exposure is to use a tripod and shutter release.
Tripods are three-legged stands for supporting and holding a camera. They naturally stabilize a camera because it’s on an inanimate object! You can use a remote to operate the camera for even more stability.
Invest in a good tripod that is sturdy and durable! Make sure that when you set up your camera and tripod, the height is adjusted by the tripod’s legs, not the height of the center column. For maximum camera stability, keep the center column as low as you can.
Next, a shutter release or remote will help you prevent unnecessary movement from clicking the shutter button to take a picture. Just press on the remote or release when you’re ready to capture an image.
Many new cameras such as Canon, Sony, and Nikon have corresponding cell phone applications that turn your smartphone into a remote and shutter release for your camera! This is a great solution that doesn’t cost any money.
Long Exposures in the Night Time
The darker light is really conducive to long exposure photography. Because the shutter will be open for so long, the sensor will fill with light, and to prevent an image from being overexposed- you really want a darker location. As such, the night is perfect for this.
How to capture long exposures at night really depend on what exactly you’re photographing. If you’re capturing the night sky, place the camera on a tripod, set it to Bulb mode, and use a shutter release to hold the shutter open and then close it.
If you’re capturing light trails such as those created by cars, place the camera on a tripod and set the shutter speed to 1/10” – 1/15”, depending on how much light there is.
That’s all there is to it!
Long Exposures in the Day Time
If you drool over those silky waterfalls and gorgeous seascapes, you’re probably wondering how to do that when it’s not night time. We’ve already established that slow shutter speeds equal a light image, so it may seem improbable to use this technique on a sunny day or during brighter outdoor conditions.
There is a solution! You can put a Neutral Density, or ND, filter onto your lens.
Neutral density filters darken the frame so that you can photograph in really bright conditions. If you have to contend with the bright afternoon sun, you’ll want to place a neutral density filter on your lens. This is because the slower shutter speed will still overexpose your frame even when using the narrow apertures and the least sensitive ISO because too much light is entering the lens. But with a neutral density filter, you have the ability to modify how much light enters your camera and make your frame much darker.
You’ll use the same exact technique as for night time long exposures, but just with the addition of an ND filter.
How To Nail the Focus
Focus can be a bit tricky for long exposure photography.
For night time long exposures, the camera and lens rely on light to figure out where the subject is (and effectively lock onto it). With a lack of light, the camera may have a tendency to ‘hunt’ (consistently pull focus in and out as it searches for a subject).
This can happen easily with day time long exposures if you’re using an ND filter that darkens the frame too much, to the point where the camera starts acting as if you are shooting at night.
Because long exposures tend to be used more on subjects who will not be changing their position too drastically, manual focus will be your best friend!
Manual focus allows you to set the focus yourself based on what would work best! Manual focus is when you lock on to a subject by hand. You find focus by turning the focus barrel ring until the subject is nice and clear in your viewfinder.
Conclusion
In conclusion, long exposure photography is equally eye-catching and ‘wow’ as frozen action. Take these tips with you to your next scenic water-oriented landscape or astrophotography session and have a great time!