
Concert photography is a very exciting and appealing genre. Musicians, magazines, fans, and record labels alike turn to skilled concert photographers to tell a story for the momentous performance. Concert photographers are often on assignment for a publication that has sent them out to capture meaningful pictures that could very well go down in music history.
Otherwise, music photographers are individually hired by the performing artists.
Whatever brings you to the photo pit, for most music photographers there is less than ten minutes to capture enough great images to populate a full gallery. Partner this with tumultuous circumstances such as sporadic lighting and an excitable audience and you have effectively created a photographic situation that is unlike any other.
However, where some find this something to be afraid of, others crave the excitement! Here are our 10 tips for photography concerts to help make sure that all of your concert shoots are successful ones.
Tips for Photographing Concerts
Here are 10 key tips to take with you into the photo pit at your next show!
1. Your Equipment
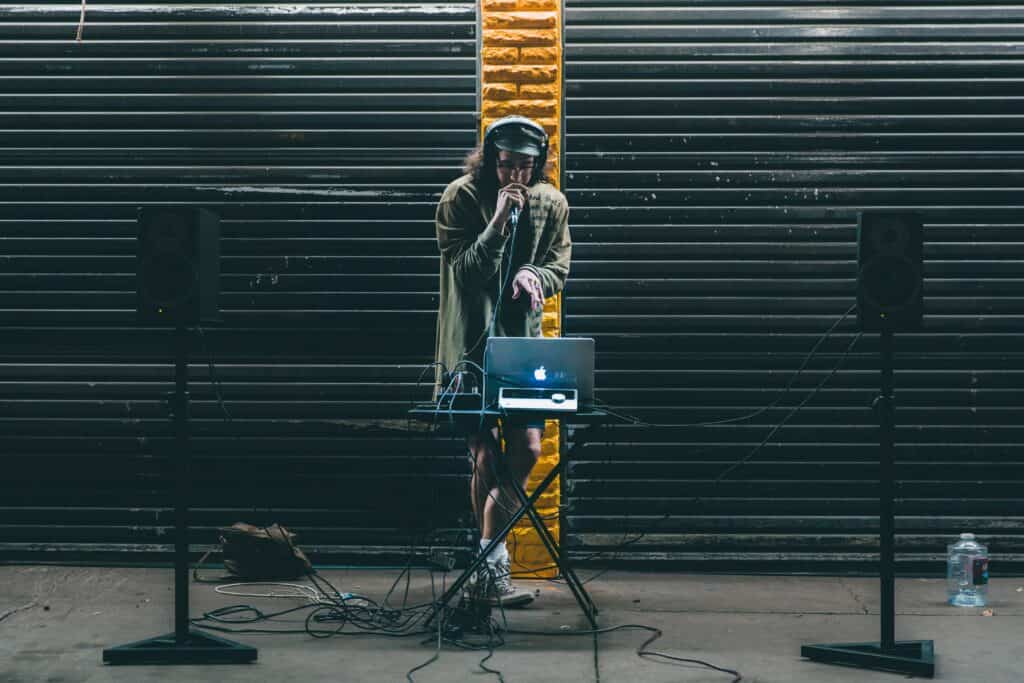
Speaking in generals, concerts are a low light sports situation. This is one of the few photography niches in which equipment plays a major role.
For the most part, you will be very limited on your lighting and working with colored bulbs that are considered difficult as they wash the subject with color.
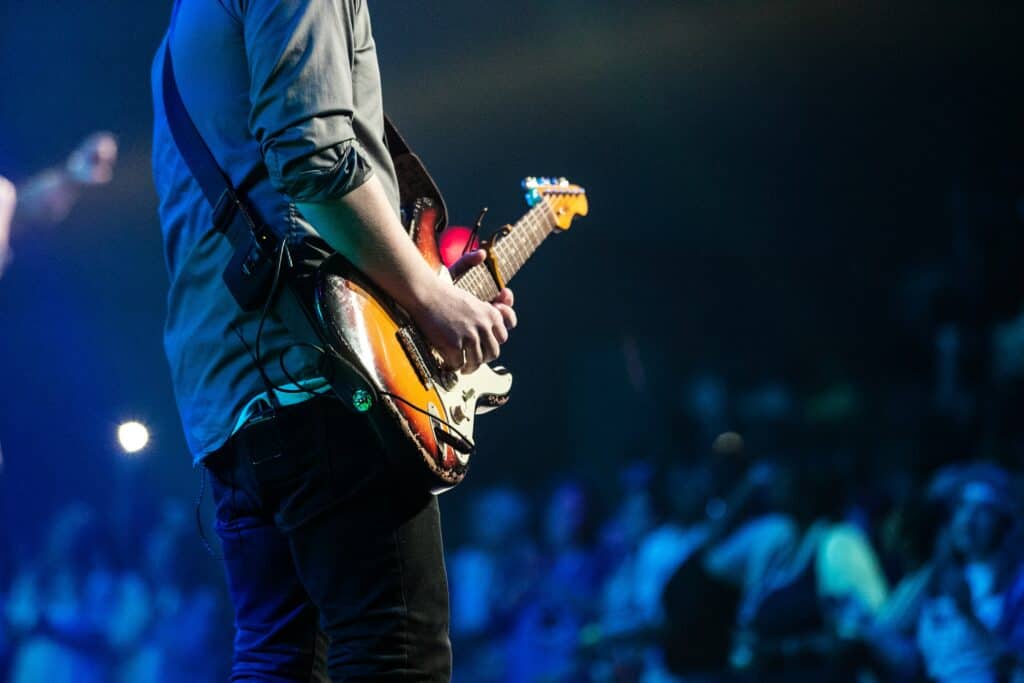
Live concerts are also high-energy and filled with action which makes it akin to sport (or action) shooting. Keeping this in mind, it is safe to assume that you need a lens that can handle low light and a camera that can keep up with the action.
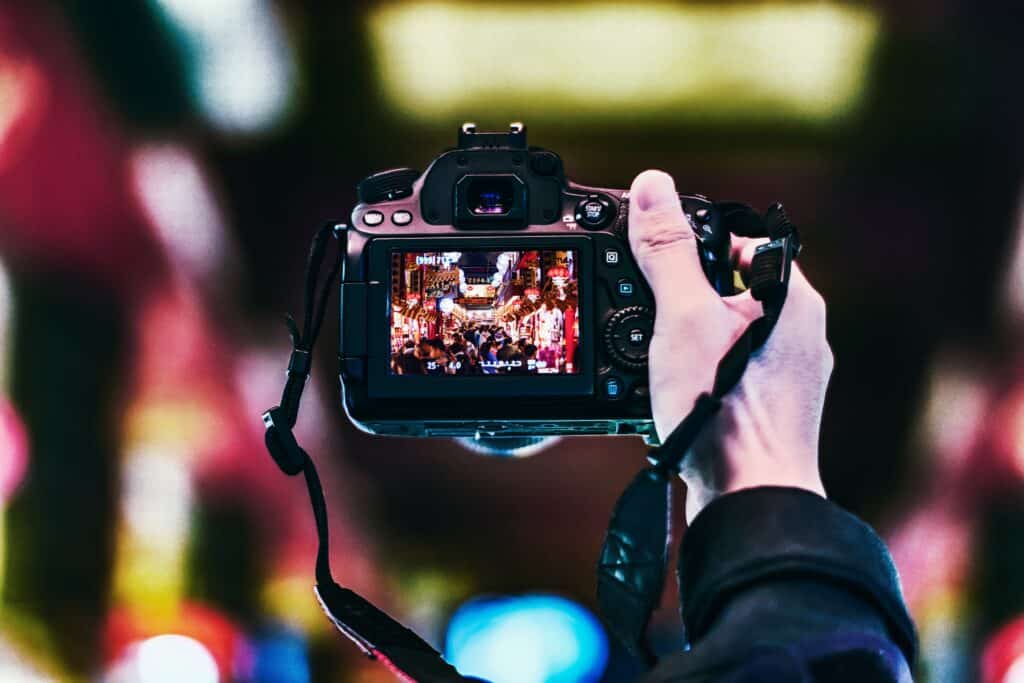
The Camera
The camera you’re going to want to is one that does well in low light. There are other factors that also matter, such as megapixel number and speed, but low light capability is most important for this line of work.
Look for models that have less noise at higher ISO levels and sensitive sensors that do well in difficult lighting situations. With the internet at your disposal, compare low light abilities of several models before settling on one.
Higher megapixel count picks up much more detail than lower megapixel counts, and this detail can make a difference when you look at the finished images.
The Lens
Since we are shooting in low light, it is highly suggested only looking at lenses with a maximum width f/stop of 2.8. Lower is even better. If you want to take a well exposed photo in low light, you need a lens with a wide enough aperture to let in more light. Using a lens that goes down to f/1.8, for example, is a great way to let enough light in and make the frame bright. Remember, the aperture is the hole the light passes through in your lens. The wider the aperture, the more light that enters the camera.
You also want to purchase a lens that has Image Stabilization in it. Image stabilization will ensure that a slow shutter speed won’t be affected by your hand shaking.
2. Understand Your Skill Level With Photo Editing
If you know what you are capable of fixing in editing programs, you can better capture live concert photographs.
What retouching programs do you own? How well do you know how to use them? How much time do you have to learn new editing techniques? All of this can factor into the types of photographs you take. What I am meaning to say with this is, if you know what you can fix, you can set up certain types of shots that can be considerably difficult to capture without some editing help.
For example, if you can fix dark blue light, you can take photographs with that lighting situation without worry. Otherwise, it might be smarter to wait for the lighting to be closer to what you are good at editing, such as white or green.
Remember that shooting in RAW mode gives you much more editing capability later on. This is because RAW helps save many blown out highlights or underexposed shadows due to the image not being compressed (and still having some detail saved!).
3. Be Well Versed on the Required Etiquette
Concert photography, music photography, event photography are all types of photography that are very community-oriented. Being granted access comes with a list of rules and etiquette that must be respected. If these are not complied with, you may end up blacklisted and ruin any future chance of receiving photo passes.
Most concert photographers are either granted photography access via a publication or outlet as an assignment, or hired individually by the performing artist or venue. The rules do change a bit depending on the kind of photography permission pass you have acquired, but the etiquette often remains the same. For example, a photo pass given to a publication often restricts access or constrains your shooting time, while a photography pass from the artist as a worker gives you more free reign. Be sure to listen to the shooting protocol given to you by the source from which you acquired your pass.
Now, on to the rules:
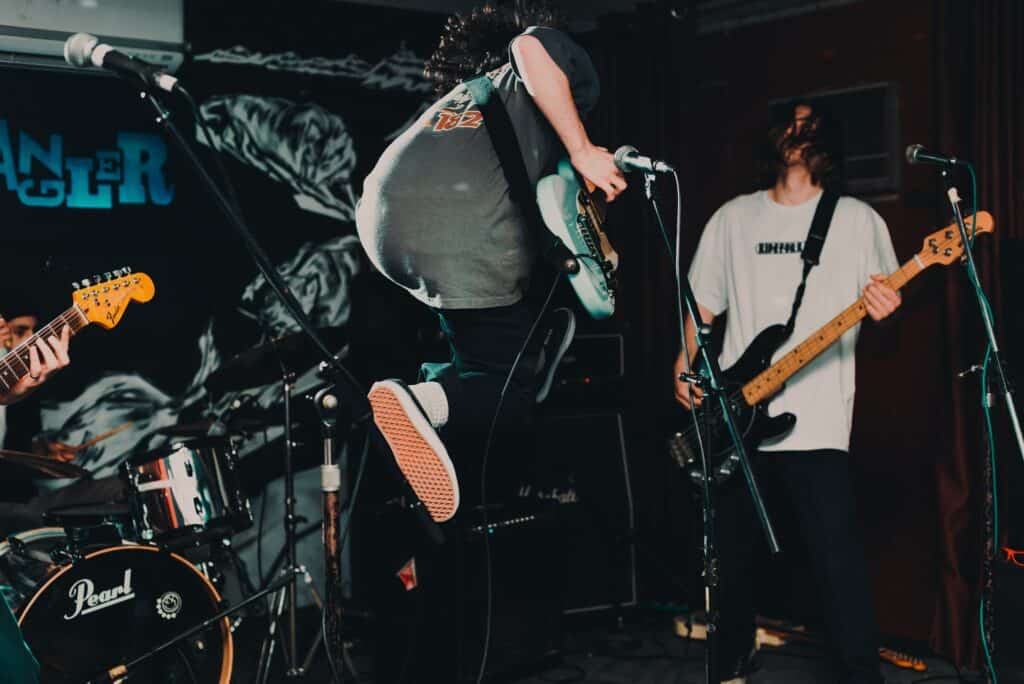
- First three songs only. Unless you have an All Access Pass, you will likely be restricted to photographing the first three songs only. This is venue and show dependent, but do be prepared to have less than ten minutes to capture an entire gallery of images. This rule is set in place to ensure that the paying audience doesn’t have photographers bouncing in their line of sight for hours, allowing the performers to not have to worry about photographers at their feet for each song, and letting security do their jobs (because the photo pit is also what security uses to move around freely to do their job). After your three songs are up, that’s it- don’t try to be “that guy” and sneak extra shots in.
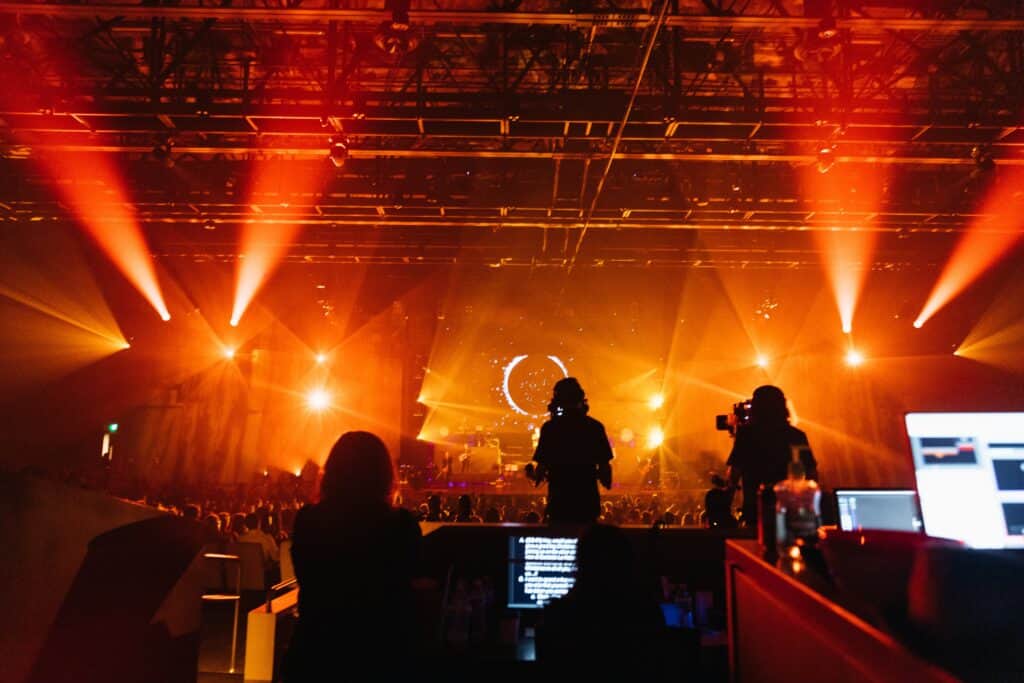
- Photograph from the photo pit only, unless granted permission to shoot from the crowd. The photo pit is a barricaded section at the very front of the stage, intended for security and photographers only. More often than not, you are disallowed from shooting outside of this pit.
- No flash. Flash is not allowed in most venues, and for the right reason. Not only will flash not illuminate your shooting field as much as you’d like because there won’t be much for it to bounce off of, but it also makes for a blinding obstacle. The stage performers will not appreciate a flashing light in their eyes when they’re trying to play music, and neither will the fans.
- Do not carry bulk camera bags and cases, hide the carrying case when shooting. The photo pit is a very limited space, and there must be enough room for photographers to get around one another, for security to travel back and forth, and for you to be able to move without being stuck. If you have a heavy and large backpack over your shoulders or a suitcase at your side, you are impeding the flow of the pit and preventing everyone from moving around. Most photo pit barricades have a space underneath them where you can stow your belongings until you are doing photographing- use it!
- Do not shoot over your head. It may be tempting to throw the camera over your head and use live view to capture photographs, but others will find this choice rather annoying (for lack of a better word). Doing this obstructs shooting vantage points and views.
- Listen to the security, the guards have the final say. Their job is to keep you safe, keep the performers protected, and keep the crowd unharmed. As such, if the security is cutting your shooting time short or asking you not to do something, you need to comply.
- Don’t sneak around. Don’t be “that guy” and try to sneak photographs when you’re not supposed to or slink your way backstage. That negative reputation will impact your career tremendously, as well as whoever you are photographing for.
4. Start on the Outer Edges and Work In
Whether you’re in a photo pit or just in the main venue floor, your position to begin the concert shoot can significantly affect your success for the rest of the shoot. Keeping in mind that for most general photography passes your time is limited, you need to be ready to jump right into the shoot the very second the music hits your ears.
Start on the outer edges of the pit or venue and work your way to the middle. It is a common temptation to run to the center and shoot from there first. The center is actually one of the worst places to begin photographing for several reasons.
For starters, the dead center is not very flattering if the musician is positioned to sing there. No one wants to look up a musician’s nose, and finding another position is difficult from that vantage point. When you start from the edge, keeping portrait photography in mind as well, you’ll find significantly more flattering compositions and angles. As the musicians on stage begin to move around, you can begin to move more towards the center.
The second downside to starting in the middle is being limited in photographing the other musicians on the stage. You’ll more than likely have your shooting view of the other band members be blocked by the singer.
The third reason is purely from a logistical standpoint: While the other photographers are all congregating and fighting for the center, you have much more room to move freely on the outer edge. No claustrophobia or movement constriction leads to significantly better images!
5. Be Well Versed on the Concert you are Photographing
We are lucky enough to live in the golden age of technology: With the world at our fingertips, the possibilities are endless. As such, there really is no excuse for not being well-aware of the concert you are about to photograph.
It is always an excellent idea to look up live concert videos, music videos, and the performer’s songs before photographing a show. This allows you to have a good idea of what you’re walking into and aid in pre-planning some of the shots you will be taking. Watching live concert footage and music videos will give you a great idea of the band’s performing style well before stepping into the venue.
Listening to some music helps get the feel for the show, the speed of the playing, and the approximate length of most of the music (so you can estimate the time you have for three songs, if you are operating under a normal photo pass). The more knowledge you have in your tool belt, the more successful your concert photo shoot.
6. Always be Prepared for the Unexpected
With tip number five in mind, still be prepared for everything to be different. As photographers, part of the job is being ready for the unexpected. A lot of this preparation really does come with experience over time, but do keep in mind that something unforeseen might happen and do what you can for yourself to prepare for it. Practice being quick with your settings and have enough room to be flexible with whatever the show throws at you, you’ll thank yourself!
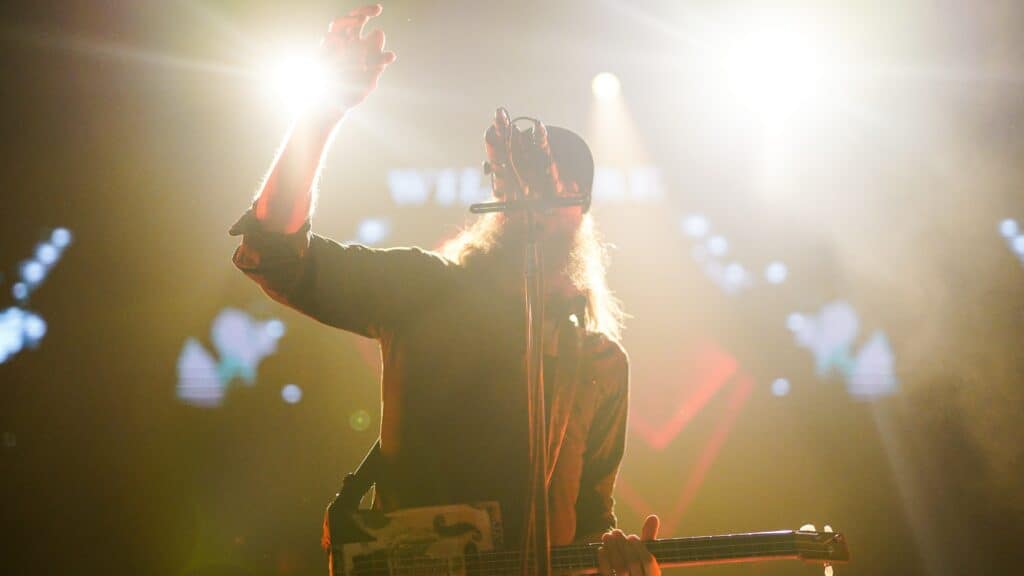
7. Understand Lighting
Having a good grip on lighting will aid you in your concert photography journey. Stage lighting can change a lot between shows (even on the same tour) and venues. The lighting can range drastically from dark to very light. Understanding how lighting is photographed by your camera, how it reflects on the instruments and equipment, and how the bulbs affect the performer’s skin tones will change how you take the photograph.
Here are some common lights that you will probably encounter:
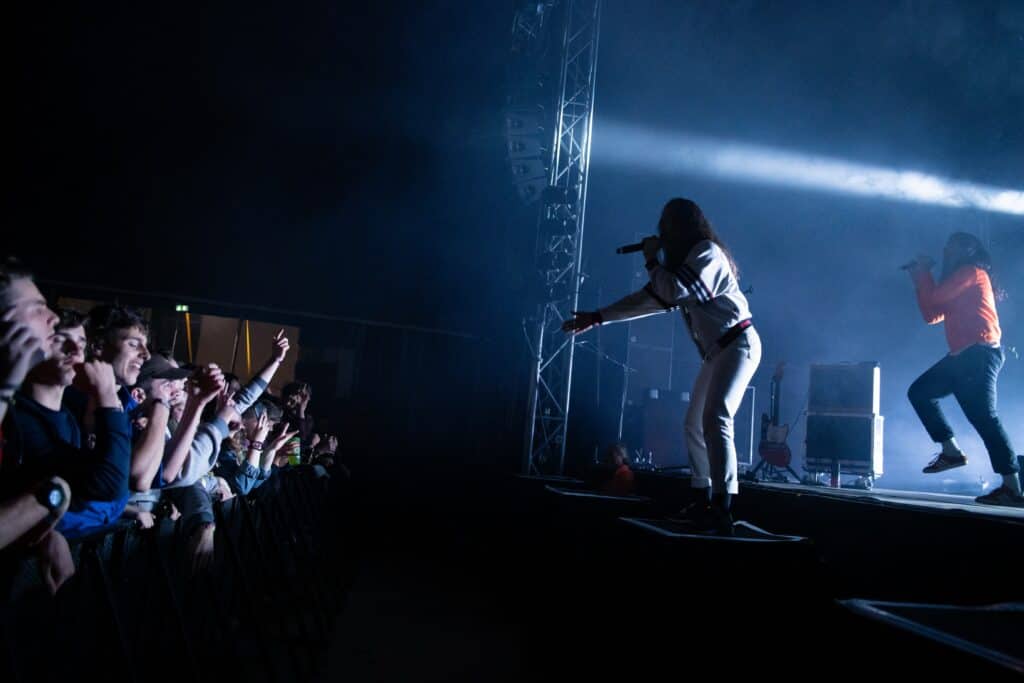
- Strobes. Strobes on stage are flashing white lights. These lights are some of the most difficult to photograph in, because the lights are flashing and white light is notoriously easy to overexpose. The best way to shoot through this is to try and synchronize your shutter with the flashing light (when the shutter is set to burst mode). Hold your shutter down at the first flash of light.

- Blue, Purple, or Green Light. These colors can come out dark on camera because the exposure meter will tell you to shoot darker, so be sure to raise your ISO or lower your shutter a bit for these. However, if you go too light, you’ll lose a lot of details in the skin!
- Orange and Yellow Light. This light mimics sunny or golden hour lighting when shooting outdoors, and is the easiest to photograph. You have a lot of opportunity to raise your shutter fairly high and freeze the action.
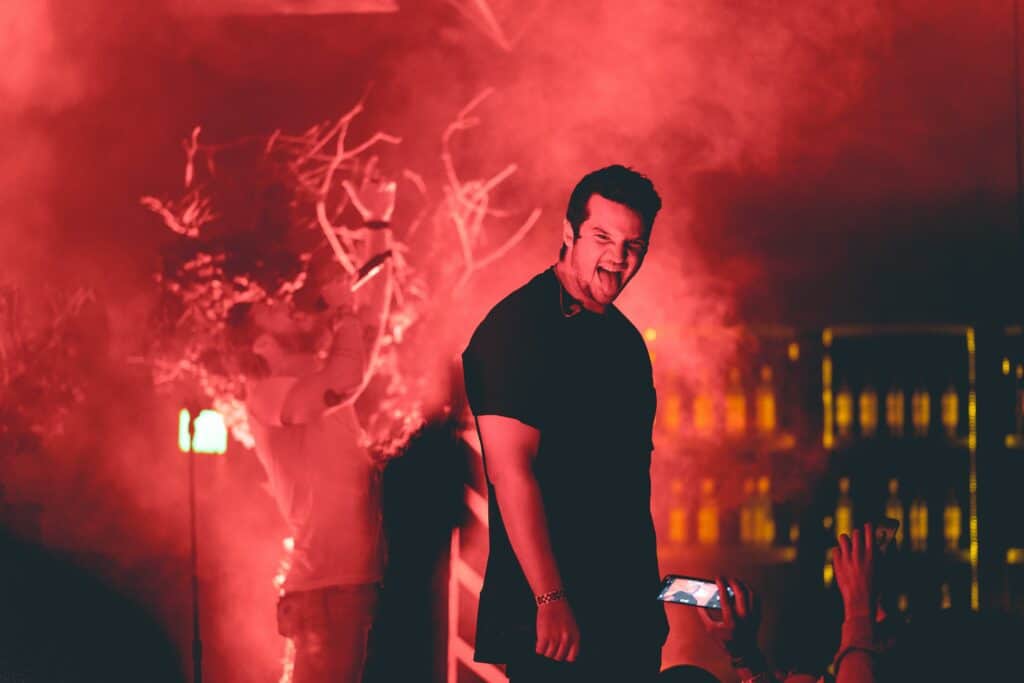
- Red Light. The big difficulty of red light is that it is dark to shoot and tends to destroy details. However, red light can also make a very dramatic and moody image if that is what you’re going for, and looks pretty good when converted to black and white.
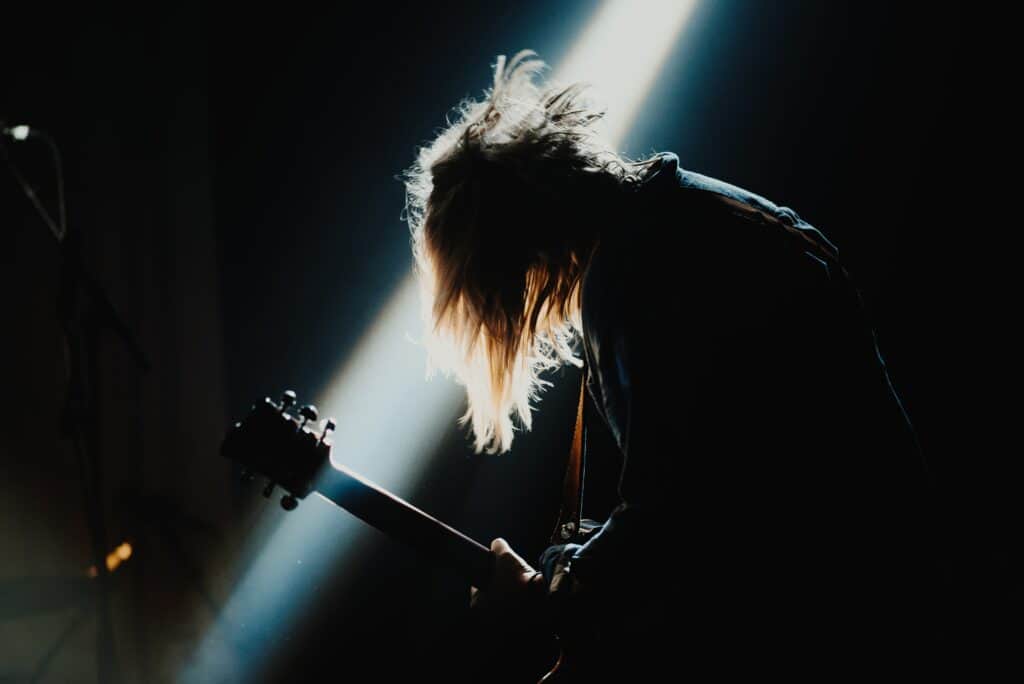
- Back light. Back lighting is when either of the lights mentioned above are set behind the performers. This light tends to blow out the background and darken the front. Decide which is more important to light for you, and stick to that!
- Front Light. This is lighting that is set in front of the performer, typically fairly low to the ground. This lighting is the easiest to shoot in terms of exposure, but be sure to be aware of your shooting vantage point. Front lighting can create unflattering shadows on the performers, so keep in mind that you’ll have to work around that.
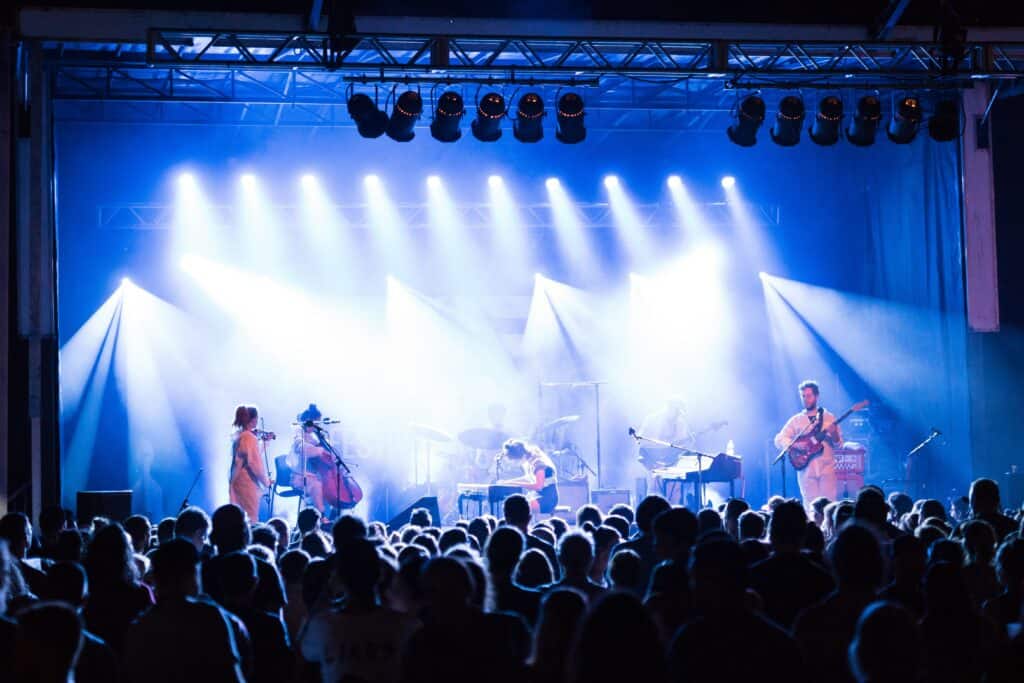
- Spot Light. Spot lighting is lighting from the top of the stage that beams down on a performer. The best and most ideal lighting situation, photograph this like you would portraits outdoors as the lighting will be very even.
8. Get Ready Capturing Motion in Low Light
You may find that your settings look a bit strange depending on the conditions of the venue you are shooting in. For concerts, some dive bars have extremely little light to the point where going to a high shutter speed isn’t possible.
You can remedy this by really taking advantage of Burst Mode and a steady grip on your equipment.
Slow shutter speeds are affected by camera shake, such as your hands trembling under the weight of the equipment. But holding your camera properly and keeping your elbows in, you’ve turned your body into a stable tripod. Also activate Image Stabilization for extra shake protection.
Next, focus on the subject and fire off as many images as your FPS allows you to! Try to follow the subject with minor movements, nothing big and rapid. It’s okay to capture your subject with a bit of a wider lens and then zoom in when you’re editing.
At least some of the images will be perfectly frozen and in focus if you do the above!
9. Be Very Aware of your Surroundings
For your safety, be absolutely aware of your surroundings. It is easy to get lost in the moment and fall into a creative bliss when shooting, but a live music event is not the place to lose yourself.
If you’re not growing eyes in the back of your head, you’ll most likely get hit and badly injured by a crowd surfer, tangled in a microphone code, or smacked by a flying guitar. As well as this, pickpockets have been known to pursue venues.
Some photographers place their camera bags down on the barricade bench without thinking, and get all sorts of gear stolen in the process. Make sure you know where everything is at all times- both your equipment, and all of the environmental elements around you.
10. The Moment is More Important than Technical Accuracy
Over time, photographers that want to pursue this career for a living get very anxious over technical accuracy in images. However, some niches such as event photography are not as fussed over technical mistakes as long as the moment captured is important. There should be a fine balance between taking a good photograph by technique and taking a good photograph by design.
However, if you have to choose between capturing a fantastic story and ensuring equipment perfection, pick the story. Many wonderful images are looked over because the focus is too set on ensuring that an image is tack sharp rather than what the subject portrays.
Of course, this isn’t meant to be interpreted as disregarding technical proficiency, you should aim to take exceptional photographs- but don’t get lost in your pursuit and forget your purpose for photographing the event.
Bonus Tip: Capture the Fans Too

You are there to tell a story and capture a moment as mentioned above, and the fans are just as big a part of that as the musicians themselves. Don’t forget to turn your camera to the crowd and photograph their reaction to the performers on stage. Crowd shots are used just as frequently as rock star imagery, just look at music festivals!
Conclusion
In conclusion, live event photography is incredibly rewarding despite its difficulties. After purchasing the right gear and knowing how to tackle these unique shooting situations, concerts can now have a planned strategy and organization behind them.
With these tips now on your mind, your photography tool belt has expanded exponentially. Go forth and capture some electrifying live concert photographs!