
While the art of amigurumi has been known in Japan for several decades, the craft first started appealing to the masses in other countries, especially in the West, in 2003. Even if the name doesn’t immediately strike you, those that create these sweet crochet or knitted creatures are enamored with them! After spending so long making them, wouldn’t you want to photograph your amigurumi?
Photographing amigurumi is akin to capturing still life, but with a bit more of a story. You see, amigurumi represents something that could be real or alive, and as such, it wants to be portrayed as such in photography!
What is Amigurumi?
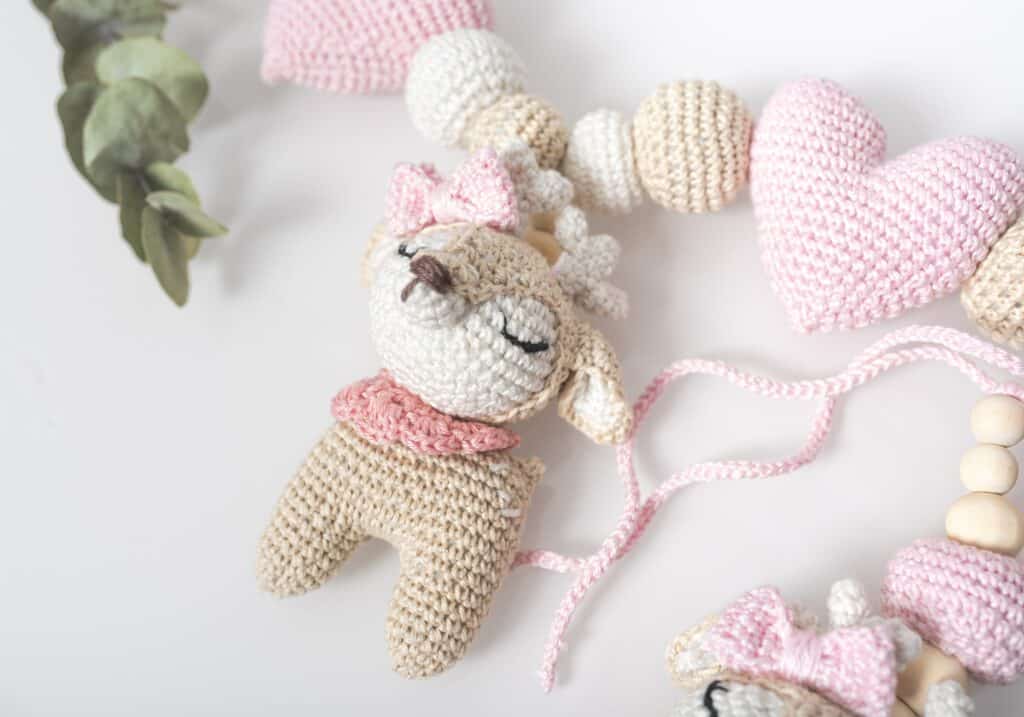
You may not have heard the term amigurumi, but you have certainly seen it before! Amigurumi is “the Japanese art of knitting or crocheting small, stuffed yarn creatures. Amigurumi vary in size and there are no restrictions about size or look.” These little creatures are often used as decorations or toys for children, representing a variety of animals, anthropomorphic creatures, fantasy, and even people.
Amigurumi is often shown as whimsical, cute, soft, and innocent in photography.
Do You Need Special Equipment?
In reality, no. It depends upon what you desire to get out of the shot.
For cameras, as this is still life, the body itself is less important than the lens. The body will be able to handle most of what you throw at it, so your investment shouldn’t be tossed at that. The lens is the important factor here.
The lens is what gives your image its final appearance. The optics you are using will affect perspective, field of view, and the depth of field. All lenses can work for this, but the lens you want depends on how you want to capture your crochet doll photographs.
If you want a shallow depth of field, look for lenses that are at minimum F/2.8, with anything wider (lower number) even better!
That being said, standard lenses are the most commonly used with amigurumi (as well as other types of still life). Standard lenses are amongst the easiest lenses to use because they feature no distortion (the glass is flat). Standard lenses are the closest to the human eye and what you see, which makes these millimeters popular choices for new photographers (much easier to photograph when you don’t need to account for perspective distortion problems).
Standard lenses are lenses with a focal length range of 35mm all the way to 70mm. The most popular is the 24-70mm F/2.8.
First Step: Location, Lighting, and Setting the Scene
The first step is deciding upon a location, the light, and setting up the scene.
For starters, natural light works best! Natural light is preferred because it brings out an organic feel and beautiful colors. If you are indoors, try placing your amigurumi in front of a window! White thin curtains act as a great diffuser for the light. If you’re looking to stage the scene outdoors, aim for indirect sunlight spots- such as shadowed areas or during an overcast day. Clouds act like a diffuser on the sun, softening the light and making it more even. Direct sunlight is harsh and can create unflattering shadows.
Photographing your crochet friends during the golden hour is also a great idea due to the beautiful even lighting produced at that time. The golden hour includes the first hour after sunrise and the last hour of light before sunset. It is named as such because the sun being parallel to the camera creates a glow of gold light that washes over the image.
If natural light isn’t an option, studio lighting is a great solution. Grab a continuous light softbox (a studio light that does not flash) and place it directly overhead. That will do the same as a beautiful even daytime light.
As for the location and scene, imagine a story. You are breathing brand new life into amigurumi and placing the toy into a world. Imagine the props, the action, and the adventure! Be creative!
Second Step: Vantage Point
The next one is deciding upon the vantage point. Vantage point is the perspective at which you see. With photography, vantage point refers to the perspective you take a photograph at (so, it’s what your lens sees!). Your vantage point is what really makes a difference in miniature photography.
Eye level vantage point is when you capture from the ‘eye level’ of your subject. Even if the subject is not alive, per say, this still applies. Amigurumi mimics a living creature, as such, try to photograph from the toy’s eye level. This is a dynamic perspective that creates a lot of empathy between the viewer of the photography and the subject in the photograph. This is the most common perspective for amigurumi photography.
Third Step: Settings
Third is the settings, because once you get your location and idea together, you know what light is available to work with. Since amigurumi is still life and won’t run from you, there is a lot of leisure in the settings in regards to getting it just right (without fear of your subject being problematic).
After putting your camera on Manual mode, the main three settings you’ll be adjusting are ISO, Shutter Speed, and Aperture. The exposure equation (the combination of those three) is easiest achieved when a variable is picked as a base line. Remember, exposure is how light, dark, or just right your image is and that is created by the combination of ISO, Shutter Speed, and Aperture.
For amigurumi, it is suggested to use ISO as the baseline. What remains universal regardless of location is that you want the images to be as crystal clear as possible, which requires minimal noise.
Noise is caused by a high ISO level. The ISO is your camera’s sensitivity to light. The lower the ISO number, the less sensitive the camera is to light (but the less noise the photograph has). The higher the ISO number, the more sensitive the camera is to light (but the more noise the photograph has). Noise are the obnoxious little specks you see in photographs. To keep noise manageable, try to keep the ISO as low as possible.
Since you are capturing a still life, shutter speed doesn’t play a major role as long as the camera is still and steady. The shutter speed is how fast your camera takes the photograph. The higher the shutter speed number, the more frozen the action will be (but the photograph will be darker). The lower the shutter speed number, the more motion blur your photograph will have (but the photograph will be lighter). Adjust the shutter speed to accommodate the ISO setting.
As for aperture, which controls the depth of field, that depends on the kind of shot you are capturing. If you are doing details, a shallow depth of field is best. For full shots, a deeper depth of field works so that you are able to capture all of the details crochet toy. The lower the aperture number, the more light the camera lets in, and the shallower the depth of field. The higher the aperture number, the less light the camera lets in, the deeper the depth of field.
Final Step: Take the Shot!
You know the drill here- ready, set, click!
In conclusion, this should aid you in all of your crochet photography endeavors.