
Natural light is beautiful- it does great things for skin, really creates a great mood, and can be much more flattering than studio lighting in some regards. However, if you’ve ever tried to set up a subject against a window for that halo glow, you may have run into a big ol’ problem- your shot is exposed badly! This is because exposing for window light and the subject cannot necessarily be done in one image without help.
The best ways to photograph against a window include either embracing the natural phenomena that occurs with the light or to have some additional help (such as a studio light).
Why is Photographing Against a Window Difficult?
When your subject is placed directly against a window, you’ll find some trouble in capturing the shot. This all has to do with exposure, and the fact that exposure is extremely difficult in those lighting conditions without the use of either post processing or artificial light.
Exposure is the amount of light that reaches your camera. Too much light and your image will be too bright, called overexposure. Too little, and it’ll be too dark, called underexposure. Good exposure is constituted as an image in which you can see the details and clarity in the shadows, highlights, and midtones. Having one or the other lose its detail is considered a poor exposure.
Exposure is a formula, sometimes demonstrated as a triangle: ISO + shutter speed + aperture = exposure.
Like a mathematical formula, if one variable is changed, the rest are affected by the change. As such, your combination of the above three elements dictates how your image looks.
Instead of exposure being a guessing game, in order to understand what the proper exposure is we rely on a little guide on our camera called the Exposure Meter, also referred to as a Light Meter. This measures the intensity of light, and tells us if our exposure settings are too light, too dark, or just right. Now, if you were to point your camera towards a subject in front of a window, you’ll find that getting the right exposure is a confusing mess.
If you are metering off of the subject, the settings will majorly overexpose you shot, in which the subject may have proper exposure, but everything around will be painted in white with little to no detail.
If you are metering off of the subject, then the window and all around it may be nicely exposed, but your subject will be so dark you won’t be able to see any details on the model!
This is because you cannot expose a backlit subject and the backlighting itself at the same time.
So what do we do? Well, here are a few solutions to the woes…
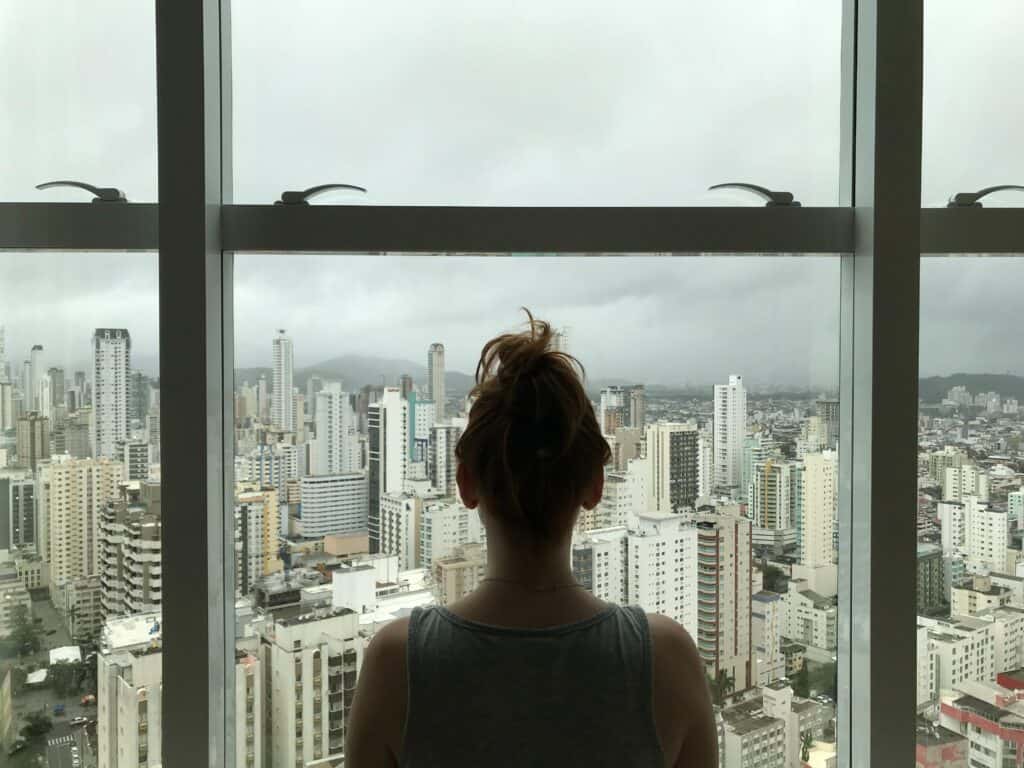
Technique 1: Silhouette

Sometimes, the solution is to embrace the phenomenon that happens! As we mentioned above with exposure, if you expose for the window itself, your subject will be too dark. As a result, your subject will be silhouetted against the light.
This is a very emotive and emotional look that was made popular in photography after a resurgence in the artform hit. Silhouettes came from cutting portraits, generally in profile, from black cards in the mid-18th century, though the term silhouette was seldom used until the early decades of the 19th century, and the tradition has continued under this name into the 21st century. Before the invention of photography (and at times, after), these cutouts were used as a way to memorialize loved ones.
Now, in modern times, the silhouette is a beautiful photography trick that clients tend to love. The only way to achieve one is to ensure the background behind the subject is brighter than the subject itself, which is quite easy to achieve when the subject is placed against a window!
Technique 2: Light and Airy
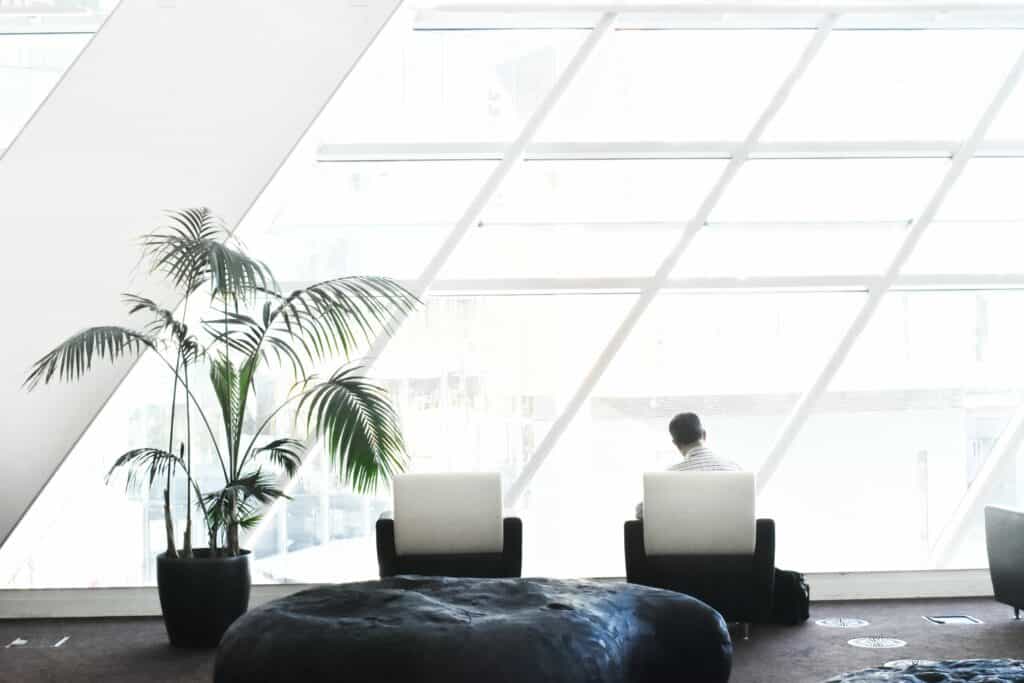
Much like in technique 1, embracing the result can do wonders too. Light and airy is a very popular style in 2020, which includes keeping images feeling fresh and effortless. The characteristics of light and airy include selective overexposure, pastel or bright colors, and lots of light sweeping the frame.
You can achieve the light and airy look by exposing for your subject rather than the window, and allow the background to become blown out a bit. Let the light wash your subject, but make sure there is still just enough contrast so you can make out who your subject is!
Technique 3: Flash | Strobes | Speedlights

Now, if you want to expose the window and the subject at the same time in-camera, you’ll need a bit of help from an artificial light source: a flash or a strobe. A flash, strobe, and speedlight are devices used in photography that burst a powerful bright light.
Although continuous lighting exists (a light that does not flash), it’s often not powerful enough. You need your subject exposed in the same intensity or brightness as the window in order to be able to expose both at the same time! Only a flash, strobe, or speedlight has that power.
Make note that the flashes and such units that we are referring to are external flashes, not the one built into some cameras. External flashes attach to the hot shoe (the little bracket at the very top of your camera) and synchronize with your shutter. They output light when you press down to take a photograph. The one built into the camera is not powerful enough.
Flashes come in two varieties: Manual or TTL. Much like the name implies, Manual flash is when you have to control all of the variables yourself (much like Manual mode on a camera). What this means for a flash is that you have to manually input the distance between yourself and the subject as well as the intensity (brightness or power) of the light output. TTL is a newer type of Flash option. TTL stands for “Through The Lens” and this type of flash is equivalent to the Automatic setting of a camera. TTL flashes calculate the distance between you and the subject as well as the required light power output based on your camera settings. Essentially, the flash figures all of your calculations for you.
For shooting against a window, most recommend TTL as it can do the most accurate calculations on how to expose your subject in tandem with the window lighting.
Now, make note that flashes can reflect off of the window, so when pointing the light, try to get it as solidly on your subject as possible!
Technique 4: High Dynamic Range
Another method of exposing the subject and the window properly is by using High Dynamic Range, or HDR as it is commonly referred to.
Dynamic Range refers to the difference between the darkest parts of your photography and the lightest parts of your photograph. HDR is a composite image in which your darks are exposed perfectly, your lights are exposed perfectly, and your midtones are also (you guessed it) perfect.
To do an HDR, you have to put your camera on a tripod and take three photographs of the same scene: one in which your highlights are exposed well, one for your shadows exposing well, and one neutral shot in which your exposure meter says you are ‘perfect’ (even if it isn’t correct). Then in the editing room, you merge these three photographs together and create a high dynamic range.
You have to make sure your subject is perfectly still in the process, but most cameras have an HDR setting that takes three or more shots at different exposures within seconds!
Technique 5: Post Processing

Finally, if all else fails, use post processing (such as Adobe Lightroom and Adobe Photoshop) to bring the exposure in your highlights, shadows, and midtones back to where they need to be.
In order for this to be effective, you’re going to need to shoot in RAW format. RAW is a file format that is famous for recording completely uncompressed images.
You see, when a photograph gets recorded as a file format, it becomes compressed to fit within that format and you may lose some quality or some forms of editing capability. Basically, RAW contains the direct image data from the camera sensors with no loss of quality and alteration. This stores the fullest details of an image.
RAW is intended for those that edit and manipulate photographs, as the fullest details and the lack of file alteration allows significantly more control over large editing adjustments such as overblown highlights or an underexposed image. This is because you’re able to, in most situations, recover information in the image that would otherwise be lost if it is compressed.
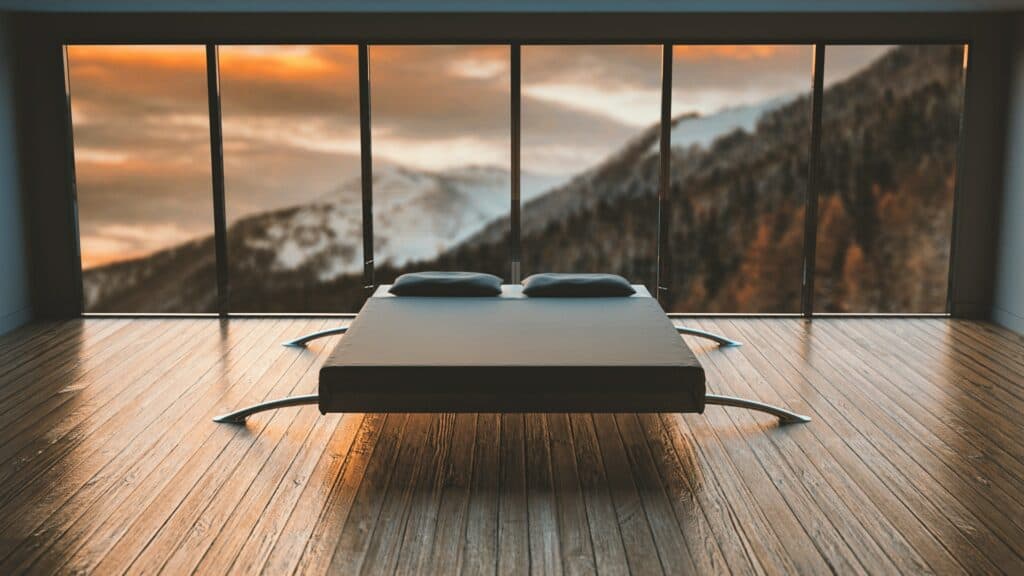
Photographing Using Window Light (Not Against the Window)
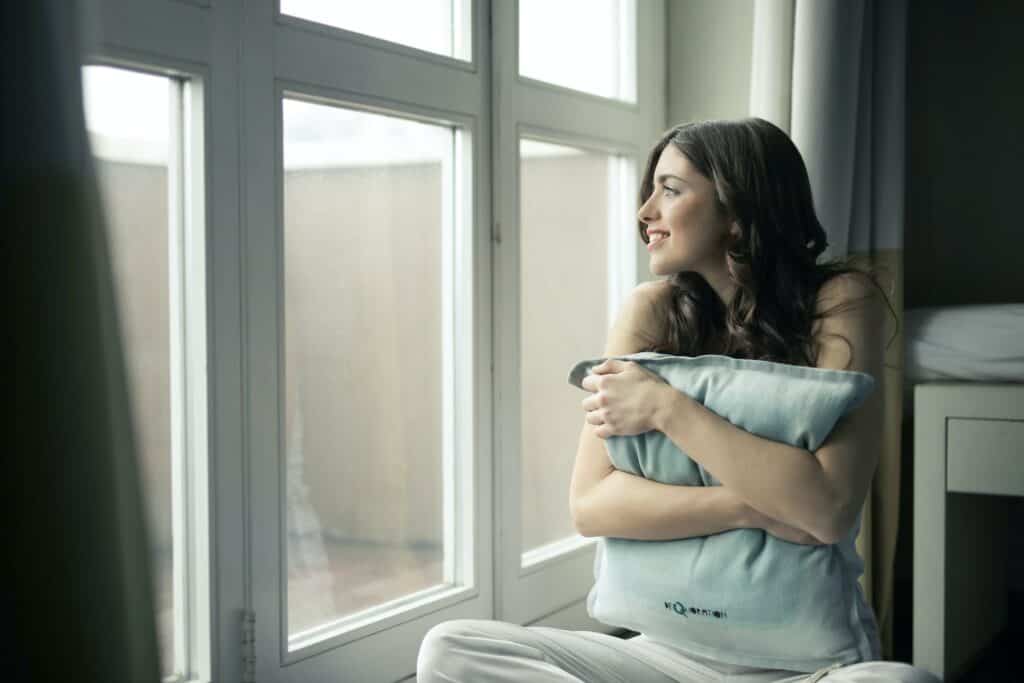
If all of the above fails, use the window light as a way to illuminate your subject without placing the subject in front of the window. Put your model to the side of the window for a soft half-lit glow, or in front of the window for direct beauty lighting! Play around and experiment with what is best.
The time of day also plays a big role in window light- look for times in which the sun is lower on the horizon for a less harsh and more even glow.
In conclusion, using a window in your photography shouldn’t be a headache- with the above ideas, you will master any natural lighting shoot.