
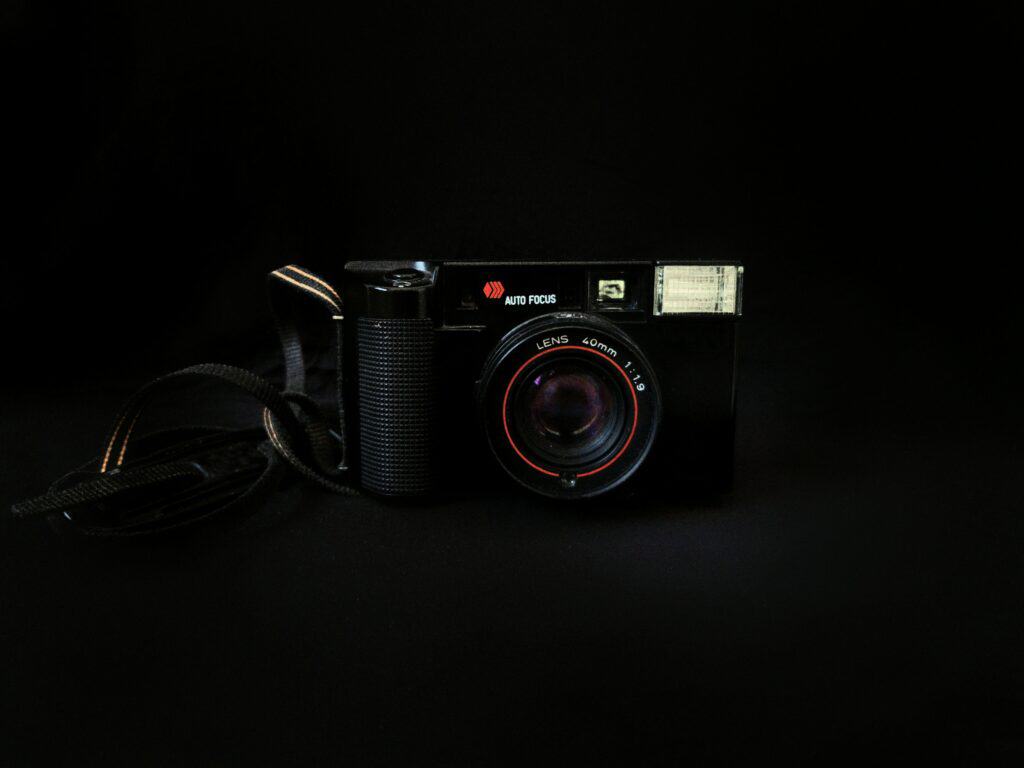
In contrast to white objects, dark objects present their own series of challenges. Dark objects, such as cameras themselves, vases, tables, and other such still life that can be dark in color, emphasize a moodiness that is quite desirable in product photography. However, making sure that the dark object is properly exposed tends to be a bit of a challenge! Here is our guide to capturing dark objects at their finest!
The Complexities of Dark Objects
Each color involves light waves- and each light wave has a different property to it. Dark objects suck up light. Literally. They are so hard to properly expose because the dark aspects of them really do suck in the light and don’t allow a lot of detail to come through! Unlike white objects that are reflective and bounce light around, dark objects disallow the light from traveling.
Equally so, dark objects tend to have a moodier tone to them, so the temptation to capture them on an equally dark background is quite strong with product clients. The challenge becomes being able to allow the dark object to stand out from its surroundings.
Finally, the other caveat with dark objects is they are a magnet for noise. Yup, even if you shoot at an ISO that is pretty reasonable, you may find noise in the dark objects- especially if you attempt to lighten them in post processing.
Overexpose!
The real secret? Overexpose by a stop or two! Remember that exposure dictates whether your image is too dark (underexposed), too bright (overexposed), or just right! Exposure is adjusted by changing the variables of ISO, Shutter Speed, and Aperture. The combination of those three equal exposure.
Because dark objects are noise magnets, it’s a good idea to start your exposure by adjusting the ISO level. As a photographer, all you need to know is that the lower the ISO number, the less ‘sensitive’ the camera is to the light. This means that images will generally turn out a bit darker. The higher the ISO number, the more sensitive the camera is to light. The lower the ISO number, the less noise the photograph has. The higher the ISO number, the more noise the photograph has.
As such, set your ISO to as low as you can afford to go first.
As objects will not magically sprout legs and run away, you can place the camera on a tripod or other stable surface and adjust the other settings to adapt to your ISO of choice.
The shutter speed affects how fast the camera takes an image, and you’ll need to make your shutter fairly slow to accommodate the ISO unless you’re shooting in direct sunlight. The faster the shutter, the more frozen any sort of movement is, the darker the shot. The slower the shutter, the more movement blurs (so take care to ensure your camera is stable and unmoving), but the lighter the image.
The aperture controls the depth of field as well as how much light is able to hit the sensor. If you want the object to be more in focus, you’ll need a narrower depth of field (which makes an image darker). If you want less in focus, you’ll need a shallower depth of field, which makes everything lighter.
Metering Modes
Instead of exposure being a guessing game, in order to understand what the proper exposure is we rely on a little guide on our camera called the Exposure Meter, also referred to as a Light Meter. This measures the intensity of light, and tells us if our exposure settings are too light, too dark, or just right. To tell the light meter how to work, you have to set the metering mode.
For dark objects, it is best to place the metering mode to Spot Metering. Spot metering is where you tell the camera what spot you want to expose for. All you do is point the camera at the object or subject you want to capture exposure for and that’s it! But remember, the exposure is based solely on that one spot and does not consider anything else as a factor. This is great for dark objects because you can meter directly off of how dark the object is and base that for your exposure.
Artificial Lighting, Making Your Object Stand Out, and the Triangle Arrangement
A big goal is to make sure that your dark object stands out- whether you are shooting in a studio setting, outdoors, or in ambient light. If you are capturing in natural light, direct sunlight is best! However, if you find yourself in a studio or indoors… Dark objects are most commonly captured with artificial lighting.
There are different types of artificial lighting to choose from, neither is better nor worse than the other:
Continuous: Light that is always on and does not flash. These can range from LED strips and LED bulbs all the way to tungsten bulbs. These lights tend to have a softer look to them.
Flash/Strobe/Speedlite: A device used in photography that bursts a powerful bright light. This lighting tends to have a sharp and contrasted look to it.
If you’re doing artificial light, you can do the triangle arrangement with three lights. Place one light in front of your subject, and two lights behind the subject on either side. Aim all of the lights towards the subject. The one overhead produces the nice even illumination while the ones on either side create a rim and separation! This is key for dark objects on a dark background.
In conclusion, capturing dark objects should now be a breeze for you. Remember to make sure that the dark object sticks out from the background and is slightly overexposed!