
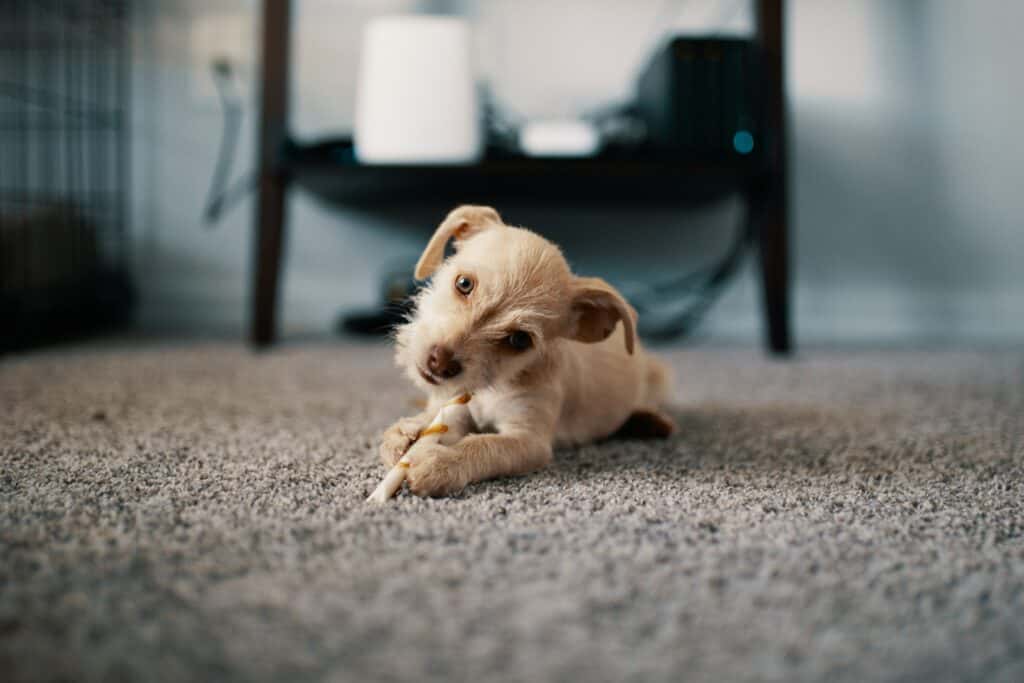
Pets have become human’s greatest companions. It is of no wonder that pet photography is one of the most popular photographic niches, to coincide with animals being notable as one of the biggest profitable industries in the world. So how do we capture great photographs?
We all want to commemorate the beauty, grace, cuteness, silliness, and everlasting love of our four legged companions in our photos of pets, but such a task is not as easy as it seems. The difficulty with photographing animals is our lack of communicative ability with them, and the unpredictable nature of the pet kingdom.
Here are our pet photography tips to ensure you capture their best side every time!
Tip 1: Pack the Essentials!
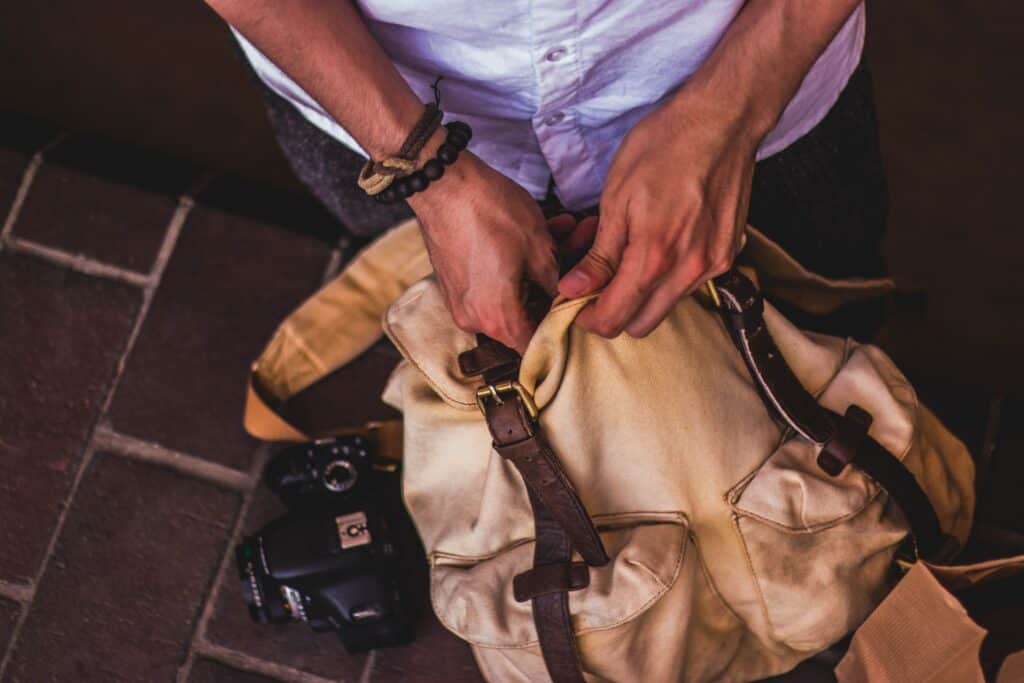
Each photographer has their own specific essentials that they bring to photo shoots. For pet photography, you should always stick to better-safe-than-sorry in regard to what accessories to bring.
Of course, always start with your camera and lens.
Depending on the type of pet photography you do, the camera body will either be low-light oriented or speed oriented.
For those photographers who do a lot of indoor, in-home, or studio sessions with pets will naturally gravitate towards camera bodies that have great low light capability. Regardless of whether you use artificial lighting or not, indoor sessions will very likely result in darker images than outdoor sessions. This is because you’ll have to crank your shutter speed high for animal photography, which results in ISO being pushed up too to compensate for the darker images produced by higher shutter speed numbers.
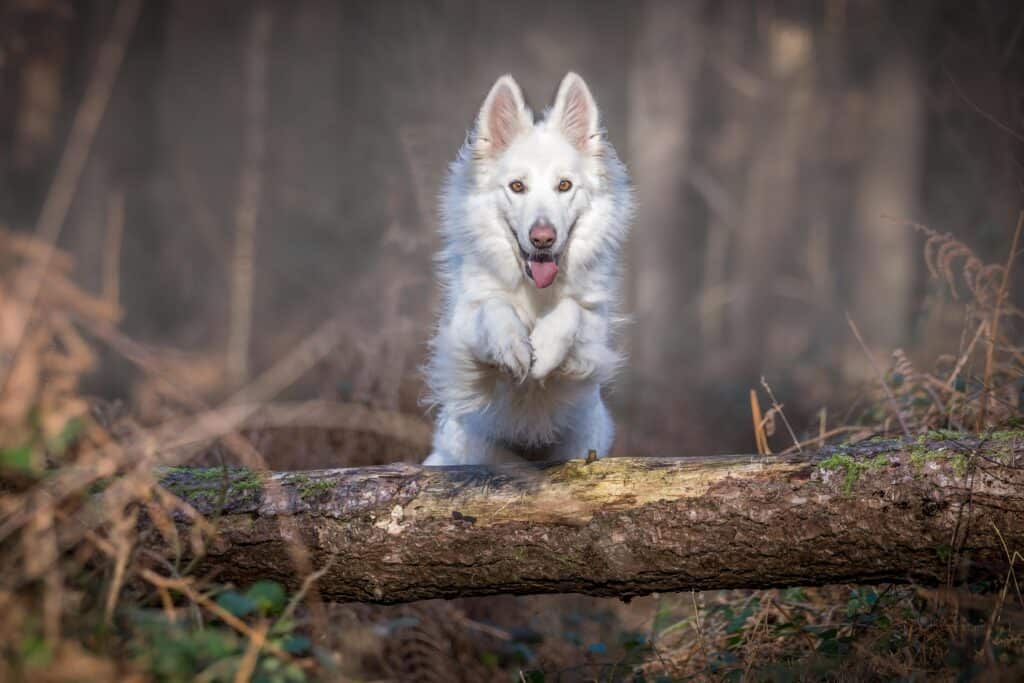
For photographers who hang out with energetic pets outside, they will likely pick up a camera with incredibly fast frames-per-second.
As for the lens, the lens that you choose to use will affect your photography technique and lead in to become your style of shooting. Some of the most common lenses seen in animal photography are the 50mm lens, the 24-70mm lens, the 85mm lens, and the 70-200mm lens. These lenses tend to have wide apertures that lead to shallow depths of field, allowing you to separate the furry companion from its background using optics.
Next, you’re going to want to throw in the following into your camera bag:
- Filters. Animal noses love to go where they don’t belong- like the very front of your lens! Having a filter on your lens is a great way of making sure the glass remains safe from curious critters. As well as this, if something happens to your lens while shooting (such as a drop or a bump), it is better for the filter to crack than the lens glass itself.
- Knee Pads. Taking knee pads will prevent bruising from the many hours spent on your knees to achieve a low vantage point.
- Extra lens caps. To be able to fit lenses into an efficient bag, they tend to be packed unattached. This means having caps for the lenses and camera body. Considering these small caps tend to get lost amidst the hustle and bustle of a photo shoot, carrying some extras is a good idea.
- Cleaning supplies. Pets are very messy. If they can’t find a way to get you dirty, they’ll find a way to make your equipment or shooting space dirty. As such, you’ll be cleaning off your cameras and lenses, backdrops, and even yourself a lot. Having cleaning supplies with you is always a must, especially with animal photography. You need to be able to remove dust, dirt, fur, slobber, and everything in between from your equipment as soon as possible to not risk the glass or electronic components from becoming damaged.
- Additional batteries and memory cards. These should be must-haves for all photo shoots, not just pets.
- Tape, scissors, and/or metal clamps. The golden rule is that something will likely break or require assistance. What’s a great way of mending a break on the spot? Really good tape or a metal clamp! As well as this, sometimes you need to hang something up on a wall or attach an object to another object. Scissors are also a must have for similar reasons, you may need to cut something.
- Towels. From wiping off drool and cleaning furry coats to creating a comfortable seat for whatever animal you’re photographing, you will find that a towel has many uses for pet shoots. Towels also have many uses for you, since they can act as a clean surface you can place your gear down on.
- Anything else necessary for studio sessions, in-home sessions, or outdoor sessions.
Tip 2: Be Prepared with the Right Equipment Settings
Along with the equipment, you must have the right settings! Regardless of whether or not you are using a DSLR or Mirrorless system, the settings will remain the same. As well, regardless of whether you’re capturing portraits or action shots, the settings will stay! This is because animals are unpredictable (even the most well trained pups can misbehave), so you always want to be ready for whatever the moment throws at you.
To begin, switch to Single Point Focus. By default, your camera focus points will be set to Area Autofocus. This means that the camera will try and determine what you want to focus on, and this isn’t very accurate. As such, you want to ideally switch your focus point to Single Point (or Spot in some brands) Focus- this means that the camera will focus on whatever area you tell it to!
Next, put on Continuous Focus Mode and never take that off. By default, your camera is set to One-Shot right out of the box. You need to switch your camera over to Continuous Autofocus (AI Servo in Canon, AF-C in Nikon, Continuous AI in Sony, etc.).Continuous Focus is when the camera’s focus keeps refocusing on the subject as it moves.
Continue by setting the camera to Burst Mode! Every camera has something called FPS, or Frames-Per-Second. What this discloses is how many pictures a camera can snap per second of shooting.
To access this feature to its maximum potential, you have to go to the menu of your camera and set it to either “Burst Mode” or “High Speed Continuous Shooting” (depending on your camera brand). Your camera will then fire off as many photographs as it is capable of taking per second.
Finally, adjust your metering mode to either Matrix / Evaluative or Spot Metering.
Matrix / Evaluative considers the entire scene, all of its shadows and highlights, when setting the exposure. It’s goal is to expose the darkest part of your image and the lightest part of your image as equally as possible. This is great for general pet photography.
If you’re photographing a pet with a lot of contrasting fur color, you’ll likely want to use Spot Metering. Spot metering is where you tell the camera what spot you want to expose for. This is a well liked mode because it puts more manual control in your hands. All you do is point the camera at the object or subject you want to capture exposure for and that’s it! If you’re capturing an animal such as a black and white dog, you’re able to point the camera at the dominant fur color you want to expose for rather than letting the camera attempt to figure it out automatically.
As for the exposure, that you will have to set depending on the scene. Be sure to check out our nifty articles on ISO, Shutter Speed, and Aperture for more on exposure settings.
Tip 3: Make Sure the Eyes are in Focus
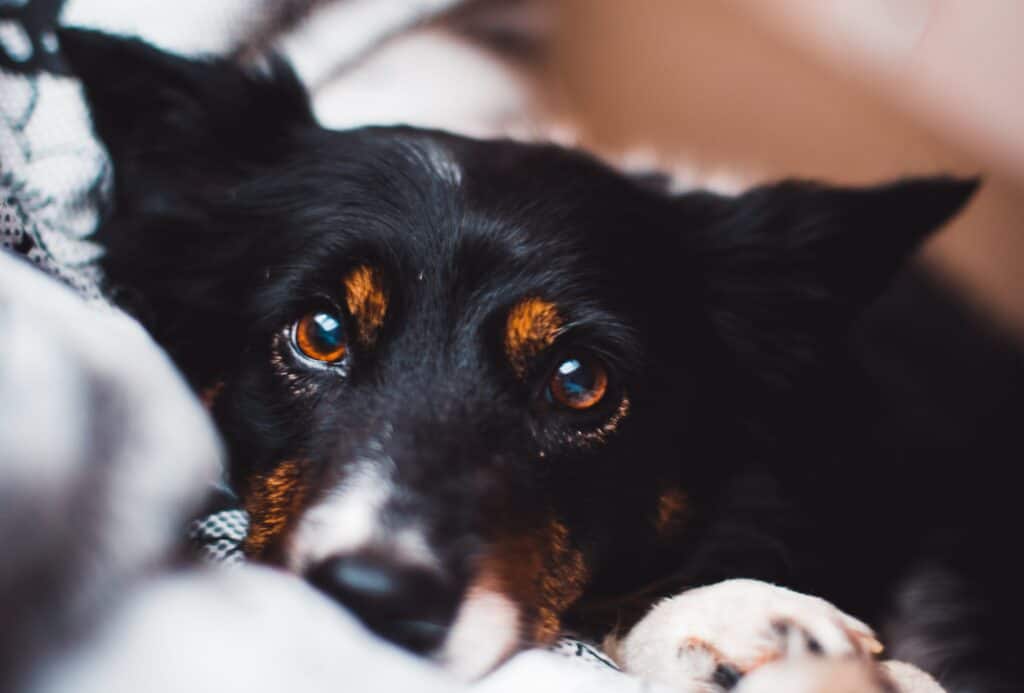
Psychology proves that humans experience deep connections through gazing into eyes, thus opening a portal to feel something intense for the subject. As such, it is universally accepted that ensuring that the eyes of the animal you are photographing are sharp in focus equals a very effective photograph.
A good way to make sure the eyes are in focus is to set your focus points on the camera in such a way that you can always ensure that exactly the area you want sharp will be. Lock focus on the eyes, then keep holding the shutter down half way to lock the focus, and proceed to move the camera to the ideal composition.
As well as this, bumping the aperture (or f/stop) up a few stops higher can take a bit of the difficulty out of focusing on the eyes.
Tip 4: Ensure Animal Comfort
Ensuring the comfort of your critter friend should be of the utmost importance for all animal photographers. No shot is worth stressing or scaring the poor pet. A good way to help ease a timid or excited dog, cat, parrot, or other companion is to let them sniff and become more familiar with your equipment. If you’re doing a studio set up, make sure the lights are all on before the pet comes in.
Tip 5: Tired Equals Better Photographs!
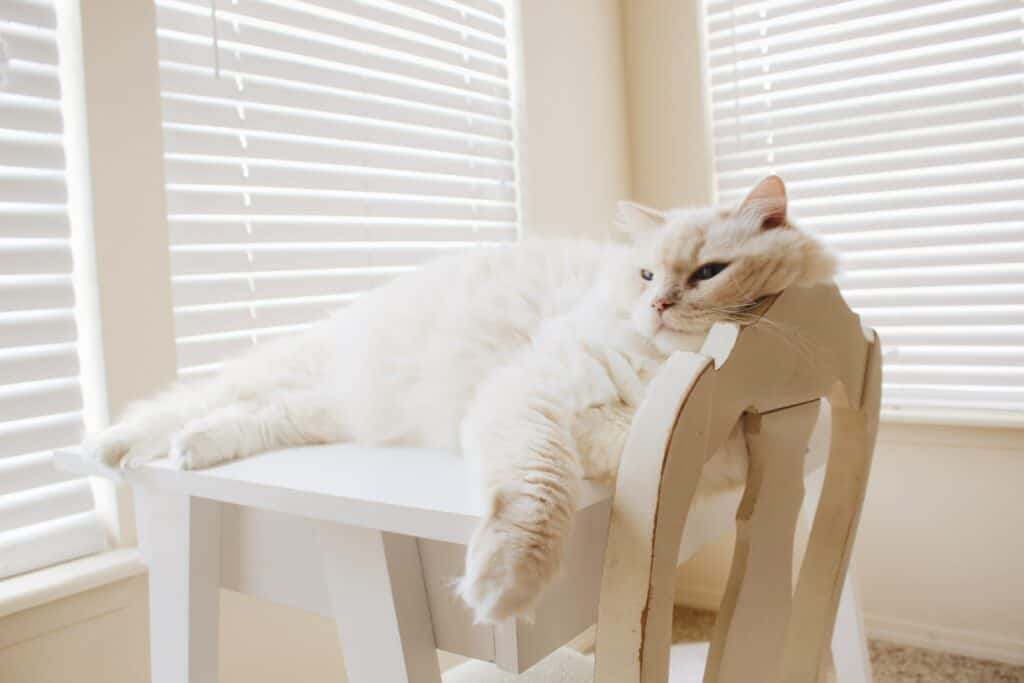
A pet that is tired is less inclined to have the vitality to act up! A key tip in working with pets is getting them excessively worn out, making it impossible to apply their boisterous behavior or challenge staying still. Playing, running, and exercising the canine, feline, or even parrot before a photo shoot will keep them mellower when it comes time to take the photos.
How you run your photo shoots will determine the method you utilize to wear your subject out. You will either propose this for your customer or continue to assume the liability of doing it without anyone’s help. On the off chance that your client is the one to do this, make sure that your client times the play adequately with the idea that their furry friend isn’t stimulated to the point that the presence of a photographer causes a problem for the pet. The key is to get the animal to the level of tired that they pay little heed to what is occurring around them.
Tip 6: Always Be One Step Ahead
The real secret to pet photography is understanding animal behavior and being one step ahead of your subject at all times! From observing body language and studying the characteristics of your animal subject, a photographer can predict the pet’s next move. The anticipation leads to being able to properly prepare yourself for the perfect shot.
Tip 7: Toys, Treats, and Noises Perk Up the Ears!
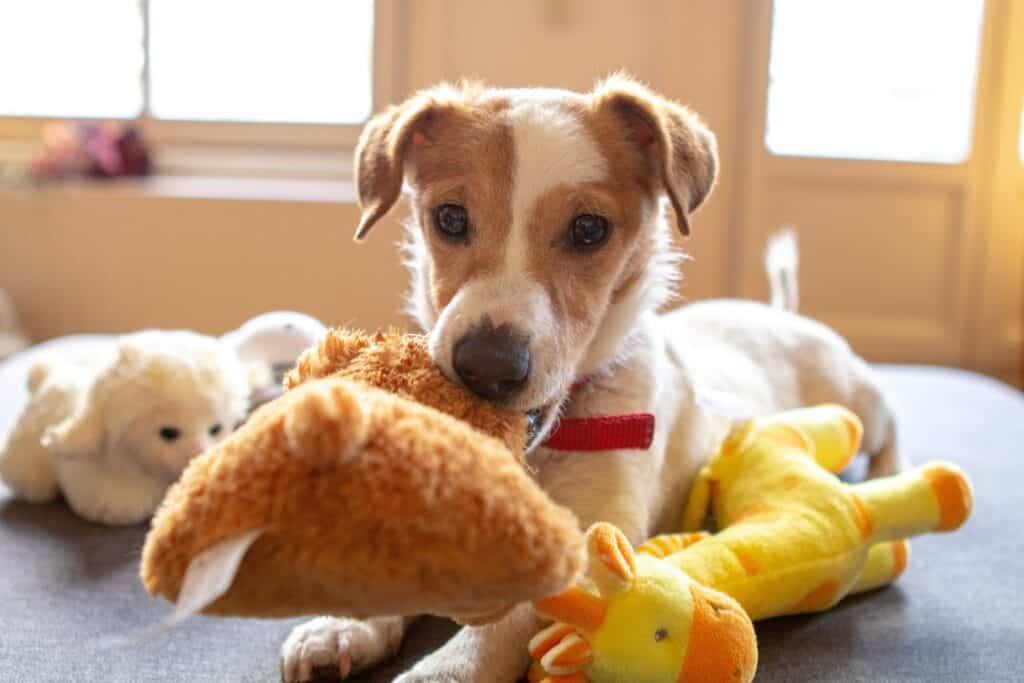
Contingent upon the pet you’re capturing, toys and treats can become your greatest asset. Despite the fact that you would prefer not to overstimulate the pet, keeping their attention is just as important for those happy facial expressions. Try using a pet’s favorite toy or run through an arsenal of funny noises and see what works the best to get those alert ears!
Remember to always reward the pet for doing something good.
Tip 8: Take Frequent Breaks
The comfort of the pet is of the utmost importance. If you see the animal showing distress or anxiety signals, give it a break. Much like children and adult humans, pets get tired and agitated. Instead of letting the animal get to that point, the moment you see the puppy starting to become very uncomfortable, instruct the owner to remove the pet from the situation and let it take a break. A half hour break is usually an excellent span of time.
Tip 9: Don’t Be Too Exciting
If you’re working with a pet that is too distracted by you, become boring! The presence of a new person can pull an overly excited or anxious response out of an animal- making a photo shoot very difficult (if not impossible).
Because pets cannot speak words to us, their method of expressing emotions is very physical. As such, it is our prerogative as a photographer to eliminate this response as best we can. By ignoring an excited dog or letting a timid pup sniff our hands, we can begin to rectify the problematic response and make the pet more comfortable with our presence. Our behavior with the pet’s owner makes a difference to, if you tell the owner to act like we have all been friends for a very long time, that can also encourage relaxation in the pet.
Tip 10: If a Pet Is Too Reactive, Use a Telephoto Lens
If you’re working with an animal that is having too many adverse reactions to you, a change of gameplan may be in order. Sometimes the key to working with difficult animals is to stop trying to control the situation (such as making them pose) and begin just watching their behavior and snapping beautiful candid moments.
In conclusion, ensuring that the aforementioned tips are always in the back of your mind can almost guarantee absolutely stunning pet photographs!