
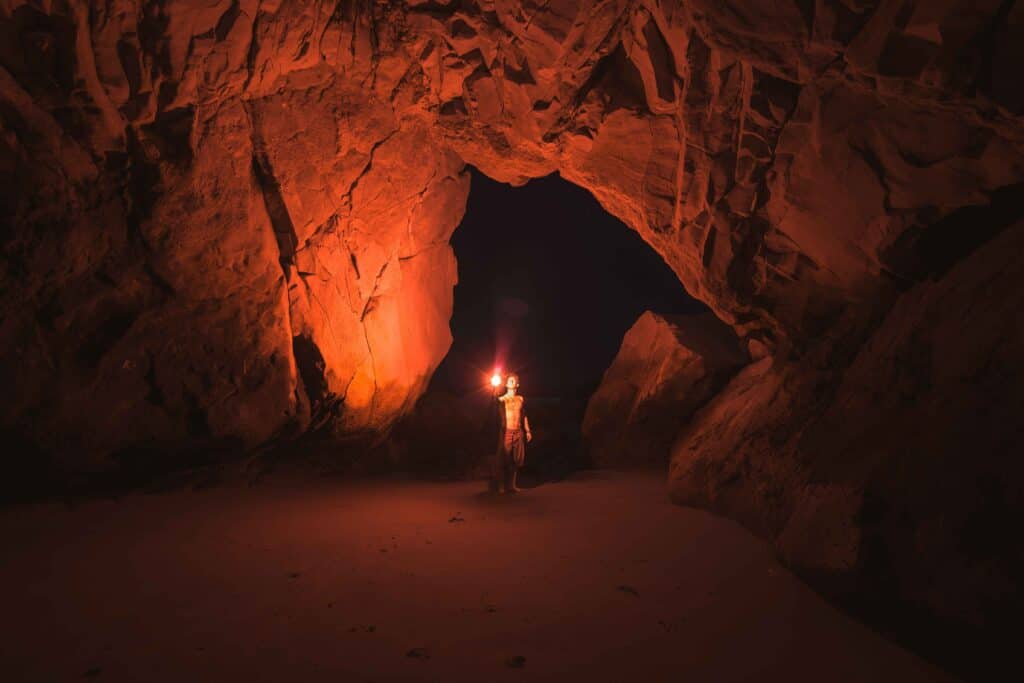
For a very long time, night photography was deemed an extremely daunting (albeit near impossible) photography endeavor. Cameras function on light – what do you do if the light is minimal?! Thankfully, technology has gotten so advanced in recent years that photographing at night is no longer just a dream!
Awe, and mesmerize your friends and comrades as you photograph the dimmest of lights and the darkest of nights with this nifty guide to low-light photography.
What is Low Light Photography, and Why Is It Difficult?
Cameras and lenses rely on light to operate – from exposing an image to figuring out where the subject is in the first place! Everything revolves around light flooding through the lens and onto the camera’s sensor.
Low light describes shooting situations in which the shooting area is dim or dark, according to the camera’s sensor. This can range anywhere from shooting inside your house in the evening hours all the way to nighttime street photography. The three primary low-light conditions are:
Indoor

Dim

Dark
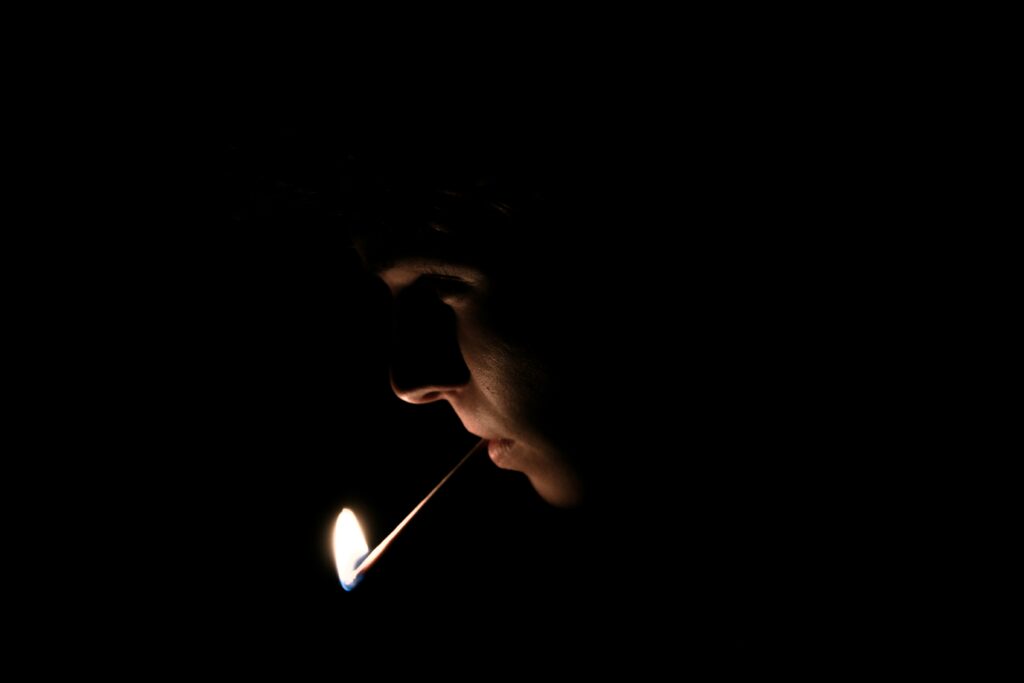
The difficulty with low-light photography is that there is minimal light to work with. As such, you must use equipment and settings that make the most of whatever illumination is available. You may find that the settings cause a lot of motion blur when not used right.
Do You Need Special Equipment?
Yes and no.
No, because there are tricks to pushing your existing equipment into capturing low-light photography. However, this has limits, and if you’re capturing in pitch darkness with one small light source, you may not be able to do so.
But ideally, you’ll want to invest in a camera and lens that make your dark photography possible.
The Camera
The best low-light photography camera is one that can photograph at night beautifully with minimal quality issues. You want to look for a camera with a good size sensor, great autofocus, and low noise in high ISO levels.
Many photographers won’t actually notice how much the sensor affects photography in what is known as ‘difficult’ conditions because they simply don’t put their camera through the ringer like that. But for those low-light mavens, the sensor makes a huge difference. The larger the sensor, the more light it can collect. The more light it can collect, the easier it is to photograph at night clearly because you can keep your ISO number lower.
The Lens
When choosing a good lens for low light, pay close attention to the aperture. The aperture will make the biggest difference in your night portraits and other photography adventures. Lenses with wide apertures are called “fast lenses.” This is because the term “fast” means that the lens can reach a specific light exposure faster than a lens with a narrower aperture! When you hear someone say that your lens is “fast” or that you need a “fast” lens for night photography, they are referring to this.
Fixed lenses are the only lenses that can open to an extremely wide aperture. This tends to be because of the amount of space required inside the lens to be so wide. When a lens zooms, much of that space is constricted due to the zooming mechanism. Fixed lenses tend to be significantly sharper and clearer than variable focal length lenses because fixed lenses are perfectly constructed for the focal length that they are. There are no other variables to factor in!
For ideal low-light photography, you will want to stick with fixed lenses. Yes, they do have the downside of not being very adaptable and requiring you to move your physical position to achieve a desired composition – but you win some and lose some!
Image stabilization is also a helpful feature for low-light work, as is a good focal length! More on this in the ‘settings’ section below.
Ideal Settings for Low Light
A wide aperture is the best way to let whatever light is present hit your sensor. For night photography, you want a lens with a maximum aperture number of F/2.8, but ideally an F/1.8 or lower number. Set this right off the bat before adjusting anything else.
Use this aperture as a baseline for your exposure settings.
The next priority is keeping your ISO as low as you can while still exposing for the lack of light. Depending on how far your camera can push the ISO before it gets too murky with noise, you’ll likely sit around the ISO 3200 – 12,000, depending on the ISO range your camera can handle. Some cameras have expandable ISO, which allows you to push even further than the standard range, but these expandable numbers are riddled with noise and are really a last-resort option.
Your shutter speed will be rather slow to accommodate the ISO number and aperture. Slower shutters mean more motion blur. There is a fix! Set the camera to Burst Mode because a good trick to shooting with slow shutter speeds is to have the camera take all possible shots according to its Frames-Per-Second! At least one shot will be perfectly clear and sharp, with no motion blur.
For White Balance, leave it on Auto because you’ll likely need to use post-processing to bring true colors back to your shot anyways. Metering can stay at Matrix / Evaluative or Shadow Priority to help expose the blacks in the image.
If your lens has the option, enable Image Stabilization. Besides allowing you to use the camera and lens handheld without worry about hand shake, image stabilization has an added bonus for low-light photography. Image stabilization allows you to go several stops slower with the shutter speed than you otherwise could, as the system prevents your subject from being as blurred with movement as it could have been! Image stabilization is big for night photography because you can shoot “slower” and expose more.
Use a Tripod and Remote Trigger
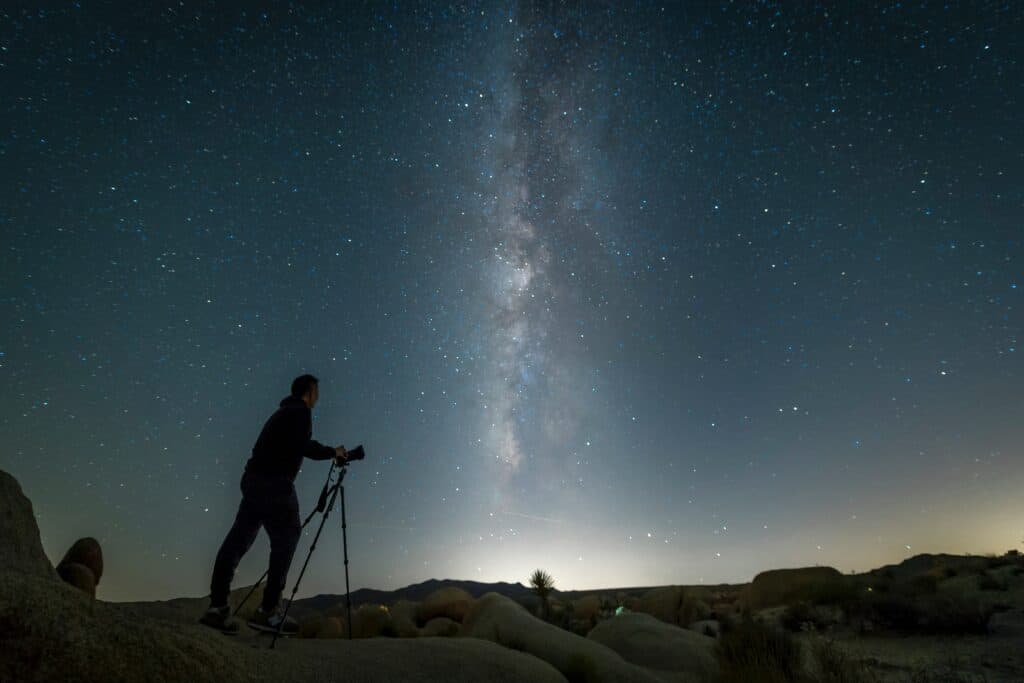
If you capture images in exceptionally dim conditions, a tripod and remote trigger will do you good!
Tripods are three-legged stands for supporting and holding a camera. Many low-light photographers, such as astrophotographers, use tripods for various reasons. Firstly, tripods keep your photograph straight! Secondly, they want to eliminate camera shake caused by slow shutter speeds to keep the photograph free of motion blur.
For the same reason as a tripod is used for slow shutter speeds, a remote trigger allows you to take a photograph without touching the camera (and, as such, prevent camera shake!). Or you could set a timer on your shot. Then you can solve this problem without using a remote shutter.
Conclusion
Low-light photography is not as daunting as it seems. Ensure all your settings help the sensor get the light, and you’re ready!