Even if you’re an expert in still life and product photography, you may still find yourself scratching your head on how to photograph transparent objects well. With their see-through qualities, no matter what you do, you’ll find trouble making the object itself stand out! Transparency causes it to blend in with its surroundings.
But we have the solution to this!
Tips and Tricks
Here are five excellent tips, tricks, and solutions for capturing transparent objects well.
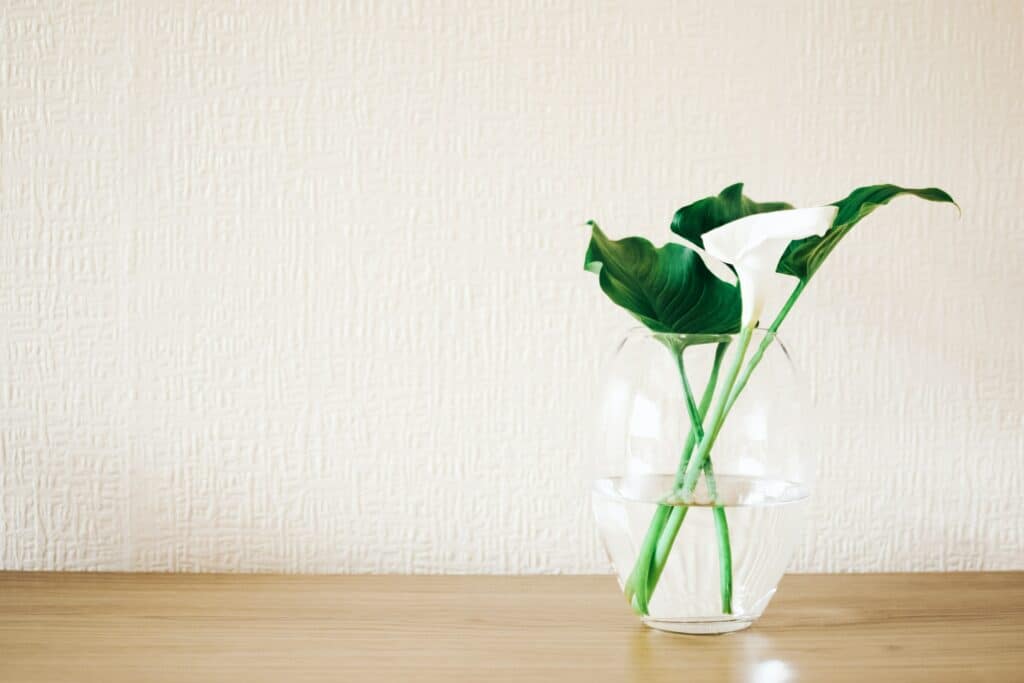
1. Photograph on White

Transparent objects do best when photographed in studio settings. One of the common choices is a white studio!
An awesome method is to set up your transparent object on a tabletop that has some of its own reflective properties, or is a color contrasting the white (such as black). This is because when photographing a transparent subject on a light background, success will come from defining the edges. The tabletop set up allows you to be able to light the background separately from the subject without worrying about spill and the reflective surface will mimic the bright background quite well.
Be mindful of your exposure- white is easily prone to overexposure, which means your image will be too light (thus losing details). Each color involves light waves- and each light wave has a different property to it. The thing about the color white is that it is reflective. Because of its ability to reflect, on top of transparent objects’ tendency to also be reflective, it is very easy to overexpose and lose the details.
Exposure is the result of ISO + Shutter Speed + Aperture working together. Exposure refers to whether your image is too dark, too light, or just right! Adjusting the exposure variables (the settings in the equation above), you determine how your image looks.
Instead of exposure being a guessing game, in order to understand what the proper exposure is we rely on a little guide on our camera called the Exposure Meter, also referred to as a Light Meter. This measures the intensity of light, and tells us if our exposure settings are too light, too dark, or just right. To tell the light meter how to work, you have to set the metering mode.
For transparent objects, it is best to place the metering mode to Spot Metering or Highlight Metering.
Spot metering is where you tell the camera what spot you want to expose for. All you do is point the camera at the object or subject you want to capture exposure for and that’s it! But remember, the exposure is based solely on that one spot and does not consider anything else as a factor. This is great for white objects because you can meter directly off of the white color and expose perfectly for that.
If you’re finding that spot metering is having difficulty because the rest of your frame is still exposed improperly, you can try Highlight Metering. Highlight Metering looks at the entire image when considering exposure, but focuses its consideration on the highlights of your image rather than the shadows and midtones.
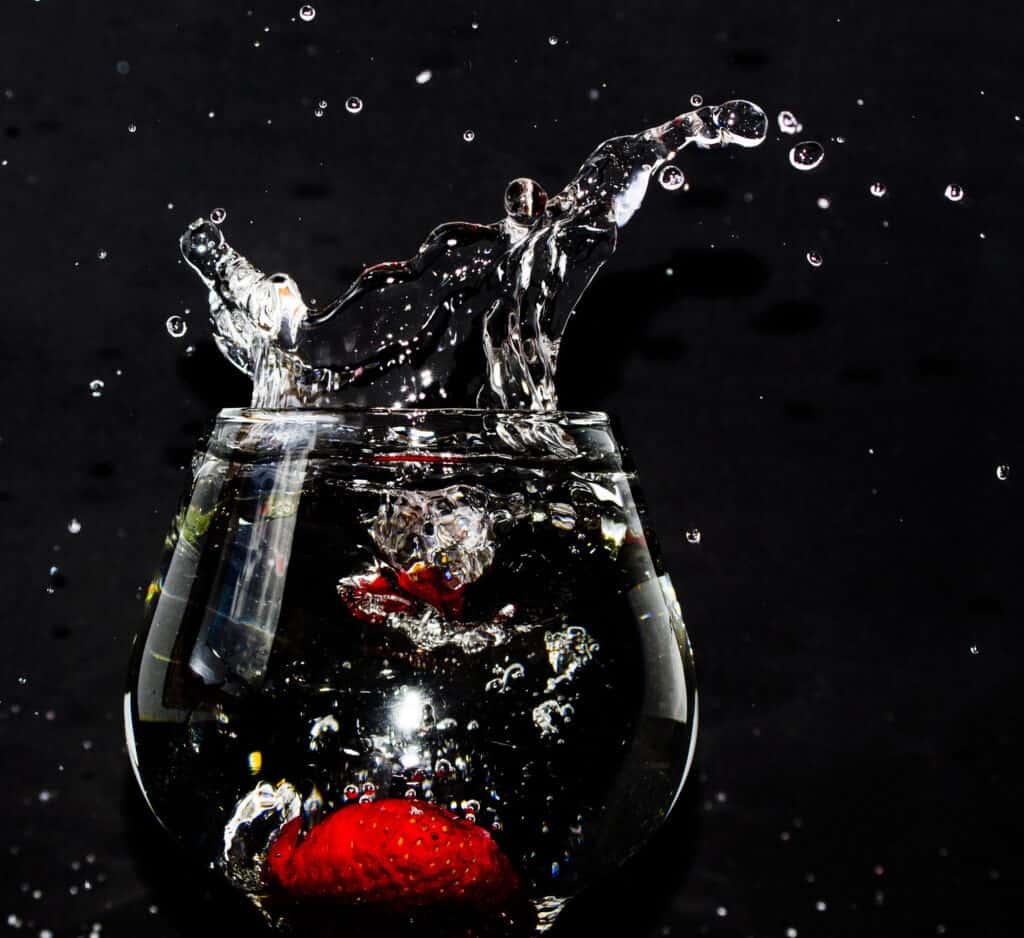
2. Photograph on Black

If you need something a bit darker, why not a black studio instead? You can use the same concepts and camera settings as above, but adjusted for a darker scenario instead of a lighter one.
Much like white has a tendency to overexpose, black has a problem of underexposing. Dark objects suck up light. They are hard to properly expose because the dark aspects of them really do suck in the light and don’t allow a lot of detail to come through! Unlike white objects that are reflective and bounce light around, dark objects disallow the light from traveling.
The good thing about photographing a transparent subject on a black background is that you don’t have to worry about lighting the background; you only have to make it dark.
3. The Triangle Arrangement
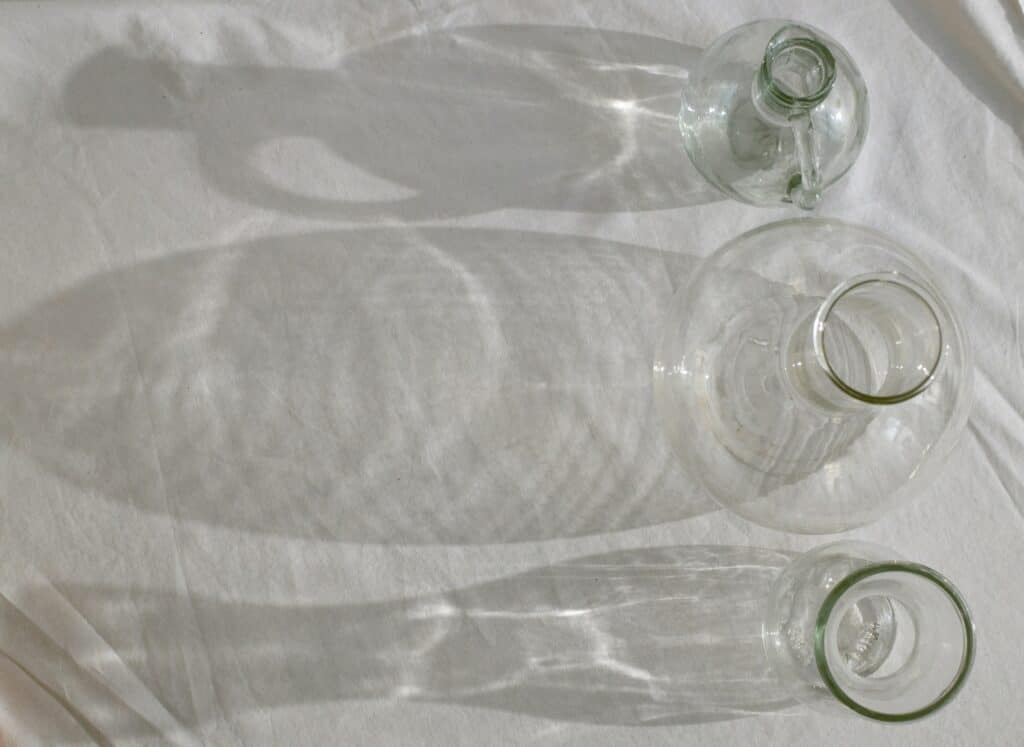
Transparent objects require lighting to showcase their shape and form, you see, the reflections are what actually work in your favor! An ideal lighting set up is known as the triangle arrangement, using three artificial lights. This is the most effective lighting arrangement for objects that require reflections.
The Triangle Arrangement can be done with both continuous light and flashes. All you need are three lights and the stands for them.
The arrangement requires one light in front of the subject and two lights at the sides. The two lights in the back provide your subject with edge reflection, which is what both pushes it off of the background and shows the object’s form. They’re pointed towards the subject at an angle.
The light in the front always stays in place, because that illuminates the face and body. You want this light to be hanging higher than the subject but pointing down towards it. Not directly overhead, but a few inches in front. To prevent your own reflection from interfering, don’t position yourself directly under the light, instead, position slightly off to the side.
4. Use the Transparency To Your Advantage

Sometimes, the transparency is to your advantage. You can place props inside of transparent objects to show its depth and form (much like using lighting). You can also set up the set to sell a lifestyle, story, or idea in the images and the transparent object will soak in all of the details!
5. Shallow Depth of Field Helps a Lot

Shallow depth of field is when the subject is in focus and the rest blurs away. This allows a beautiful separation between the subject and the background and ensures that attention is not taken away from the main point of the photograph. This is excellent for transparent objects as you can allow the background to no longer be a part of the image in any distracting way, only the object will be in focus!
Shallow depth of field comes from apertures ranging from F/1.2 all the way to F/4.0. Anything larger in number than that will cause too much of the scene to be in focus.
In conclusion, transparent objects should be difficult no more after this guide!
