
We see reflections every day. From mirrors to shiny surfaces, these nifty little moments fly by like nothing. However, when you stop and really observe these reflective surfaces, you can find true beauty in them. From this observation, reflection photography is born.
Reflections have captivated photographers since the creation of the art form itself. Capturing effective reflection photography has to do with finding a beautiful image in and of itself, using the right camera settings, and finding unique ways to express an idea.
Why Reflection Photography is Interesting
With quotes such as “you are a mirror of yourself in others. Whatever you want, give. Be the best reflection of yourself” or “without deep reflection, one knows from daily life that one exists for other people,” it is of no wonder that reflections have become a prevalent subject in photography. Reflections are metaphors for many aspects of humanity.
Reflection photography helps express an idea, a concept, or an emotion very effectively. Reflections are physical illusions, showing something that is not tangibly there!
Compositionally, they can be very endearing images that allow the viewer’s eye to travel across the entire frame. If the viewer is static, the photograph has lost its power!
Types of Reflection Photography
Anything that can reflect an image becomes an effective subject to capture. The most common surfaces used for reflection photography are water, mirrors, and reflective surfaces such as glass balls and computer screens!
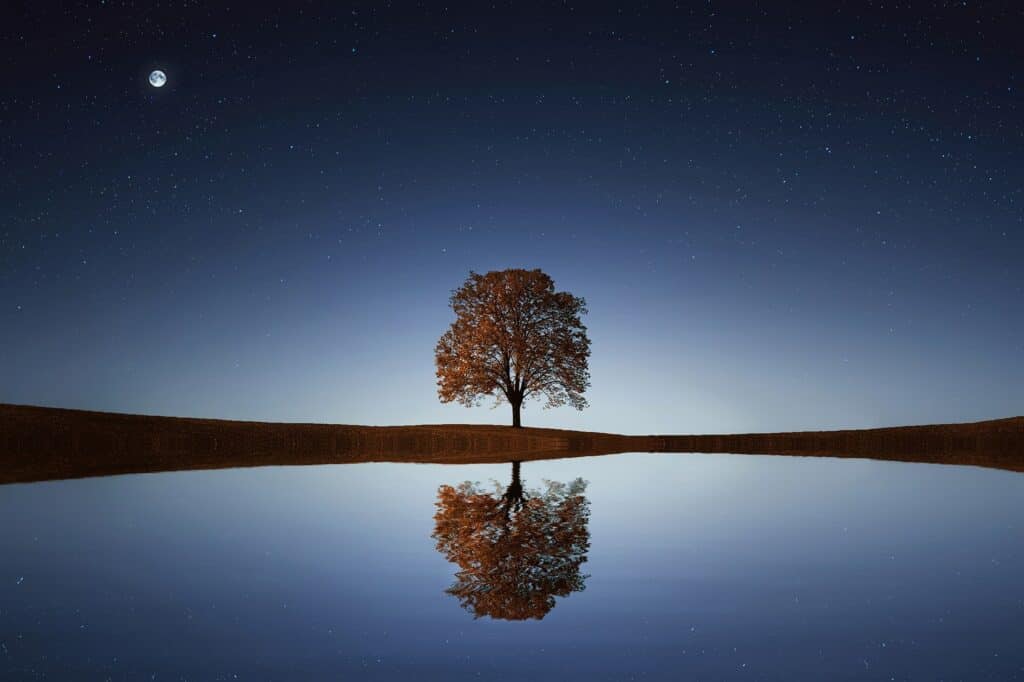
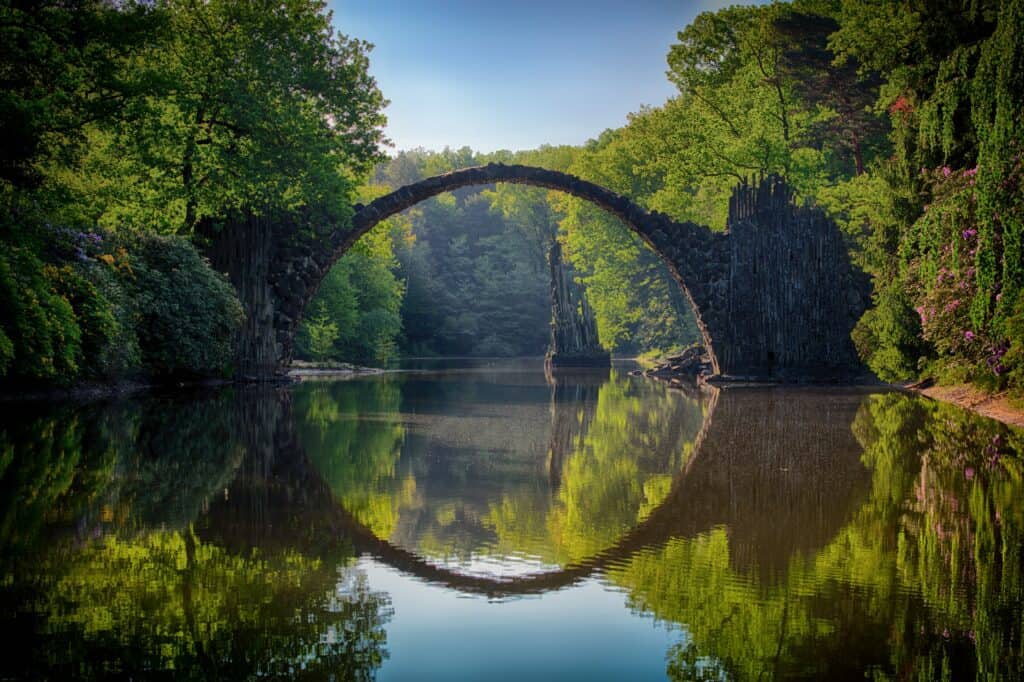
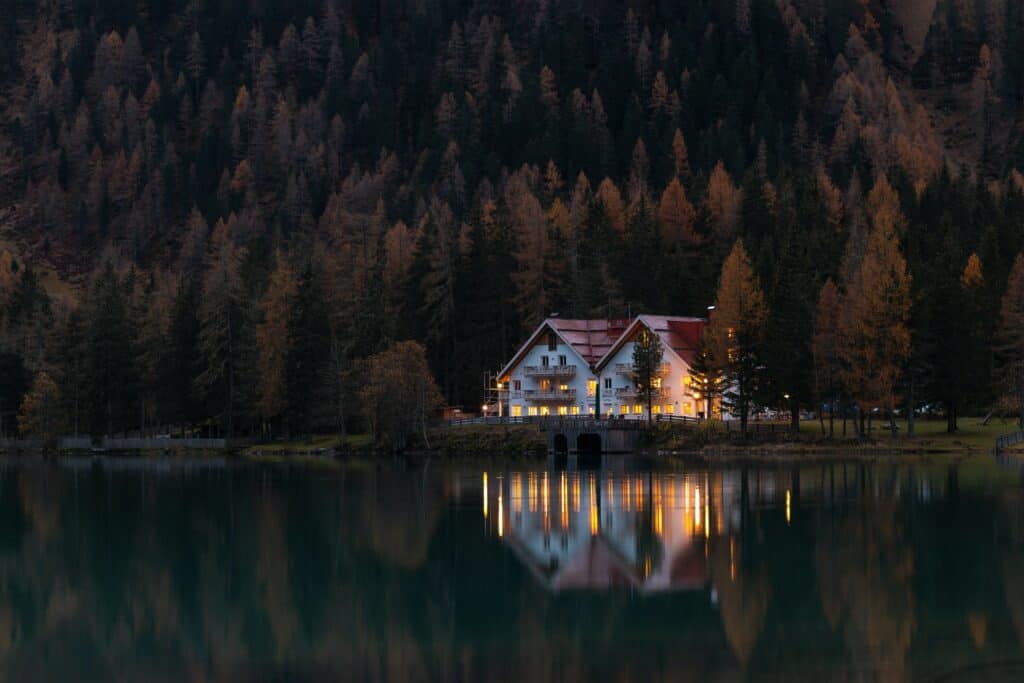
With Water
With a Mirror

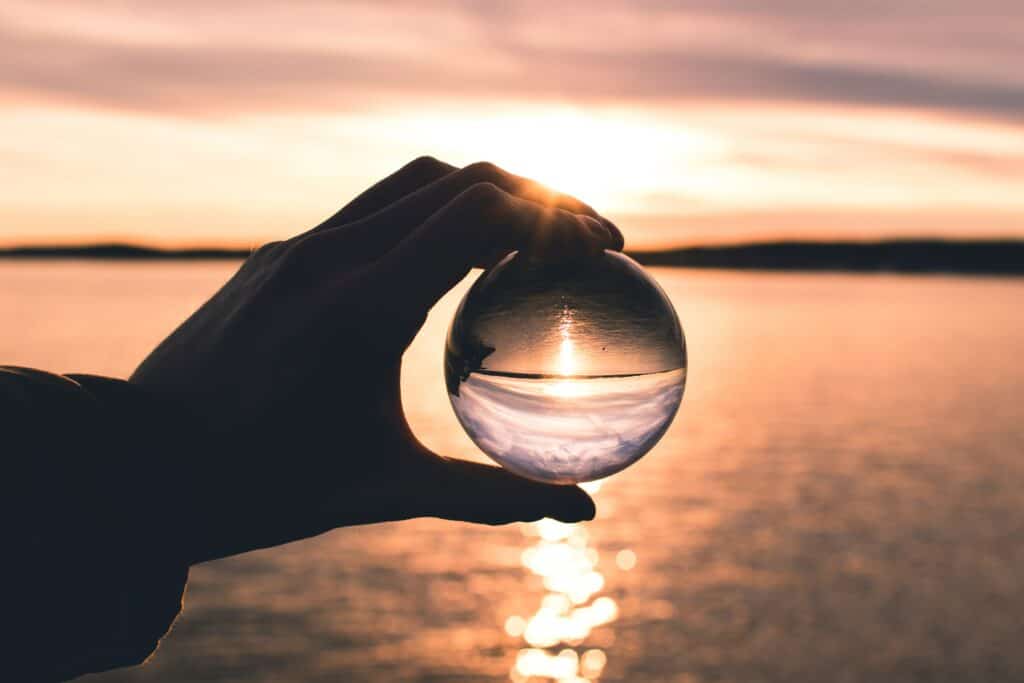
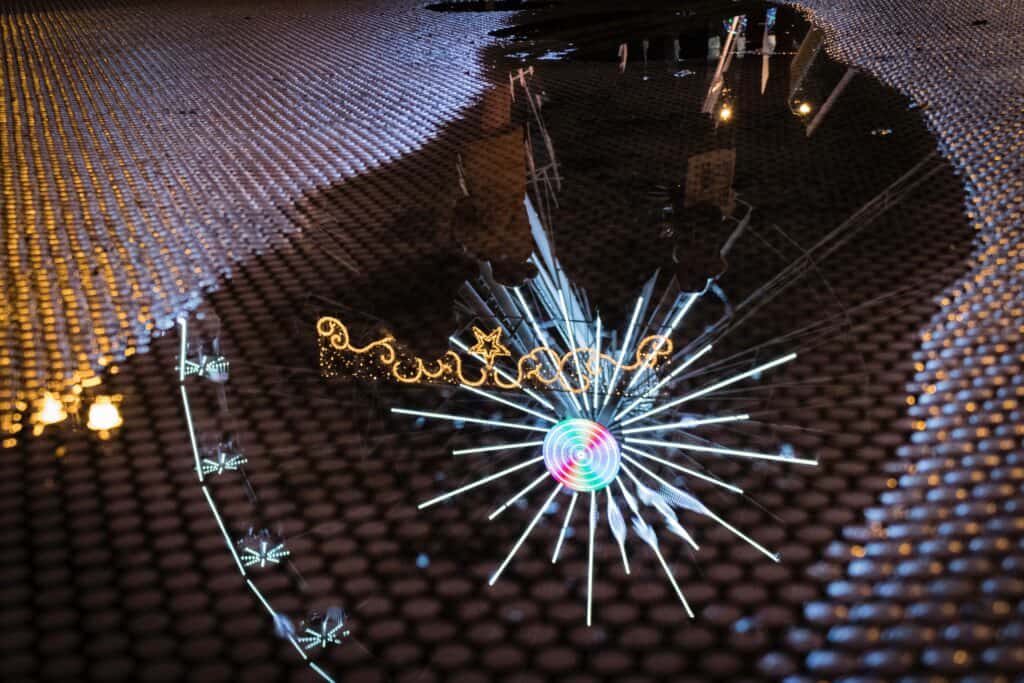
With Reflective Surfaces
7 Tips for Capturing Incredible Reflection Photography
The beauty of reflection photography is that it can be captured anytime, anywhere, and with any equipment. Even your cell phone camera can work great for this particular photography niche. However, there are seven tips to keep in the back of your mind whenever creating such images, as they will aid you in your process.
1. Find a Unique Subject
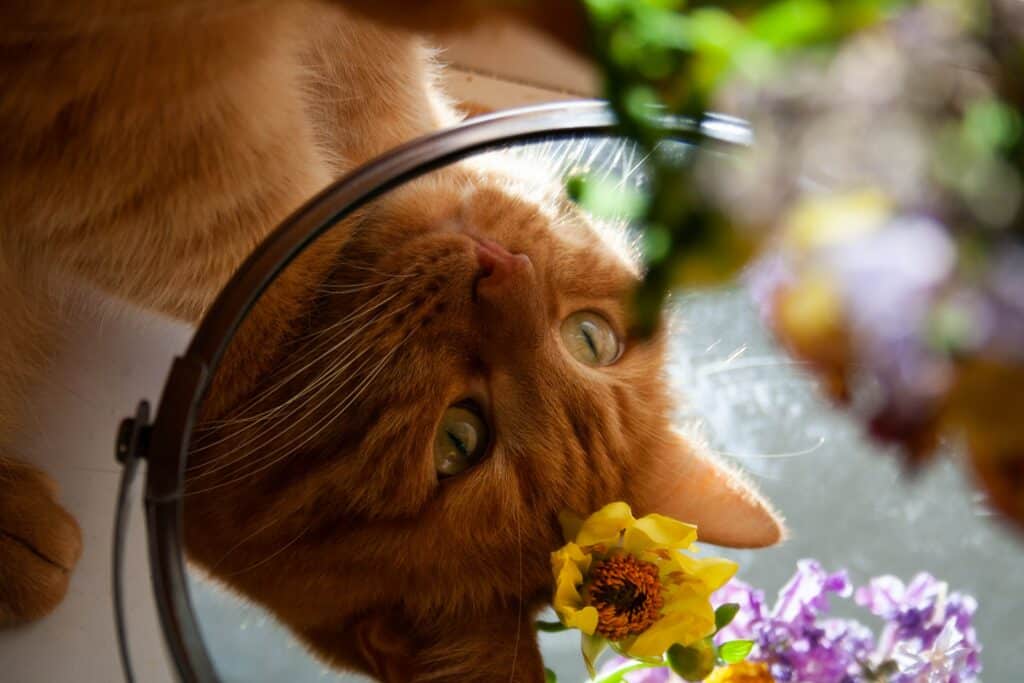
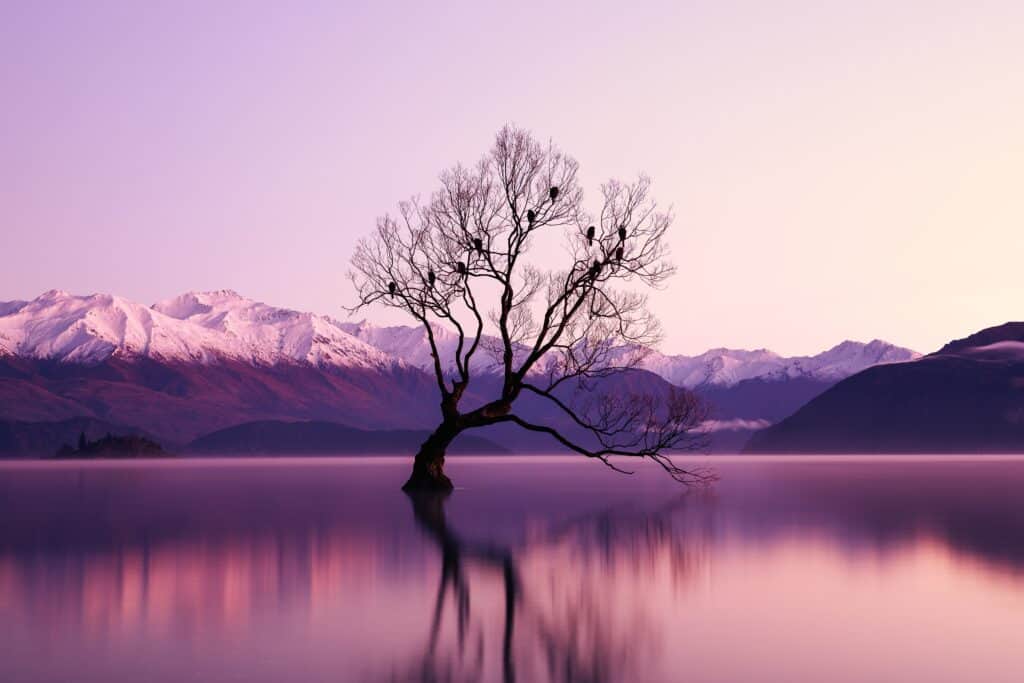
First and foremost, finding a unique subject should be at the forefront of all reflection photography. Humans are fascinating in and of themselves, as are animals. But your subject doesn’t have to be living- look at beautiful landscapes reflected in the water, a tree reflected in a sphere, maybe even a cup reflected on a glass table. Whatever creates that spark of inspiration is an interesting subject.
2. Mix Reality and Fantasy
Because reflections align with illusions, use this phenomenon to your advantage! Based upon how the shot is composed and captured, make the viewer second guess the reality and the fantasy in your image. This can be done by adjusting your vantage point and shooting in such a fashion that the audience second-guesses the perspective.
Keep in mind that going overboard with this can be a bad thing. Iit can be tempting to focus on nothing but the reflection, but sometimes, simplicity is best: Even a relatively small reflection can be an interesting addition to your composition, depending on how it is placed.
3. Simplify Your Scene and Limit Your Distractions

As mentioned in the point above, it is pretty easy to go overboard. Look at your image and determine if the shot looks too cluttered or not- something that is too busy and chaotic can have an adverse effect on a viewer.
It can be best to simplify your scene and limit the distractions in the image so that the audience focuses on the most important parts of the image. There is something really incredible about eliminating everything but your subject and its reflection.
4. Shoot From a Reflective Angle
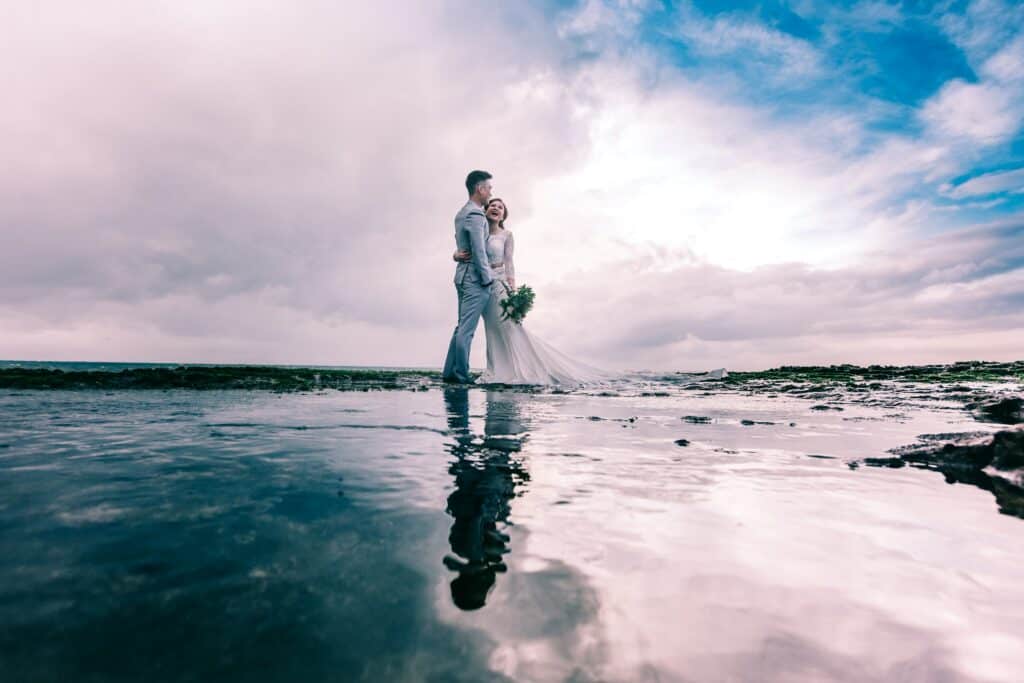
Not all angles of shooting produce good reflection! Play with your vantage point (the perspective at which you capture images) to find the most reflective and effective angle. Many of the greatest reflection photographs happen a mere inch from the reflective surface, namely water. This extremely low vantage point creates such a striking composition that it is hard to look away.
Being attentive to the angle also has secondary importance- ensuring you, the photographer, don’t end up in the reflection! You don’t want to photobomb your own photograph.
5. Set the Right Aperture
Depending on your subject, you will likely want a deeper depth of field for reflection photography. Deeper depths of the field equal narrower apertures.
Depth of field refers to how much of an image is in focus. When a depth of field is shallow, that tends to mean that just the subject is in focus, and the rest of the image blurs away. When a depth of field is deep, both the subject, the foreground, and the background are in focus.
For reflections, because you want to ensure that the reflection is also in focus, a deep depth of field is necessary here.
The aperture controls how much light does (or doesn’t) hit your sensor. The lower the aperture number, the more light the camera lets in. The higher the aperture number, the less light the camera lets in. This correlates directly with depth of field because the lower the aperture number, the shallower the depth of field. The larger the aperture number, the deeper the depth of field.
For reflection photography, you will likely want to shoot at around F/8 or above.
That being said, there are plenty of reflection photographs shot with very shallow depths of field at apertures such as F/2.8. This does best when the subject is the reflection rather than the reflection being a part of the frame.
6. Throw Compositional Rules Out of the Window
Reflection photography breaks most compositional rules because you now have two subjects, technically, in your shot. As such, don’t be too much of a stickler for the compositional rules- they don’t tend to apply in this situation! What you should be attentive to, however, is how the image feels. You can judge composition based on whether or not your shoot feels claustrophobic or too wide.
7. Long Exposures
Believe it or not, for landscape reflection photos, long exposures are the way to go! Long exposures will make water look silky and smooth, causing the reflection to appear glass-like.
Long exposures are when the shutter is open for a long period of time. In layman’s terms, shutter speed is how fast your camera can take a picture. The shutter is like a door; it opens and shuts (hence the name). Every time it opens and closes, a picture is taken. The larger the number after the 1/—, such as 1/1000, the faster the shutter moves. The smaller the number, the longer the shutter remains open because it is moving slower.
In the case of long exposures, you want a slow shutter! The longer that the shutter is open, the smoother and more motion-blurred the image becomes. To make the water look silky, your shutter speed should be around 1/60th of a second.
In conclusion, implementing reflections in your photography can expand your portfolio in whole new ways, create dynamic images, and maybe even win you an award or two!