
Taking photos that are nicely in focus is really the difference between a great photograph and one that is subpar. As such, every photographer strives to capture nice and sharp photographs. But what is sharpness, and how do you achieve the prestige of having the sharpest image?!
What Is Sharpness?

Sharpness is one of those concepts that you would think is easy to explain, but it really isn’t! When a photograph is sharp, the image is clear, filled with great details, and features a very lifelike (sometimes even hyperrealistic) look. There is no blurriness in your subject at all.
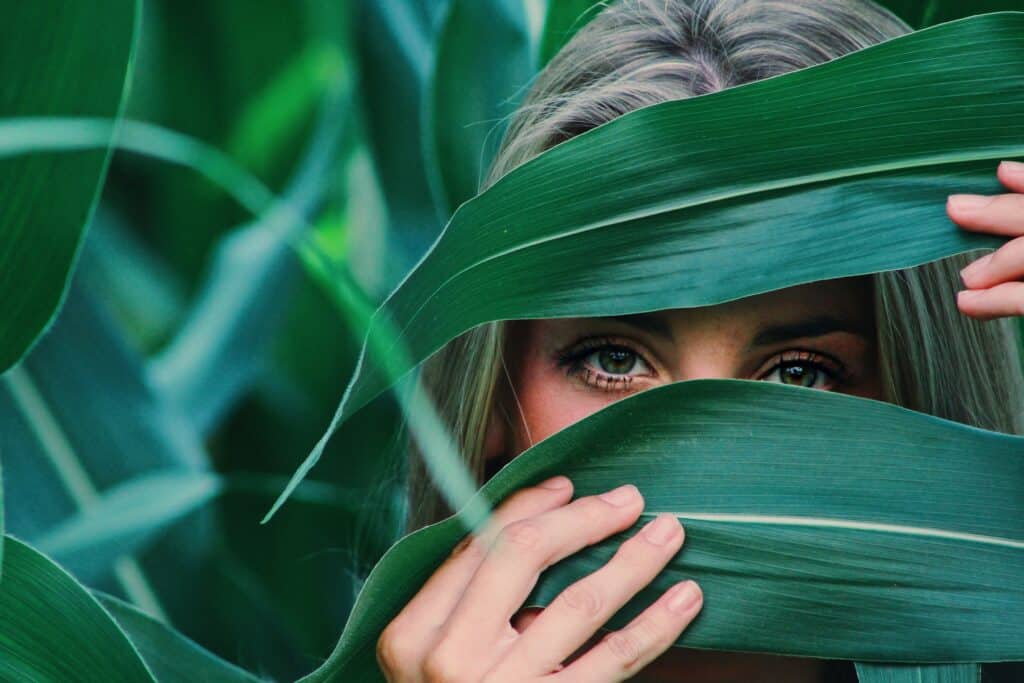
How sharp an image appears has a lot to do with contrast. If a subject lacks contrast in the image, the subject will not look three-dimensional, regardless of whether the focus is perfect or not. The way that our eyes work on a biological level requires edges to be detected by our vision. That is what registers sharpness. Shadows and highlights are there to record the depth of a subject.
When answering how to make images look sharp, this is a fundamental concept to understand.
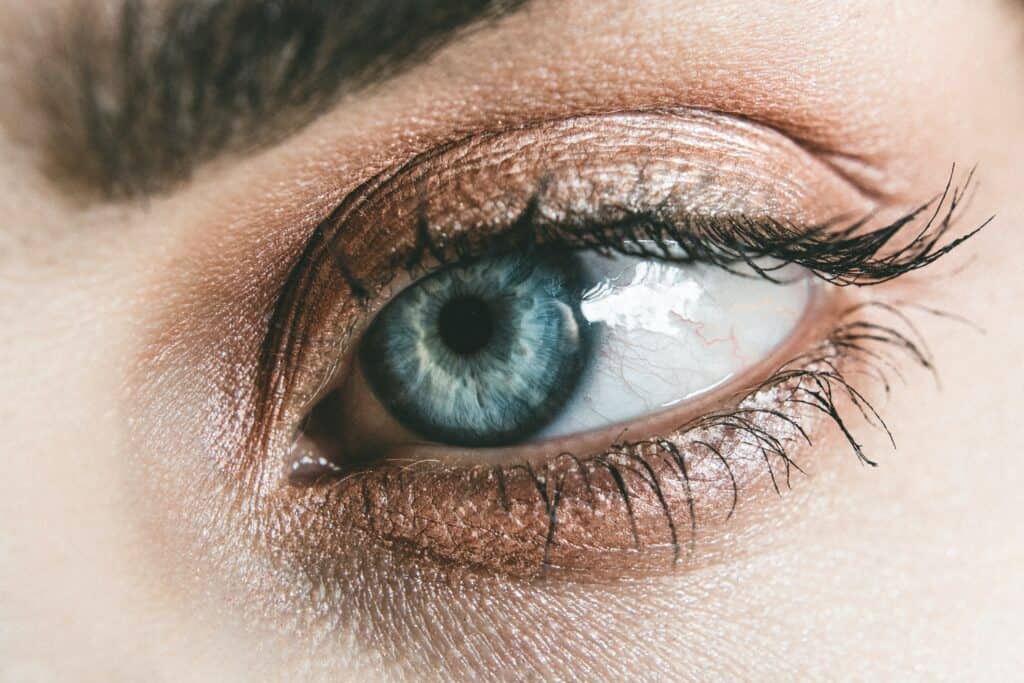
Oh a technical level, tack sharpness requires accurate camera focus. Tack sharpness means the subject in an image is really crisp and clear in focus. This is achieved by ensuring that your focus is ideally on the subject.
How to Take Sharp Images
1. Avoid Camera Shake
You want to eliminate all possibility of blur or camera shake in your image. To eliminate camera shake causing a problem, raise your shutter speed above 1/1000. Even if your hand trembles a bit, the fast shutter won’t allow it to play a role in your image. Secondly, switch your shooting mood to High-Speed Continuous or Burst Mode to take advantage of the camera’s frames-per-second and shoot many images in a row. This ensures that, at minimum, one in the sequence is perfectly still!
2. Check Focus Settings
Next, check your camera’s focus settings and ensure they are in the correct mode. If you want to use autofocus, make sure that your camera is set to either One-Shot or Continuous Focus, depending on your subject. One-Shot for still objects and Continuous for moving subjects.
3. Switch to Manual Focus
Switch to manual focus for very difficult subjects to get in focus, such as the tiny droplets on a leaf! Focusing by hand gives you much more control.

4. Lower Your ISO
Try to keep your ISO as low as possible to reduce noise. Noise will make your images look much less sharp because noise muddies the photograph. A good idea is to keep your ISO level below ISO 3200 if possible. The lower, the better!
5. Use a Tripod
Keep your camera on something steady. Put your camera on a tripod if you can’t steady your arms!
6. Turn on Image Stabilization
If your lens has the option, turn on Image Stabilization (Vibration Reduction in Nikon cameras). This reduces even tiny shakes.
7. Check Your Aperture Settings
Each lens has an aperture at which it is the sharpest, according to various lens charts and tests. This is called “Optimal Sharpness.” The sweet spot for many lenses is F/8, but it’s best to research your individual model to find that out!

8. Clean Your Lens
On the topic of lenses, make sure your lens glass is clean and free of dirt, dust, smudges, and cracks!
9. Check Your Lighting
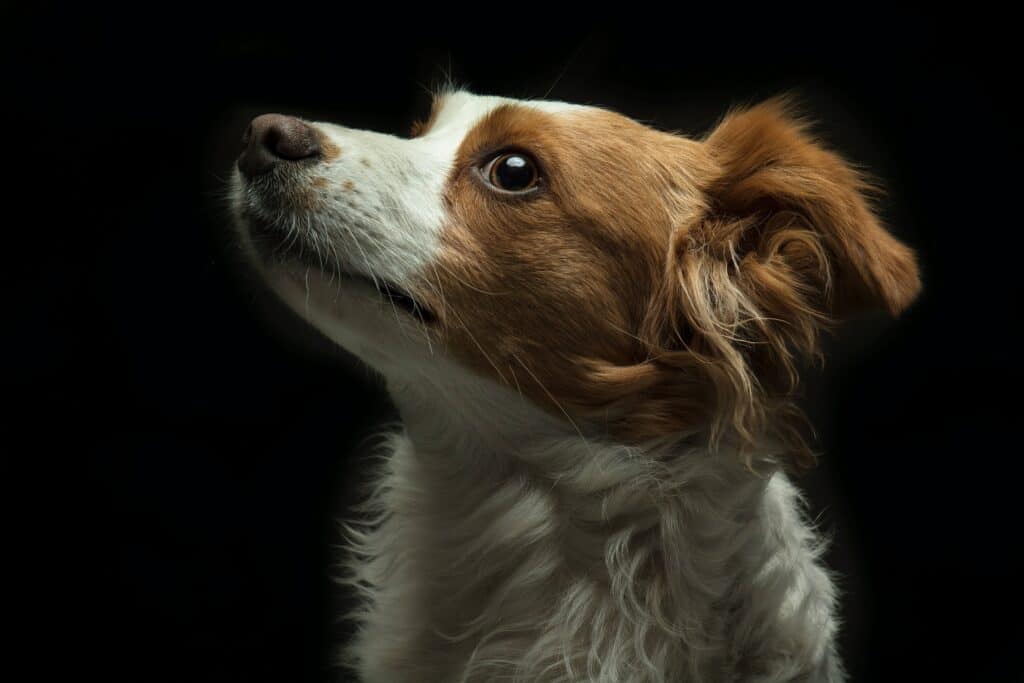
Since so much of sharpness also depends on how your subject is lit up, ensure the lighting is good. It’s best to make sure that your subject is lit well, not just from the front but also from the side, so that the edges are very clear.
10. Post Processing
Finally, you can always add some sharpness to your image in post-processing! Adobe Photoshop and Adobe Lightroom, and even cell phone applications like Snapseed and Instagram, allow you to sharpen your image by using the corresponding Sharpness sliders.
Conclusion
Capturing sharp images takes a few easy steps! But the key is ensuring that your subject is both sharp from a technical level and sharp from an aesthetic level – if you have both of these images, you’re golden!