
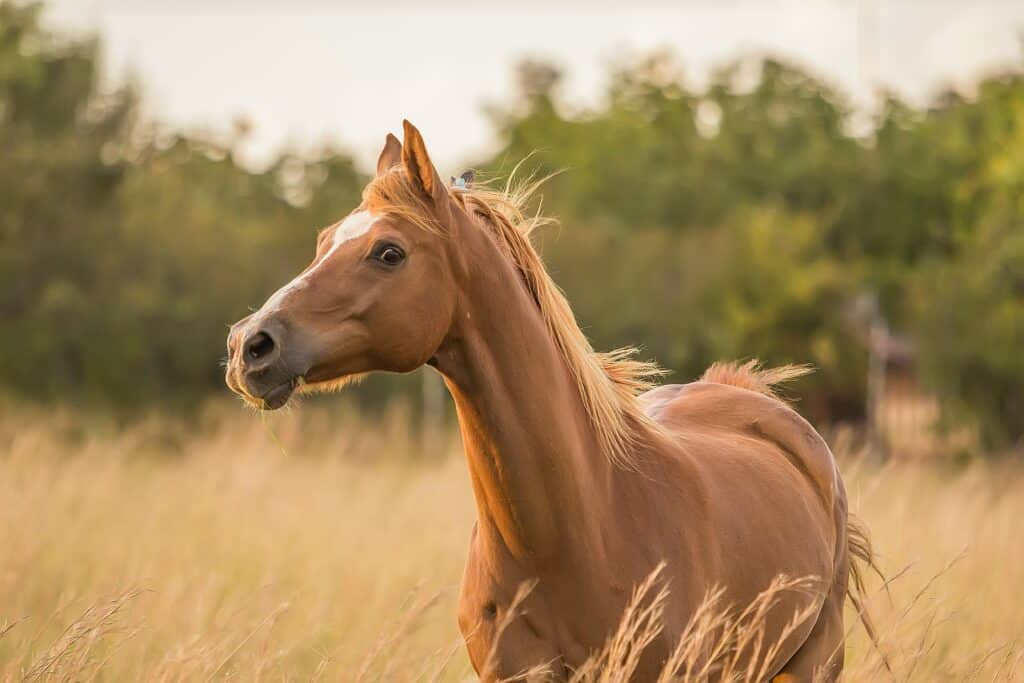
The graceful, majestic, and awe-inspiring horse is a favorite subject in photography. Many photographers are tempted to capture this animal’s athleticism and beauty. Unlike your household dog or cat, horses do have a bit of a different technique when it concerns photography. With horses, you really have to be mindful of being safe and timing their movements properly.
Here are our 5 tips for incredible horse photography!
Tips for Photography Horses
Here are 5 key tips for photographing horses well.
1. Camera Settings
Like any animal, a horse is a moving subject. As such, action photography settings come into play here.
Set your shutter speed to as fast as you can while preserving good exposure. For action, your shutter must be above 1/500 minimum.
Now, shutter speed is just one variable in the exposure equation, which is shutter speed + ISO + aperture = exposure. When the shutter speed is set, the other variables must also change to accomodate.
This is because the faster the shutter speed is, the darker the image will look because light has a lot less time to hit the sensor. As such, your ISO will need to be bumped up and your aperture will need to be widened as well to let in more light.
Even if you’re capturing portraits of a horse, a fast shutter speed is still a good idea as horses blink, turn their heads, or may spontaneously move.
Next, switch to Single Point Focus. By default, your camera focus points will be set to Area Autofocus. This means that the camera will try and determine what you want to focus on, and this isn’t very accurate. As such, you want to ideally switch your focus point to Single Point (or Spot in some brands) Focus- this means that the camera will focus on whatever area you tell it to!
Next, put on Continuous Focus Mode and never take that off. By default, your camera is set to One-Shot right out of the box. You need to switch your camera over to Continuous Autofocus (AI Servo in Canon, AF-C in Nikon, Continuous AI in Sony, etc.).Continuous Focus is when the camera’s focus keeps refocusing on the subject as it moves.
Next, Burst Mode! Every camera has something called FPS, or Frames-Per-Second. What this discloses is how many pictures a camera can snap per second of shooting.
To access this feature to its maximum potential, you have to go to the menu of your camera and set it to either “Burst Mode” or “High Speed Continuous Shooting” (depending on your camera brand). Your camera will then fire off as many photographs as it is capable of taking per second.
2. Use Standard or Telephoto Lenses
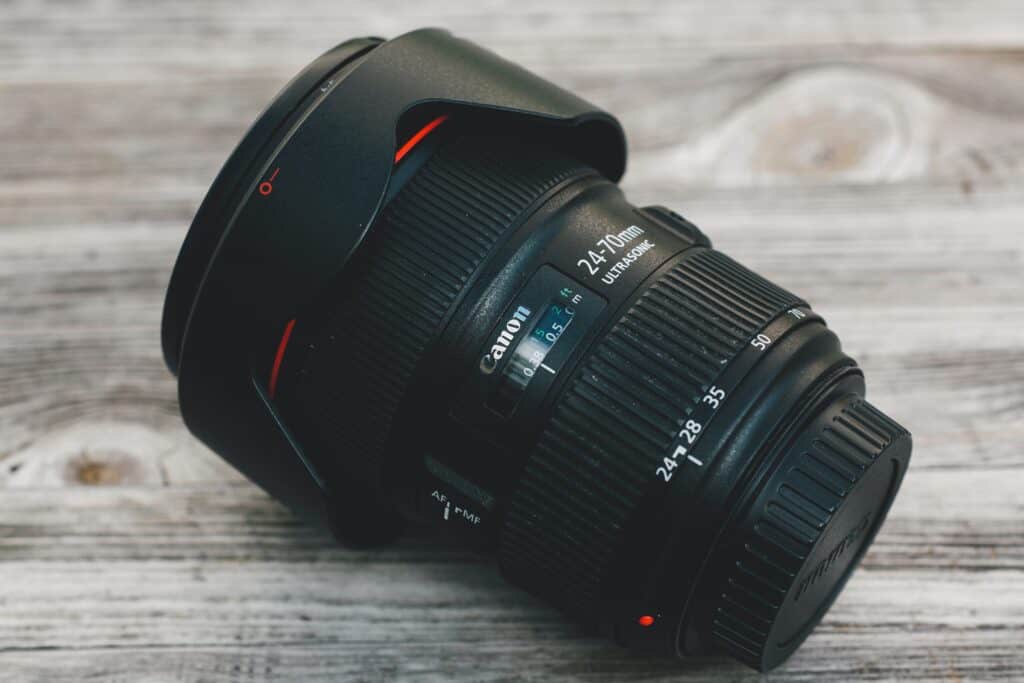
Horses have really beautiful long proportions, something that their owners hold very dear. As such, you want to avoid using equipment that can alter these proportions. As such, avoid lenses with distortion, such as wide angle lenses. Try to stick with standard lenses or telephoto lenses.
Standard lenses are amongst the easiest lenses to use because they feature no distortion (the glass is flat). Standard lenses are the closest to the human eye and what you see. Standard lenses range from 35mm to 70mm and will allow you to get up close to a horse.
Telephoto lenses are long focal length lenses that can remind you a bit of a telescope. These lenses can zoom you very close to your subject! They feature no proportion distortion and allow you to sit far away from horses as you photograph them.
3. Safety First
You’d be surprised at how many step into the world of equine photography while fearful of them. Animals pick up on your emotions, especially intuitive creatures as horses. Your response to them will directly affect their response to you.
You have to remember that horses are prey animals. If you are acting uncomfortable, fearful, or otherwise anxious around a horse, the horse will become nervous as well. This is a biological response based upon their natural makeup, as herding animals rely on one another’s emotions to be notified if there is a predator around.
Likewise, if you act very threatening to a horse, they will become spooked. On the flip-side, if the horse picks up that you are unsure of what you are doing and are not in control, the horse may misbehave or take advantage.
All of this can lead to a dangerous situation.
It is a great idea to spend significant time with horses before attempting to photograph them. Make sure you listen to the equine’s handler, they will know their horse the best. Follow their directions, respect their limitations, and don’t cross the boundary. When spooked, upset, or frustrated, horses can bite, kick, trample, and otherwise leave you crippled.
4. Choose Your Background and Location Wisely
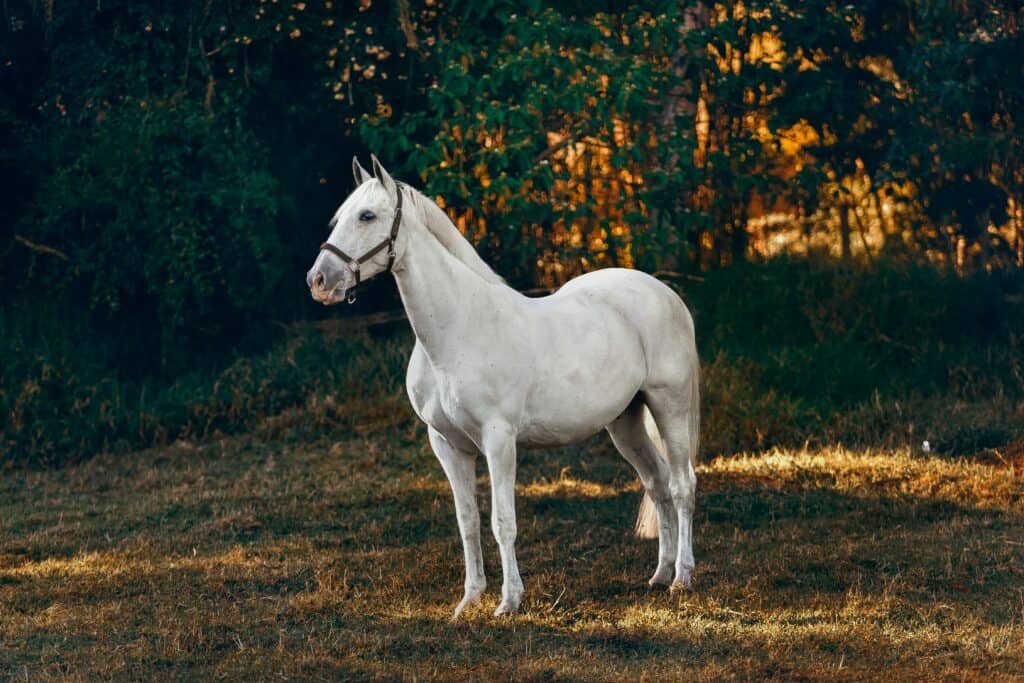
If your background is too similar in color to your subject, you’ll find that the image will appear flat and generally uninteresting. It is the contrast between foreground, subject, and background that creates interest.
It is understandable that as photographers, we are often victims to circumstance and cannot always control the location. This is a common problem in horse photography. Not all horses are comfortable in new environments, not all owners have trailers, and not everyone lives on a large nature property. This is where your adaptability and creativity comes into play.
Try using wide open apertures and shallow depth of field if you can’t control the background! Try to have the horse handler move the horse over to a spot that may be more flattering.
5. Be Well Versed in Gate Timing
It’s important to know the standard when photography horses in movement. Much like a person running or a dog leaping, not all points in that movement look flattering. This is especially important when photographing horse events and shows!
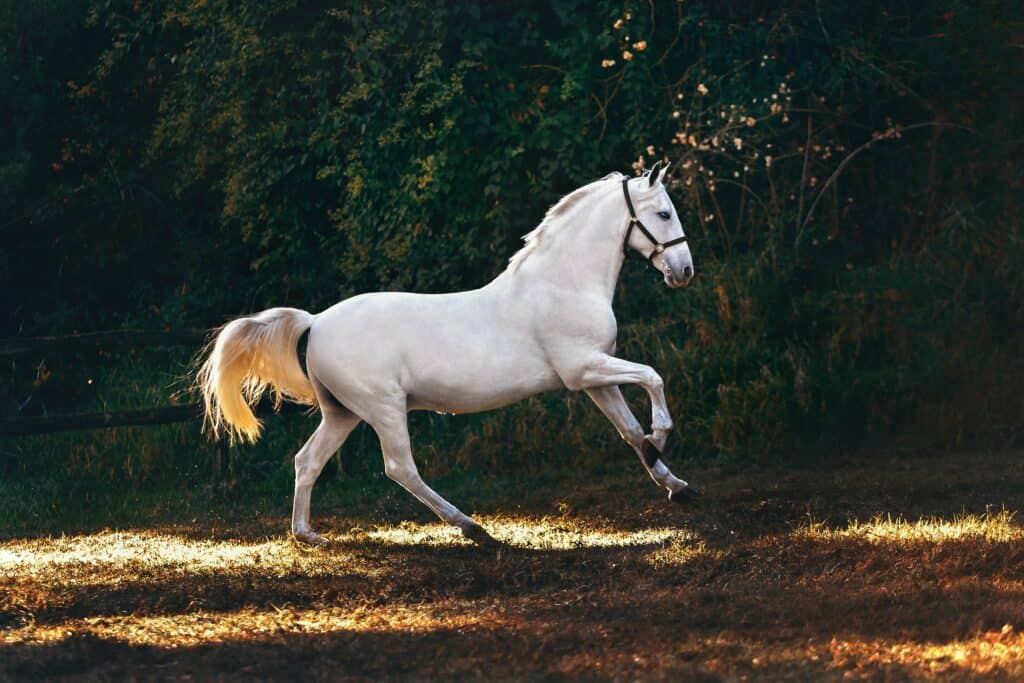
Trotting
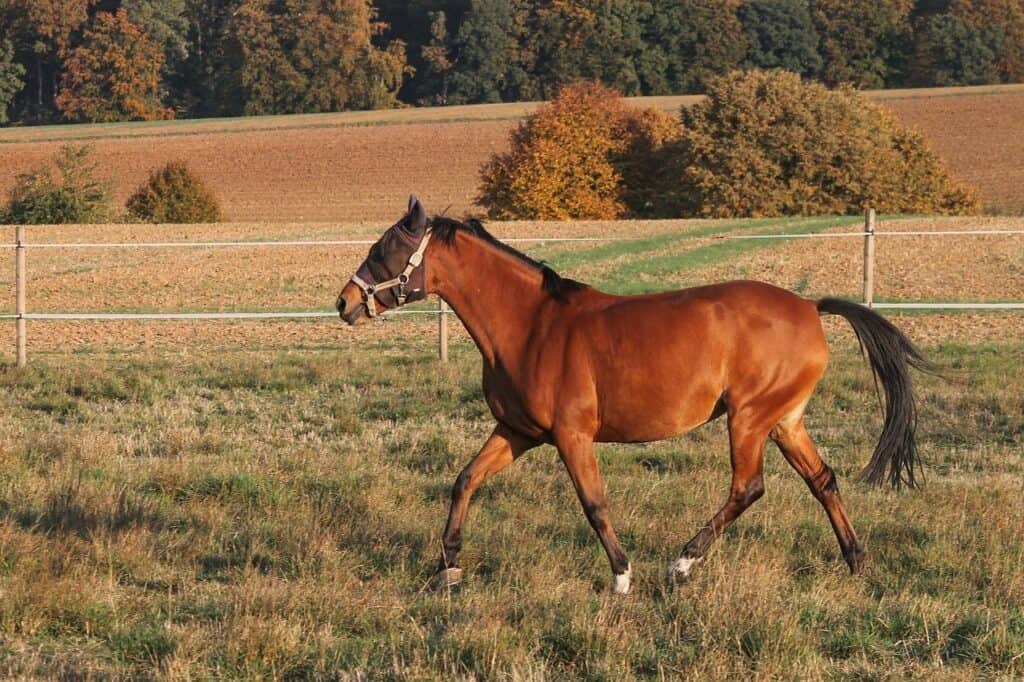
When photographing horses trotting, the only moment you need to capture is when the foreleg nearest you is fully extended. This should result in the legs forming an “M” shape.
Cantering
When photographing horses cantering, there are two shots that owners prefer.
The first requires you to be on the same side of the horse as the leading foreleg. This leg should be extended when you press the shutter
The second is when the front of the horse is elevated.
Jumping
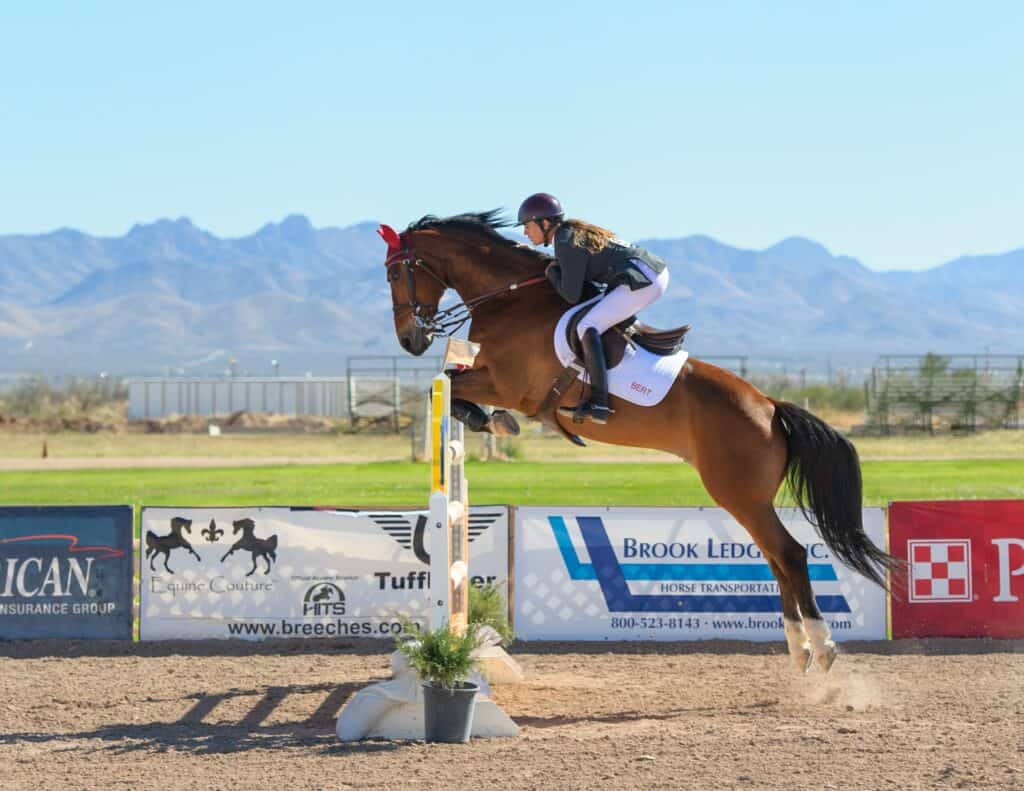
Equestrians really favor two particular shots when their horse is jumping.
The first is just before the horse reaches the high point of the jump – back legs should be fully extended and forelegs neatly tucked in.
The second point is just before the horse touches the ground. The front legs are fully extended and the back legs stretched out behind.
Conclusion
Take all of these with you to your next horse photo shoot and you’ll be golden!