
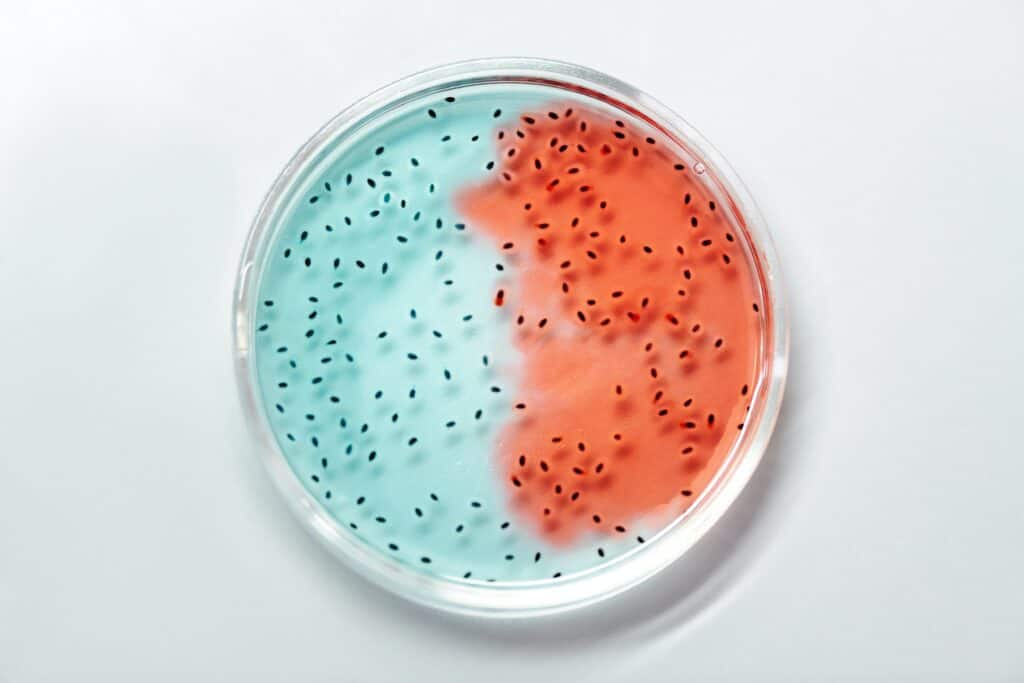
An agar plate is a petri dish that contains agar as a solid growth medium plus nutrients, used to culture microorganisms. These microorganisms can create fascinating colonies, and require quite a bit of care to cultivate. As such, capturing such a feat on camera is encouraged!
The primary issue you may have encountered in trying to photograph agar plates is the reflectiveness of their surface! Trying to avoid reflections can be a massive pain, but we are here to help. Alongside a clear, sharp lens and a very detailed camera, once you eliminate reflections, your agar plate photography will be incredible.
What is the Biggest Obstacle?
Reflection! The biggest obstacle is that an agar plate is clear, thin, and reflective. As such, lighting it up accurately presents issues in ensuring that the lights don’t appear to be an additional subject in the image. The photograph has to be clear and highlight the microworld inside the agar plate, not the fact that the agar plate is glass.
The Right Camera
The detail of the teeny bio world you have created in your agar plate is the primary focus of agar plate photography. As such, the only real factor you want to look into in the camera is megapixels.
Megapixels aren’t a gimmick to increase the price of a camera. Alongside prints, the megapixels do impact the details and quality of an image. As you may deduce, the more pixels, the higher quality the image because there will be more details. Megapixels is a unit of measurement for the amount of pixels in a photo.
As the world within the agar plate is quite small and the details are very important in that case, higher megapixel counts will yield much nicer results. That can come at a hefty price, however, so do keep this in mind! Above 25 megapixels should do you well.
In regards to settings, the camera controls the ISO and the shutter speed. As capturing agar plates is still life, the shutter speed doesn’t matter very much as you can always place the camera on a surface or tripod if the shutter speed needs to be pulled low for exposure. The ISO, however, does matter because you want a perfectly clear image free of artifacts. As such, keep your ISO as low a number as you can afford to.
The Right Lens
In regards to the lens, clarity is your goal. In layman’s terms, lenses gather and focus light. Light strikes the front surface of the lens and passes through the glass element. Keeping this in mind, the difference between a good lens and a bad lens is that the former does a much better job at producing properly illuminated and sharp images.
High end lenses use high quality glass that will make images sharp, vibrant, and rich. This is because the grains of sand used to make the glass differ between the two qualities, high-end glass is clearer! The problem with lower end glass is that it tends to not be very sharp and have a dull appearance.
As such, look for camera brand’s high end lines. Canon’s L line, Sigma’s ART line, and of the like are considered very sharp lenses.
The lens controls the aperture, which in turn, controls depth of field. Keep your aperture narrow, at around F/15 or so, to ensure every aspect of the agar plate is recorded with clarity.
Polarising Filters
Filters are panes of glass that screw on to the front of your lens. One such filter can actually aid with minimizing glare and reflections that such surfaces as agar plates suffer from. Polarising filters aim to reduce glare from reflected surfaces. They work by being made up of specially adapted glass that when turned at an angle to a light source will reduce glare.
Lighting for Reflective Surfaces
Now, to properly showcase agar plates and the life within, you need good lighting. Because agar plates tend to be utilized in a controlled environment, you’ll need to use artificial light. There are different types of artificial lighting to choose from, neither is better nor worse than the other:
Continuous: Light that is always on and does not flash. These can range from LED strips and LED bulbs all the way to tungsten bulbs. These lights tend to have a softer look to them.
Flash/Strobe/Speedlite: A device used in photography that bursts a powerful bright light. This lighting tends to have a sharp and contrasted look to it.
Whichever of the above you use, you’ll need to add a softbox diffuser to it. Softbox diffusers are fabric cages, usually with white fabric, that go around your artificial light and soften the light as it goes out of it. Instead of having a bright spotlight that is sure to reflect, the diffuser will spread the light around and not give it a hard edge.
Now, on to the positioning… The real secret is that if you are trying to photograph a reflective surface (such as the agar plate) you should never light it from the same angle as the camera, otherwise you will only get light bouncing straight back at you! Use a big light source that covers the entire object surface, and position it in the same opposite angle of your camera, in relation to the photographed object (behind it). That’s all there is to it folks!
Once you figure out the lighting aspect of it all, your agar plate photography will truly come out awe-inspiring!