
Food is the spice of life- when you have a beautifully prepared and deliciously tasting meal, you want to share it with the world. Food presentation in and of itself is an art form! With the rise of sharing on social media, food photography has become a prevalent subject matter in our day-to-day lives. This has opened up a need for photographing amazing dishes, even going as far as creating brand-new jobs in the food photography industry!
If you are as passionate about pictures as your taste buds about good meals, you need to know all the tips and secrets. Here is our guide to creating the most incredible food photographs!
How To Create Amazing Food Photography Images
Food photography looks elusively simple, but it’s actually not that easy! Successful food photography relies on some movie magic to bring to life. Here are the steps:
1. Your Equipment
The first component of food photography is the equipment that you use.
The Camera
When considering a food photography camera, a tilt screen will make your life so much easier to get those perfect angles, so look for that! Instead of uncomfortably contorting yourself to see if you got the right shot, you can adjust the screen to see what you’re doing from a more comfortable position.
You can find tilting screens in almost all Mirrorless and most new DSLR cameras.
But to capture all of that detail, such as every flake of black pepper on a rare steak, a camera with a large megapixel count becomes important. As you may deduce, the more megapixels, the higher the image quality because there will be more details.
Megapixels impact the editing room, in which the more pixels there are, the more details you have to work with when retouching a photograph. If you need to crop an image, if the photograph has a lot of megapixels, you can crop and still enlarge really big with no trouble.
Cameras also have different sensor sizes. Sensors can be full-frame (large sensors that capture an entire scene) or APS-C / Crop sensors (smaller than full frame and only photograph a portion of the image).
What you need… for the most part, depends on your budget, what equipment you will be investing in, and what you photograph. For the non-editorial and non-commercial food photographers, either one is great.
Crop sensors are less expensive on average than full-frame cameras, and the corresponding crop sensor lenses are less expensive.
However, for those with a career in producing food photography for companies and establishments, you’re really going to want to use a full-frame camera. Not only will you capture the entire frame, but full-frame cameras also have higher megapixel counts than crop sensors, which matters with commercial work.
The Lens
You want to use a sharp, high-quality lens, as details are important in food photography.
The best bet is to use a fixed lens or lens that does not zoom. Because fixed lenses do not move, their design revolves around getting the most out of the static focal length. Fixed lenses are extremely sharp and tend to be quick to focus. As well as this, fixed lenses have much wider apertures than zoom lenses because there is more room to make the lens wide. This allows you a tremendous amount of control over your depth of field, allowing it to go from shallow to deep.
You don’t want to use a lens with any distortion, so a standard focal length is a way to go. The 50mm lens is a very popular choice.
Additional Equipment
Tripods help stabilize your shot; if you’re doing an overhead image, a tripod may help steady your camera the best.
If you’re capturing a lot of reflective surfaces, use a polarizing filter on your lens. Polarising filters are thin glass panes attached to the front of your lens. Polarising filters reduce glare from reflected surfaces. They work by being made of specially adapted glass that will reduce glare when turned at an angle to a light source.
2. Camera Settings
Food won’t run away from you – so you don’t need to go to extremes with your camera settings! Place the camera on a tripod or hold it handheld, and set your exposure to what your meter says is best for the scene.
Speaking of the meter, it is suggested to set it to Matrix / Evaluative Metering to expose the entire frame – as the whole composition matters in food photography. You want to ensure that your shadows and highlights are exposed evenly.
Keep your ISO to a minimum to reduce noise, and shutter speed preferably above 1/150 if you’re going to be shooting handheld (to minimize camera shake). Food photographs have to be clear and sharp, especially the detailed shots!
As for the aperture, that depends on the depth of field that you’d want. Depth of field refers to how much of an image is in focus. Deep depths of field have a lot of focus, whereas shallow only have the subject in focus. For photographs that show the entire dish and ingredients, use a deeper depth of field (an aperture of F/8 works very nicely). For detail shots, a shallow depth of field is brilliant to draw attention to the appetizing aspects of your dish (F/1.4 is wonderful for this).
As much as most photography can do just fine with Auto White Balance, food photography is not one of them. Make sure your white balance suits the lighting available at your shooting location to ensure that the colors of the food are accurate.
3. The Location and Props
Like product photography, food photography is as much dependent on the location and props as it is on the subject itself. These ‘background’ elements create the story, sell the idea, and push an emotion in photography.
Many professional food photographers purchase aesthetically pleasing bowls, plates, cups, napkins, serving trays, and platters for their pictures. You don’t necessarily have to do that, but keeping the props in mind is good. Cohesion is key. Try to pick out utensils and plates that match one another.
That being said, know when to simplify your frame. If you use too many props, that will take away from your food subject. Use ingredients as props, not just table settings!
As for the location, look for flat surfaces that are either solid in color or have just a little texture (such as wood). You can use a blanket, cutting board, tray, or paper as a surface to shoot on.
4. The Lighting
Natural light works best for food photography because it gives the food an organic shine and color. Try placing your dishes in front of a window! White thin curtains act as a great diffuser for the light.
Capturing dishes during the golden hour is also a great idea due to the beautiful, even lighting produced then. The golden hour includes the first hour after sunrise and the last hour of light before sunset. It is named as such because the sun parallel to the camera creates a glow of gold light that washes over the image.
Studio lighting is a great solution if natural light isn’t an option. Grab a continuous light softbox (a studio light that does not flash) and place it directly overhead of your dish. That will do the same as a beautiful even daytime light.
5. The Styling
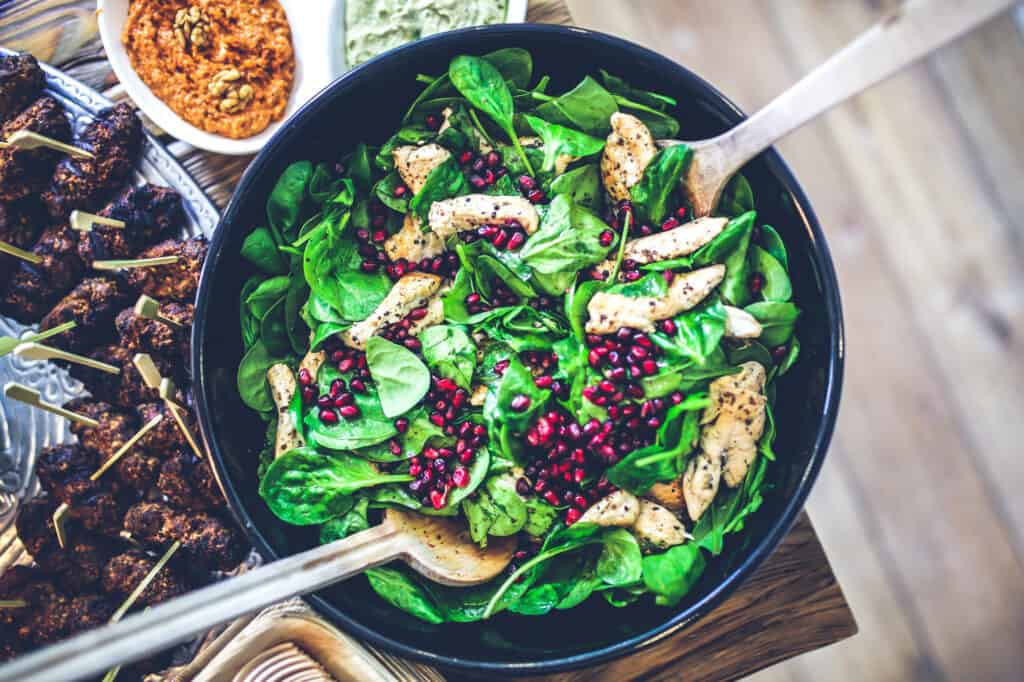
Remember, you’re making the food to photograph – not necessarily to eat! As such, presentation is key. Style the food so that it looks eye-catching and interesting. Add extra spices to the top so you can see the seasoning, arrange the dish on a plate to make a beautiful pattern, and chop ingredients in larger chunks so that they are most noticeable. Pay attention to the balance of food in a shot so that the frame doesn’t look cluttered or busy.
6. Perspective and Angles
As you may have noticed from trial and error, most of the best food photographs come from many unique angles. Overhead shots are really popular, as are the overhead-tilted images! The goal is to make food look the most flattering, and traditional perspectives don’t always tend to cut it.
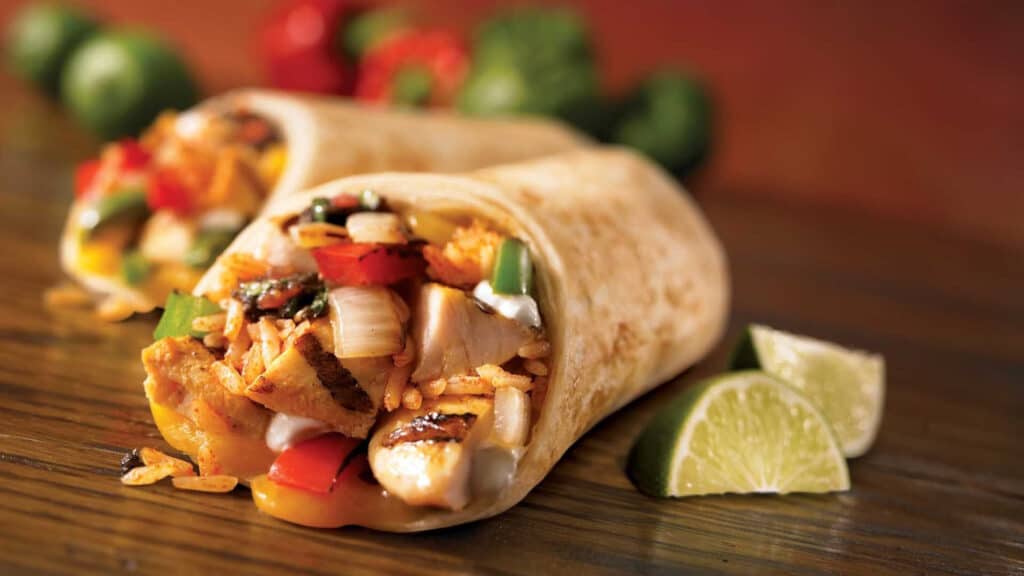
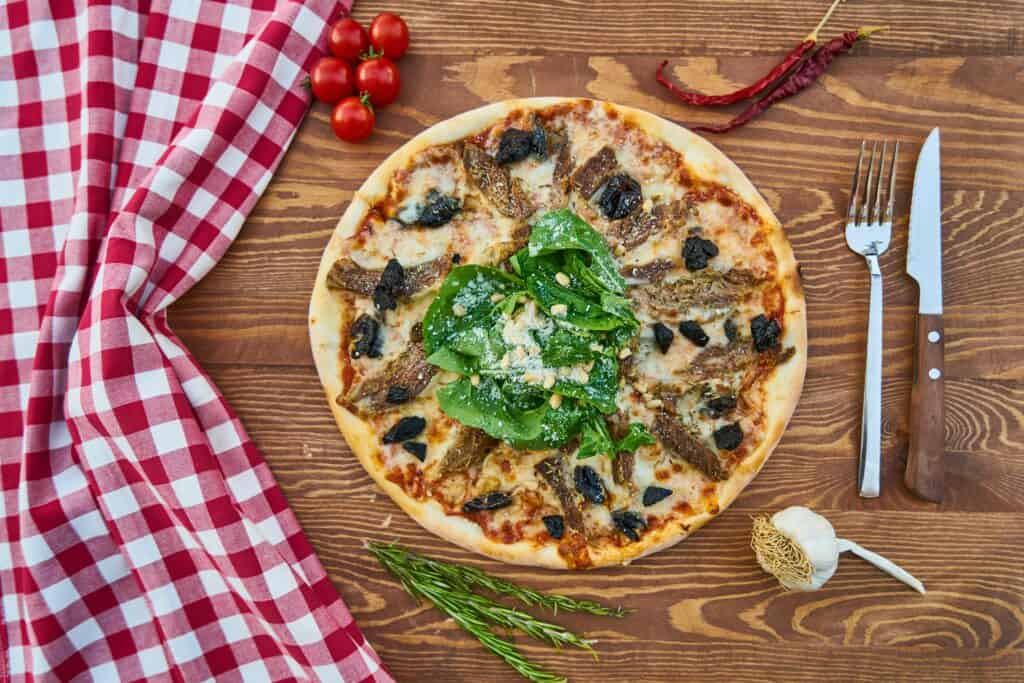
Some plates of food look better from above, like round dishes such as pizza and pasta. Some are better from the side, such as burgers and sandwiches. Drinks tend to look best at a 45-degree angle.
Try taking photos at various angles so you can pick your favorite later.
7. Make the Food Look Appetizing
There are some tricks to make sure the food looks superbly appetizing. Store vegetables, lettuce, and salad greens in the fridge with a wet napkin to preserve moisture and greenery!
Steam coming off of hot foods makes them look tantalizing. There are many ways to add artificial steam to the shot, one of which is to microwave water-soaked cotton balls and place them behind the food.
Freeze certain dishes to preserve their shape; only take them out when you’re ready to shoot. Oil will add shine to food that may have been out of the oven too long, and water will keep your herb garnishes fresh.
8. Composition
A pleasing composition is easy on the eye and attracts people to look at your photograph. Poor or bad composition looks awkward, doesn’t attract viewers, and tends to shy people away from an otherwise good photograph.
For food photography, framing is really important. Surround your subject so that the viewer’s eye will go straight to your delicious food!
Still life, such as food, does great with the Rule of Thirds. This rule states that if you divide your photograph evenly into thirds horizontally and vertically, the image’s subject needs to be placed at the intersection of the dividing lines. Any of the intersections!
9. Get Creative
Think outside of the box! Don’t just snap food the way it lays on a plate. Think about energizing the senses and adding something extra to the shot. Maybe you sprinkle around some flour? Maybe you make a creative mess? Maybe you add sparklers to the shot? Who knows! Make it your own by being imaginative.
10. Post-Processing
As much as you try to get it right in the camera, it cannot always express colors properly. As such, use editing programs such as Adobe Lightroom to bring beautiful saturation and vibrancy back into your shot! Eye-catching photographs attract the most attention. Try to adjust color tones to make them more complimentary to one another. Add clarity to texture, such as the grooves in a sponge cake!
Bonus Tips
- Write down your vision on paper before creating the dish and photographing it. Some food doesn’t last long (such as ice cream), so having a plan ahead of time will help!
- Use fake food as stand-ins to get your settings in order before using real food.
- Don’t remove the food from the fridge until you’re ready to shoot.
- Consistently look at other food photographs for inspiration and ideas.
Conclusion
Food photography has swept the nation, from rising popularity in social media to the influence of recipe blogs on Pinterest! So much of our culture revolves around dining, so it’s no wonder that this photography niche has become so significant. If you implement the above tips and steps into your work, your food photography will stand out above the rest!