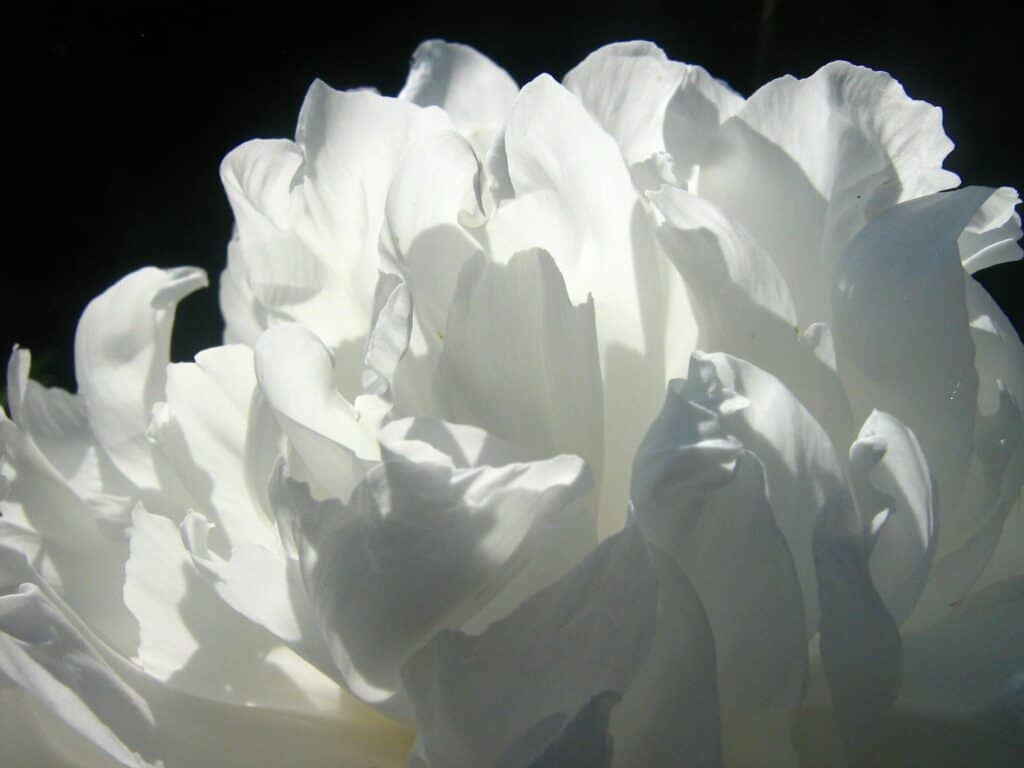
As much as we wish photography was point and shoot, ensuring that our subjects look their best is really the big task when becoming a photographer. As such, pointing and shooting is out the window- you now have to ensure proper lighting, accurate colors, and most importantly- great exposure. As a result, certain subjects become more tedious to capture- such as white objects!
The secrets to photography white objects have everything to do with how the white itself appears. Setting a good white balance and exposing well are the real secrets there. Let’s elaborate!
The Difficulty With the Color White
Each color involves light waves- and each light wave has a different property to it. The thing about the color white is that it is reflective. White bounces light around and reflects it back towards something. As such, this causes difficulty in capturing the color accurately and ensuring the exposure is proper. Because of its ability to reflect, white is very easy to over expose and lose the details of.
As well as this, once proper exposure has been acquired for the color, there is an issue of ensuring the white is an accurate white. White is most often captured as an off-white color and that has to do with improper white balance. If you’re photographing white products, making sure the white is a true white becomes important.
Exposure and Lighting for White Objects
To remedy the first issue concerning white objects, you need to light properly. If you are using natural light, try placing the white object into the shadow or some sort of even area. Direct light tends to make the white object far too bright and exposure can be very difficult.
If you’re doing artificial light, you can do the triangle arrangement with three lights. Place one light in front of your subject, and two lights behind the subject on either side. Aim all of the lights towards the subject. The one overhead produces the nice even illumination while the ones on either side create a rim and separation!
Now, as to exposure, remember that exposure dictates whether your image is too dark (underexposed), too bright (overexposed), or just right! Instead of exposure being a guessing game, in order to understand what the proper exposure is we rely on a little guide on our camera called the Exposure Meter, also referred to as a Light Meter. This measures the intensity of light, and tells us if our exposure settings are too light, too dark, or just right. To tell the light meter how to work, you have to set the metering mode.
For white objects, it is best to place the metering mode to Spot Metering or Highlight Metering.
Spot metering is where you tell the camera what spot you want to expose for. All you do is point the camera at the object or subject you want to capture exposure for and that’s it! But remember, the exposure is based solely on that one spot and does not consider anything else as a factor. This is great for white objects because you can meter directly off of the white color and expose perfectly for that.
If you’re finding that spot metering is having difficulty because the rest of your frame is still exposed improperly, you can try Highlight Metering.
Available in Nikon and some newer cameras, Highlight Metering looks at the entire image when considering exposure, but focuses its consideration on the highlights of your image rather than the shadows and midtones. This mode is intended to save the highlights of your image from being overexposed! Since white objects are prone to bright highlights, this is great.
White Balance
Lastly, the key to capturing white objects well is ensuring the white is, well, white! Changing the white balance just does that.
To explain what white balance is, we must first define the term Color Temperature. Color Temperature determines if colors are cold, warm, or neutral depending on the amount of light present. The white balance settings adjust colors so that they look more natural, or accurate to the scene. White balance gets rid of something known as a Color Cast. Color Casts are visible tints in an image. For example, a blue color cast makes every color look very cold and blue-ish. In order to reduce color cast, white balance adjusts the temperature to bring colors back to their natural state.
Properly set your white balance according to your light source or shooting environment. Without this important step, your white product will have a really bad color cast of either orange or blue, and you want it to be true white! You can take preview images of each white balance setting until you find the right one.
In conclusion, photographing the color white requires just a wee bit more effort than some of the other colors, such as red. But with the right mix of white balance and lighting, whatever white products you are capturing will look flawless!
