
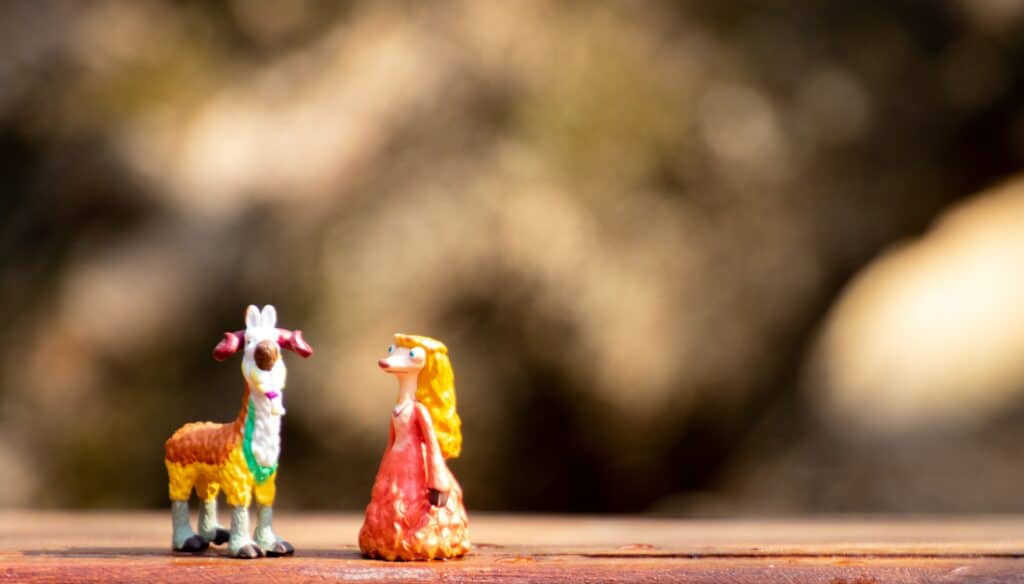
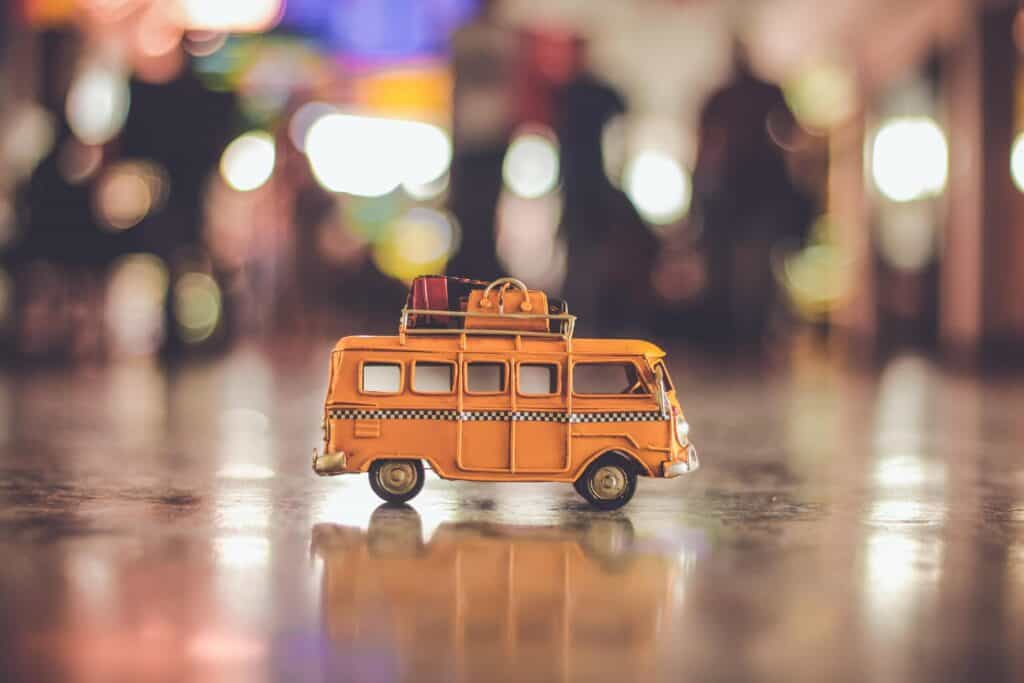
Miniature photography opens up an entire world of stories, creativity, magic, and possibilities. Miniature photography is the act of capturing small scale reproductions, such as teeny figurines. But miniature photography is not as simple as pointing and shooting, there is a specific method to getting effective images!
Firstly, you need to start with deciding what equipment to use to bring your miniature fantasy scene to life. Second, you have to really tap into your imagination and come up with a fantastic photography plot. Only then do you take the shot!
The Equipment for Miniature Photography
Capturing miniatures easily does require a specific type of equipment. From your camera and lens to the lighting itself, what you choose to arm yourself with in your photography endeavor makes a difference!
The Camera
Because miniatures won’t gain sentience and run away from you, really the only thing you’ll probably want to look for in a camera is the megapixel count. Even then, megapixel count is pretty dependent upon what you’d like to do with your miniature photography.
Megapixels aren’t a gimmick to increase the price of a camera. Alongside prints, the megapixels do impact the details and quality of an image. As you may deduce, the more pixels, the higher quality the image because there will be more details. Megapixels is a unit of measurement for the amount of pixels in a photo.
As miniatures are quite small and the details are very important in that case, higher megapixel counts will yield much nicer results. That can come at a hefty price, however, so do keep this in mind! Above 25 megapixels should do you well.
The Lens
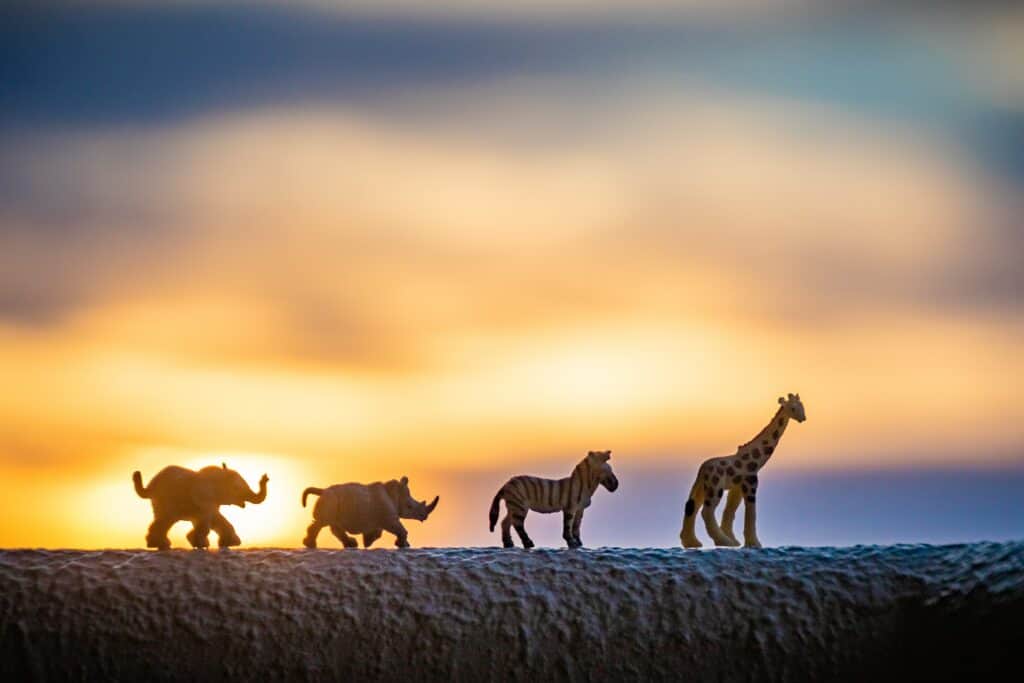
The lens is really where your photography will shine, as the lens controls the final look of an image. The optics you are using will affect perspective, field of view, and the depth of field. All three of which come down to the lens focal length- the little millimeter reading on the lens barrel! The focal length is a description of the lens that tells you what angle of view and magnification you can capture. Now, for miniature photography, you’re going to want something that will significantly magnify your subjects. This is where Macro lenses come into play.
Macro describes a type of photography in which small objects are photographed so close up that they are made to look life-sized or larger than they are in a photograph. The term “Macro” itself means “large scale”.
Miniature photography is more often than not done with dedicated macro lenses. These lenses will be expressed not just with a focal length but also with a magnification ratio.
There are three types of Macro lenses: short, intermediate, and long.
Short macro lenses range from 35mm-60mm. These lenses require you to be fairly close to your subject due to the generally wider angle.
Intermediate macro lenses are 90mm-105mm. These allow you to be further from your subject but are still a light enough weight to not be over encumbered.
Long macro lenses are 150mm-200mm. These are very high quality lenses that shoot at a long distance. However, these lenses are heavy and tend to be quite expensive.
Which one you choose really depends on your set up and what you’re looking to accomplish!
The Lights
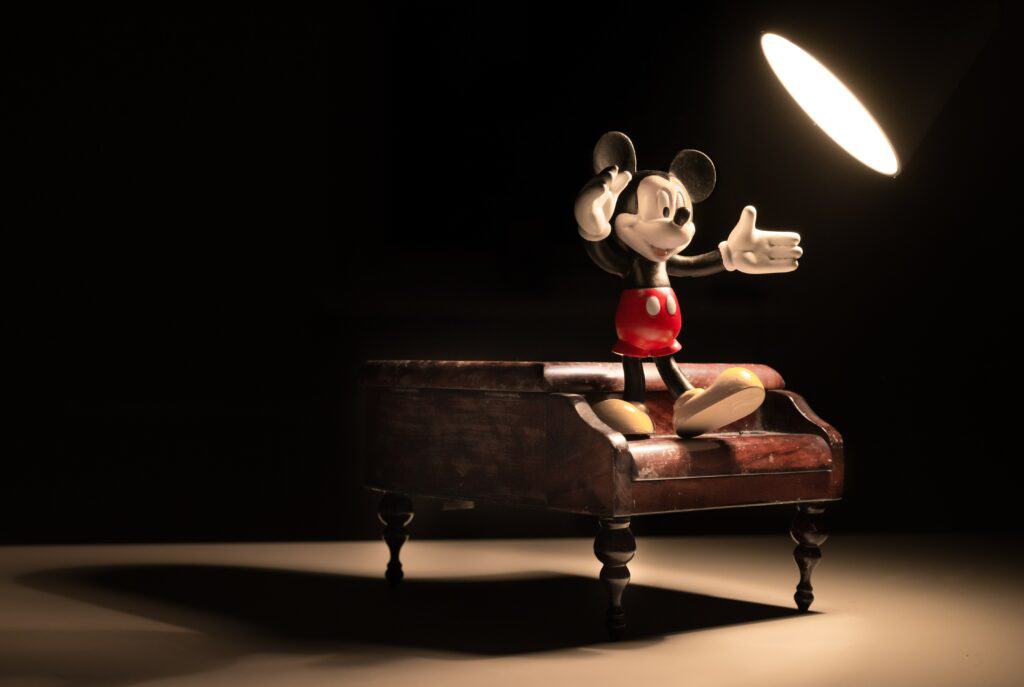
Unless you’re going outside and using natural light (in which case you can skip this tip), you’re going to want to invest in some good lighting. Because miniatures are, well, miniature- your lights don’t have to be very big. They just have to have a diffuser on them (to soften the light) and be able to be placed around your miniature(s).
The same principles of lighting a real person can apply to lighting up a scene for miniatures, just on a much smaller scale! The only difference is that because of the small size of our subject matter, it’s best to have the lights at quite a low setting. This helps to avoid over-exposure and make sure all the colours and details are visible in the image.
It’s best to use continuous lights rather than flashes or strobes.
Steps for Photographing Miniatures
Here are the five simple steps for capturing amazing miniature photography!
Step 1: Be Creative
First and foremost, the beauty of miniature photography is in being creative. Before getting ready to shoot, see what you have to use, and come up with a story, plot, or concept to capture. It’s a good idea to jot ideas down on a paper or to create a shot list to work from! Even though the miniatures are inanimate, a shot list helps organize your thoughts.
Step 2: Set the Scene

Next, you’re going to want to set the scene. Set up your backdrop, floor, all of the replicas, the location, and the lighting. Really consider what equipment you are going to use (specifically the lens of choice) when setting the scene.
Step 3: Set Your Camera Settings
Next come your camera settings. What settings you use really depend on what you want to capture. If you’re looking to isolate the miniature, use a shallow depth of field (or wide aperture). If you’re looking to capture a whole town in focus, use a deep depth of field (a narrow aperture). Make sure to adjust your shutter speed and ISO accordingly to accommodate the aperture choice!
Don’t forget to also check your white balance to make sure that the colors are accurate.
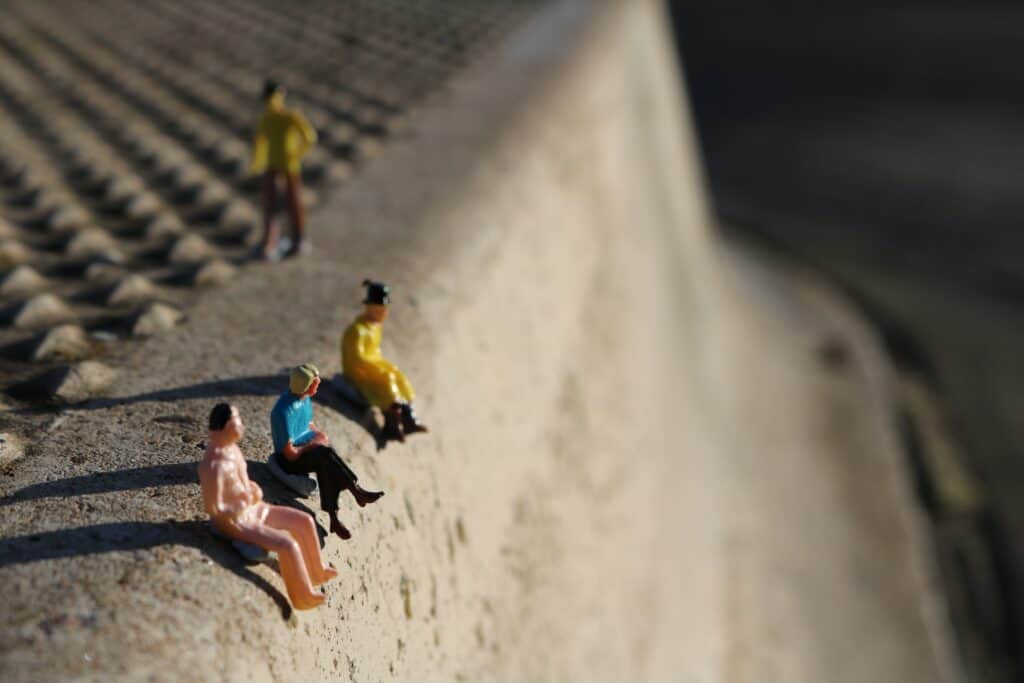
Step 4: Determine an Effective Vantage Point
Vantage point is the perspective at which you see. With photography, vantage point refers to the perspective you take a photograph at (so, it’s what your lens sees!). Your vantage point is what really makes a difference in miniature photography.
Eye level vantage point is when you capture from the ‘eye level’ of your miniature. This is a dynamic perspective that creates a lot of empathy between the viewer of the photography and the subject in the photograph.
For a sense of height, try the low vantage point (or worm’s eye view as some call it). You can use a low vantage point to instill a sense of authority and awe in your image. Subjects gain a sense of importance, power, and scale when taken from these angles. This is because the subject fills even more of the frame than they did before.
To downsize your miniatures even more, you can go with a high vantage point. High vantage points are taken above the subject at a higher angle. You can point the camera down towards the subject at an angle by being above them, or by photographing a very high up subject.
Whatever you choose will change the perception of the photograph.
Step 5: Take the Shot!
Ready, set, shoot!
In conclusion, this guide to miniature photography should aid you in your creative journey.