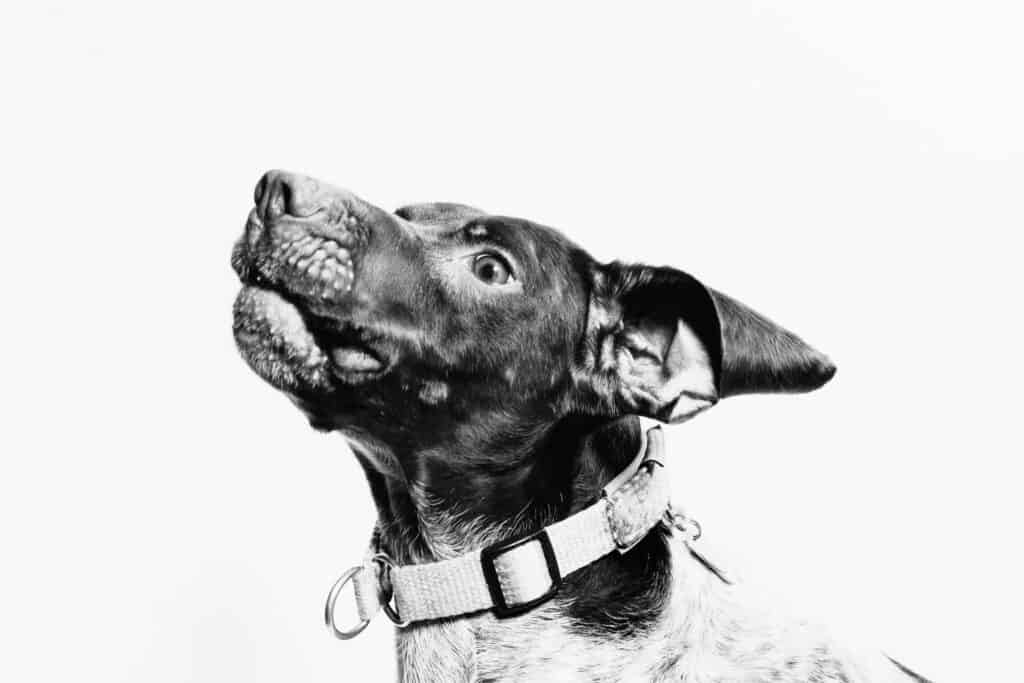
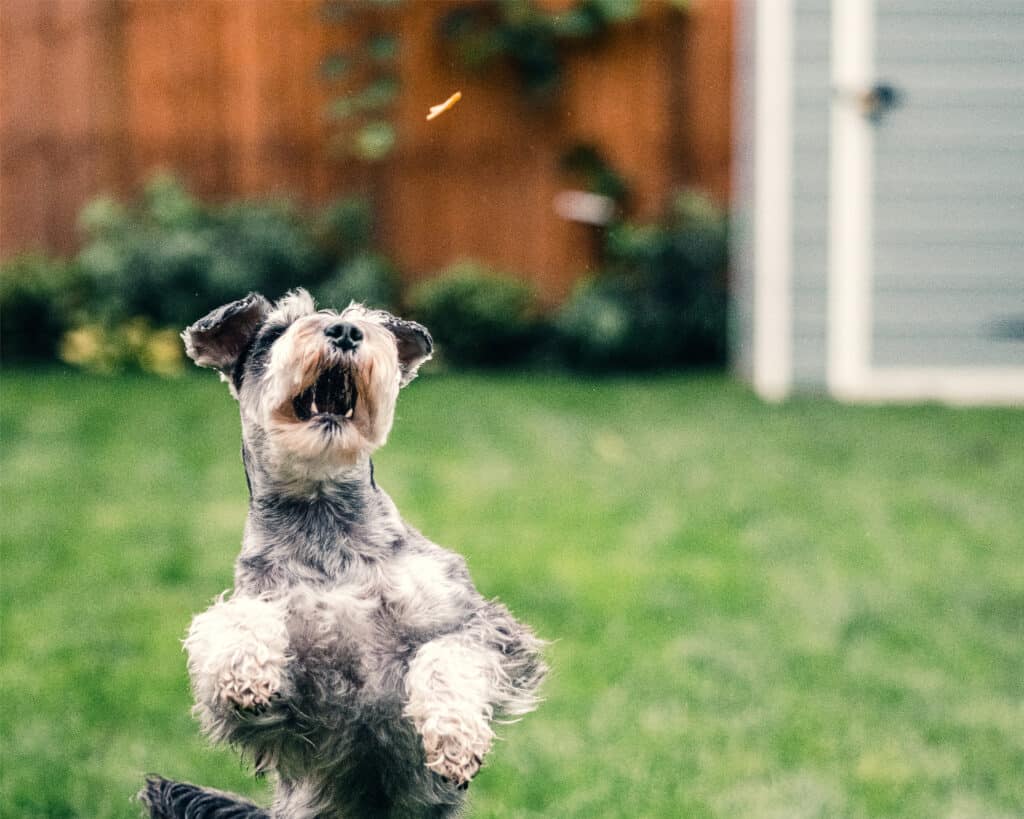
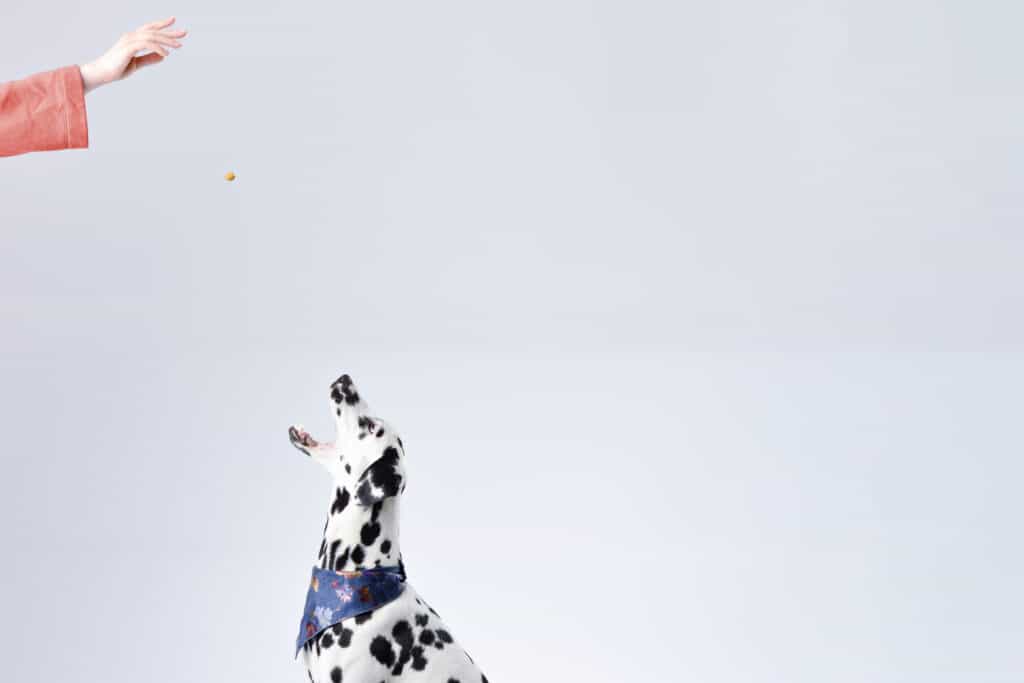
Some of the funniest photographs are of animals caught, mid moment, doing something silly! Although you can’t necessarily force your dog to do something goofy, you can encourage it with treats… one of which is to throw treats and photograph them catching it in mid air!
Photographing mid-air-treat-bite shots requires a fast shutter speed, good focus points, the right autofocus mode, and a little bit of help!
Shutter Speed!
In layman terms, shutter speed is how fast your camera can take a picture. As you can imagine, you’ll need a pretty fast shutter speed in order to catch still shots of dogs nabbing treats in mid air! The shutter speed you need to freeze action depends on how fast your subject is moving. For dogs catching treats, you’ll want your shutter speed at around 1/500 – 1/2000 at minimum.
In order to take full advantage of a fast shutter, you have to activate high speed continuous shooting (or Burst Mode). Every camera has something called FPS, or Frames-Per-Second. What this discloses is how many pictures a camera can snap per second of shooting.
To access this feature to its maximum potential, you have to go to the menu of your camera and set it to either “Burst Mode” or “High Speed Continuous Shooting” (depending on your camera brand). Your camera will then fire off as many photographs as it is capable of taking per second. This allows you to capture an entire series and pick out the best moment.
Focus Mode!
By default, your camera is set to One-Shot right out of the box. You need to switch your camera over to Continuous Autofocus (AI Servo in Canon, AF-C in Nikon, Continuous AI in Sony, etc.). Continuous Focus is when the camera’s focus keeps refocusing on the subject as it moves. The dog will go through a wide range of movements in order to capture a treat, and you want to have each movement sharply in focus.
Focus Points!
In order to make sure that the pup is clearly in focus, switch to Single Point Focus. By default, your camera focus points will be set to Area Autofocus. This means that the camera will try and determine what you want to focus on, and this isn’t very accurate. As such, you want to ideally switch your focus point to Single Point (or Spot in some brands) Focus- this means that the camera will focus on whatever area you tell it to! Use the keypad, dial, or other nob on your camera to adjust your focus points.
The Shooting Part

Now that you have your settings adjusted, now comes the actual shoot. This one does take a bit of planning as you want to be able to position yourself properly, achieve the correct focus, and account for the amount of movement you may experience from the dog prior to pressing on the shutter. Remember that dogs jump quite a bit to catch a treat, so it’s suggested to shoot with a wider frame of view! You can always crop in when you need.
If you’re capturing the session outdoors, the settings should be pretty easy to achieve due to the amount of available light. If you choose to go the studio route, make sure that your lights are powerful enough to allow for a fast shutter speed!
Who Throws the Treat? How Do You Throw the Treat?

Ah, the big question! Who throws the treat and how do you throw it? Well, this really depends on the dog.
If you have a dog that is able to catch treats efficiently mid-air, then you can usually get away without a helper. If you have a dog that needs some help, then having a friend there is beneficial.
To throw, throw the treat as high up as you can without throwing it so high that the dog cannot find it! A few feet above the dog’s head should be good.
In conclusion, go have fun with your pup and catch those awesome chomping shots!
