

Whether you’re in a book club, a reading lover, or a fervent Instagram poster- there are many reasons to photograph books. From sharing your favorite stories to capturing a sentimental moment, book photography has charmed photographers since the beginning of the craft. However, the key is to make sure the book looks flattering and your image is interesting!
The secret to great book photography has to do with how you create the shooting space. Natural light works best, along with really capturing the book’s shape and feel. Staging adds even more to the scene, with a fantastic composition and perspective setting your work apart from the rest!
Capture Books in Natural Light

In photography, every object, surface, color, and texture reflects light a certain way. These properties emphasize whether or not the subject does well with a specific type of lighting.
In the case of books, they don’t tend to do well in artificial light. Artificial light includes studio lighting, flashes, strobes, as well as your run-of-the-mill table light or indoor lighting system.
This is because the way that paper is, artificial light tends to make your book pages look yellow. Unless you really are capturing aged books that have yellowed over time, you want the pages to be a beautifully crisp white! Secondly, the surface of your book, paperback or hardcover, will very likely cause you to get those “hot spots’ ‘ (areas in an image that are overexposed, typically in white) which is caused by the reflective surface. Continuing forth, as a result of the reflectiveness, the book cover colors will not be true to life.
Look for natural light to capture your favorite book- whether it be sun shining through a window or have the shot actually taken outdoors. The tip here, though, is to make sure your book isn’t in absolute direct sunlight because you may find the harshness or reflections unflattering. Window light is usually the best to use! It also makes sense given the book’s commonplace home (on a desk or table).
Take Advantage of the Book’s Shape

Books are beautiful by nature. From the gorgeous binding to the elegant pages. Take advantage of these beloved characteristics by photographing the various shapes a book can make. Whether it is folding the pages into a heart or stacking books in a strategic manner, remind people the nostalgia and comfort of books through your images.
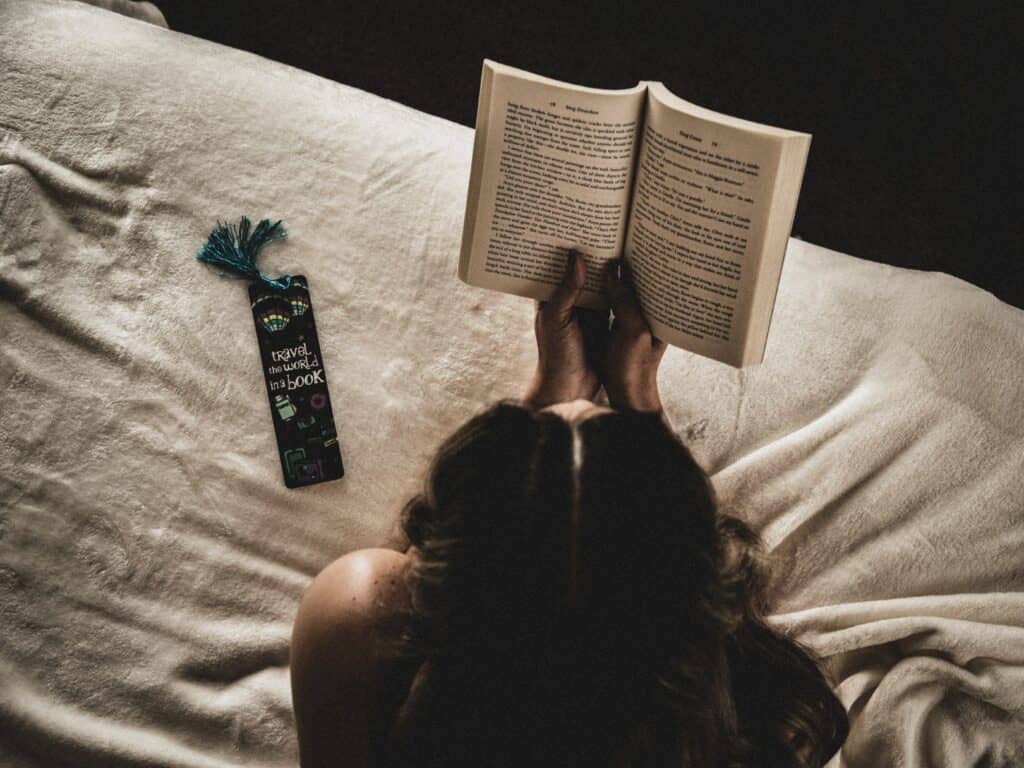
Stage the Scene

Props and staging really help bring a photograph to life. These ‘background’ elements create the story, sell the idea, and push an emotion in photography. With strategic decisions on what to include in an image, you can add a whole new element to the shot (and it is well worth it).
Keep in mind that you don’t want an image to feel too cluttered or busy. Less is more, add the pieces that provide value to the shot and take away the ones that make the image look too chaotic.
As for the location, look for flat surfaces that are either solid in color or have just a wee bit of texture to them (such as wood). You can use a blanket, tray, or paper as a surface to shoot on. Or, add actual furniture to the shot such as a desk, bed, chair, or rug.
Play with Perspective and Composition

Perspective and composition are the other elements necessary for great still life photography.
Perspective is the vantage point at which you photograph a picture. The vantage point expresses your point of view (literally) and helps differentiate you from other photographers. Vantage point is also a great way to show photography at its finest- expressing the world in ways that the average person may not have seen or considered. For books, try playing with different angles and experiment with height!
Pleasing composition is easy on the eye and attracts people to look at your photograph. Poor or bad composition looks awkward, doesn’t attract viewers, and tends to shy people away from an otherwise good photograph.Still life (books, in this case) does great with the Rule of Thirds. This rule states that if you divide your photograph evenly into thirds, both horizontally and vertically, the subject of the image needs to be placed at the intersection of the dividing lines. Any of the intersections!
Use Editing To Set the Mood
Finally, a bit of post processing work in either Adobe Lightroom or Adobe Photoshop never hurt! Use editing to really set a mood in an image, whether it be dark and mysterious or light and airy. You can do this by playing with the exposure settings (whites, blacks, shadows, highlights, and contrast) and color grading your image using the HSL (Hue, Saturation, Luminance) sliders.
In conclusion, you will definitely be the talk of the town amongst fellow readers and book lovers if you follow the above steps.