
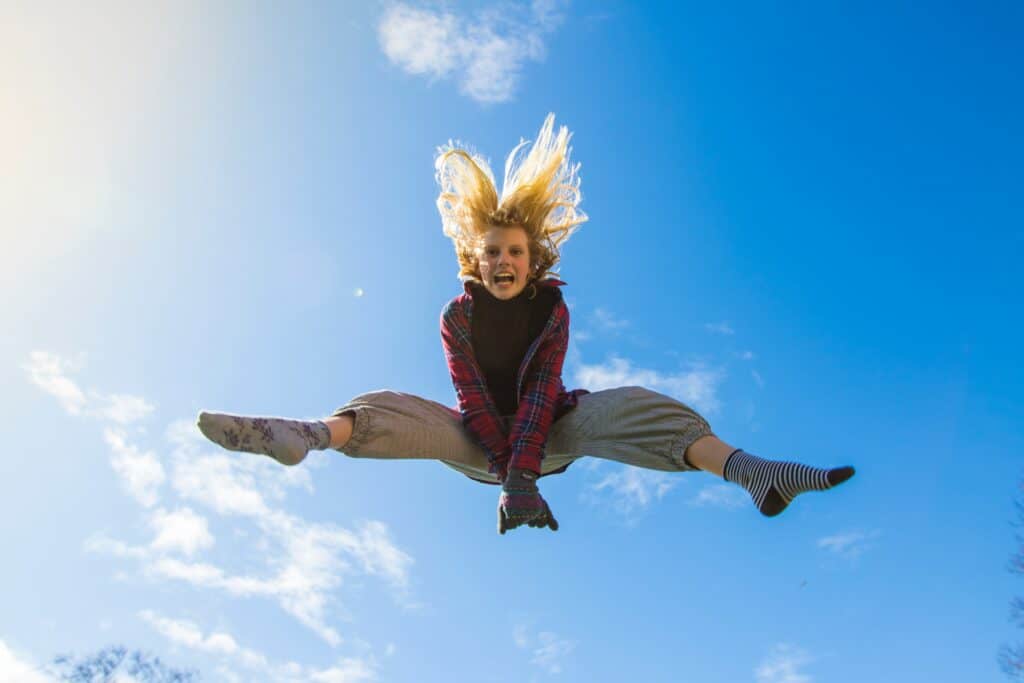
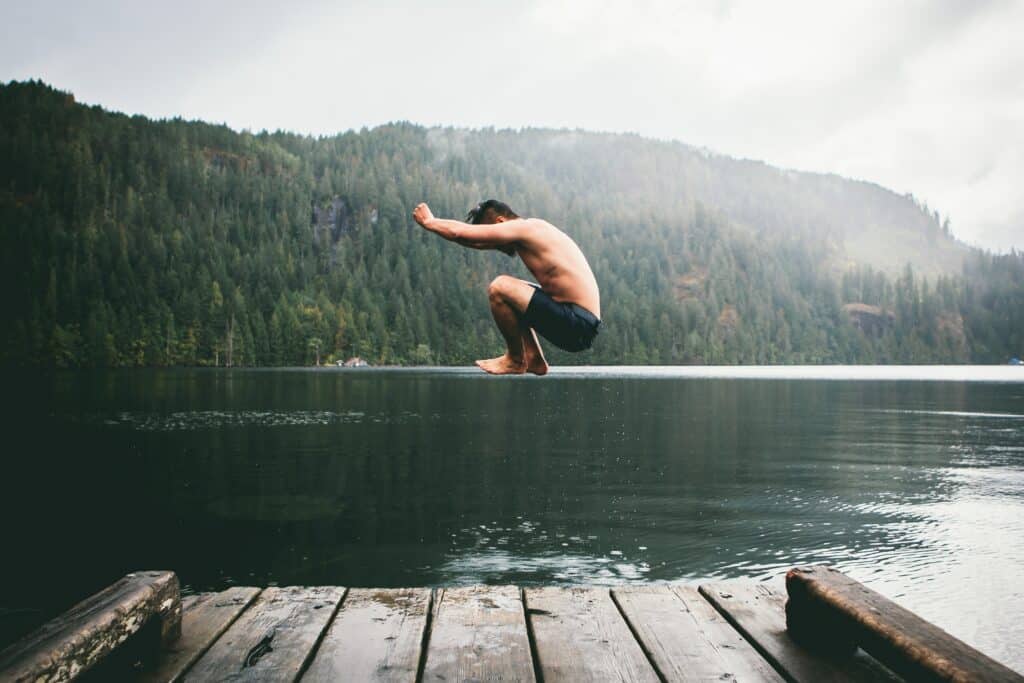
Action photography is most definitely the most eye-catching of the photography types. From leaping pups to incredible acts of human ability, the action freezes movement that we otherwise miss when watching. However, action photography isn’t as easy as clicking the shutter at the right time – here is our ultimate guide to photographing moving subjects!
What Makes Action Photography so Difficult?
The most common problem with capturing action photography is ensuring the subject is clearly focused! Because your subject moves so quickly and abruptly, the camera may slip focus, resulting in a blurry photograph.
Also, movement is rapid, and sometimes movement is so fast that it blurs instead of freezes. This often causes photographers to give up capturing action altogether!
But fear not; there are remedies to all of these problems.
Action Photography Settings
Firstly, as daunting as it may seem, you’ll want to switch your camera mode to Manual (not Sports).
Sports Mode is a type of automatic mode on a camera. Based on its sensor reading, the camera makes all of the decisions for you. In Sports Mode, you select the shutter speed, and the camera then chooses the ISO, Aperture, White Balance, and more based on what its sensor tells it to.
This has a lot of room for error, especially since what the camera can consider proper exposure may not actually be correct. As such, you want to remain in full control of the settings – so it’s time to go to Manual Mode!
In Manual Mode, you adjust the entire exposure equation and all the more minor configurations, such as the Auto Focus Settings and White Balance. Manual mode gives you the ultimate freedom to capture the exact image you want and ensure you make the decisions – not your camera!
This mode also prevents the camera from glitching during an automatic mode and causing you to miss your shot – something you cannot afford in action photography.
So here are the settings you need:
Shutter Speed
Shutter speed is how fast your camera can take a picture. In your settings or on the camera screen, this is denoted by 1/-insert number here-. This refers to how long the shutter in your camera is open. The larger the number after the 1/—, such as 1/1000, the faster the shutter moves.
To capture the action, your shutter has to be fast and open for as minimal a time as possible! Fast shutters capture photographs more quickly than slow shutters. For action, your shutter must be above 1/500 minimum.
Now, shutter speed is just one variable in the exposure equation: shutter speed + ISO + aperture = exposure. When the shutter speed is set, the other variables must also change to accommodate.
This is because the faster the shutter speed, the darker the image will look because light has much less time to hit the sensor. As such, your ISO will need to be bumped up, and your aperture will also need to be widened to let in more light.
Spot Metering Mode
When setting the shutter speed you need, the ISO and aperture must be adjusted accordingly. To do this properly, photographers rely on an Exposure Meter to tell them whether their camera settings are too bright, too dark, or just right.
The exposure meter, in turn, relies on the camera’s sensors to detect the intensity of the available light and indicate what would be a proper exposure. The camera’s sensors are adjusted via Metering Modes.
By default, the camera’s metering mode is Matrix / Evaluative Metering, which scans the entire scene and picks out the most proper exposure for the whole photograph.
However, as an action photographer, you will want to change this to Spot Metering. Spot metering is where you tell the camera what spot you want to expose. All you do is point the camera at the object or subject you want to capture exposure for, and that’s it!
The exposure is based solely on that one spot and does not consider anything else as a factor. This is a great thing for action photography because the most important factor in that shot is capturing the subject in motion – the background seldom matters after that. As such, you want to ensure your subject is properly exposed above all else.
Single Point Focus
Focus points are little dots that tell the camera and its lens what to lock focus on. By default, your camera focus points will be set to Area Autofocus. This means that the camera will try to determine what you want to focus on, which isn’t very accurate for action photography.
As such, you want to ideally switch your focus point to Single Point (or Spot in some brands) Focus – this means that the camera will focus on whatever area you tell it to! You need to line up the little black square that appears in your viewfinder over the subject you want to focus on.
Continuous Autofocus
Firstly, you must use an autofocus lens and switch to autofocus. Manual focus is extremely difficult for action photography because you may not be fast enough to adjust focus.
By default, your camera is set to One-Shot. As you can imagine, One Shot does nothing for action photography because the subject is constantly moving. You must switch your camera to Continuous Autofocus (AI Servo in Canon, AF-C in Nikon, Continuous AI in Sony, etc.).
Continuous Focus is when the camera’s focus keeps refocusing on the subject as it moves. This is great for action photography and is how sports photographers can capture sequences of movements!
Continuous Focus can further be broken down into sensitivity or movement settings, such as in models like the Canon 7D and Canon 5D. You can tell the continuous focus mode that the subject is moving erratically in various directions or that there are obstacles in the way to ignore.
Burst Mode
Every camera has something called FPS, or Frames-Per-Second. This discloses how many pictures a camera can snap per second of shooting.
To access this feature to its maximum potential, you have to go to the menu of your camera and set it to either “Burst Mode” or “High-Speed Continuous Shooting” (depending on your camera brand). Your camera will then fire off as many photographs as capable per second.
This is instrumental in capturing amazing action photographs; you cannot do it well without it!
JPEG Format
Speed is the name of the game with action photography. Although RAW format helps save images that need a lot of editing, it’s very slow to write to the card. The economic size of JPEGs allows digital cameras to use their Frames-Per-Second and high-speed shooting modes fully.
Frames-Per-Second is rated for continuous JPEG images, not RAW images. This is because JPEG is so quick and easy to write that even cheap memory cards can write the images quickly.
Action Photography Techniques
Once you have your settings in order, several techniques are implemented for effective shots.
Panning
Panning is a photography technique in which the photographer follows the moving subject with the camera horizontally. This is best for action photography because you can capture every moment in an action sequence.
The tip for panning is to ensure your subject is always centered in your frame, making it easy to follow.
Pre-Focus
If you’re photographing a sporting event or trying to capture a dog jumping over an object, sometimes the camera can have trouble focusing on your subject (even if you are using Continuous Autofocus mode).
The remedy is to pre-focus on the spot where you know the action will happen and then click on the shutter button when your subject is there!
Re-Focus when Necessary
Even though Continuous Autofocus locks on the subject and doesn’t let go, sometimes it will lose focus because the camera is a machine and not an intelligent being. If you see your camera dropping focus as you’re shooting, quickly press down on the shutter speed halfway to re-lock focus and continue forth!
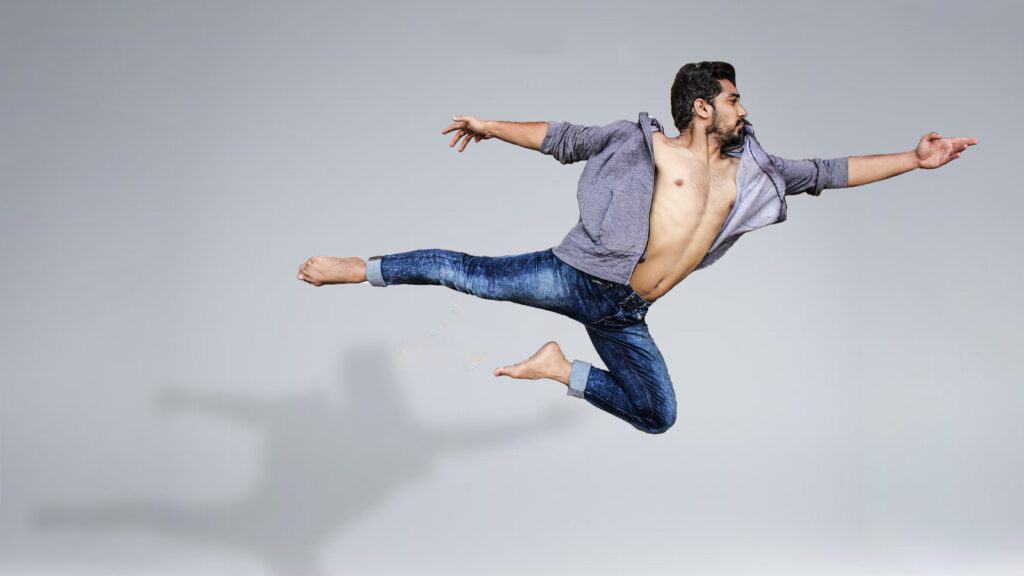
Frame the Shot For Action
For some types of action are hard to predict the direction or height of the movement.
As such, frame the shot for whatever movement may occur. Shoot a little bit wider and then crop in! That’s better than having limbs cut off of an otherwise excellent shot.
Composition is Important
Composition (the arrangement of elements in a frame) is important for effective action photography.
You always want to leave more negative space toward implied movement. This keeps your photograph from feeling claustrophobic or too abruptly cropped.
An implied sense of movement means the direction you think the movement will go in a still image. For example, if a horse runs to the left in a picture, the implied sense of movement is toward the left.
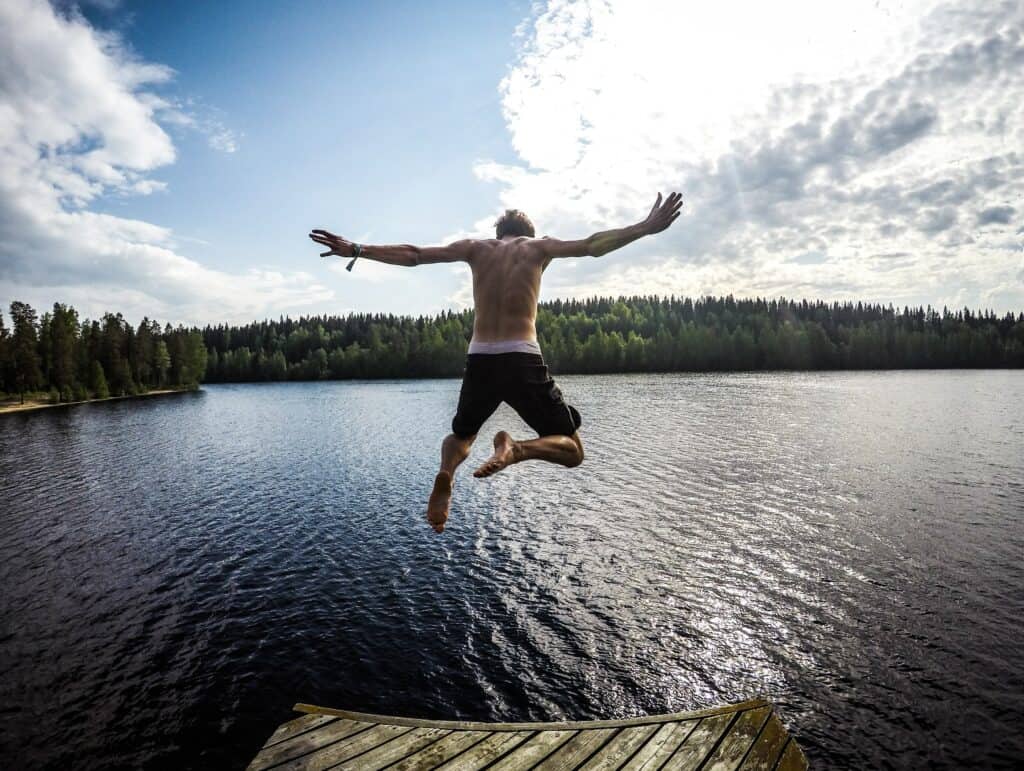
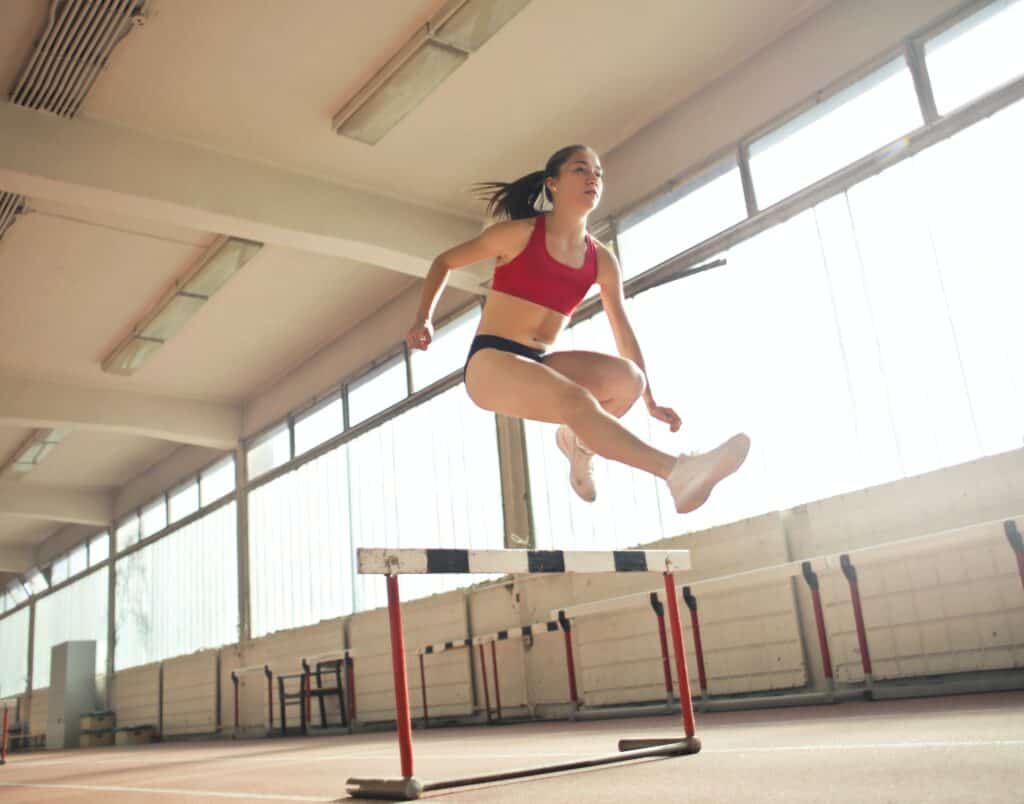
Photographing Moving People
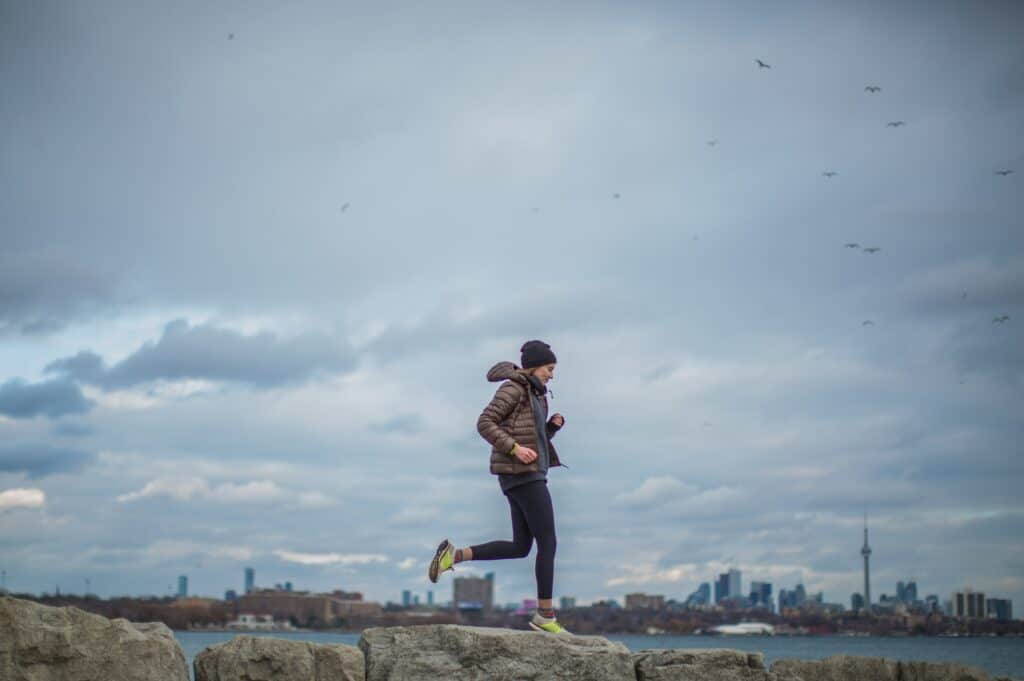
Shutter speed is primarily adjusted according to the speed of the action you are capturing. For humans, the following proves true:
1/125-1/150 is great to snap a person walking leisurely.
1/500-1/1000 seconds will capture a person running or jogging.
Photographing people moving is easier because you can walk alongside them or get up close to capture the action. As such, you usually don’t need more than a standard lens.
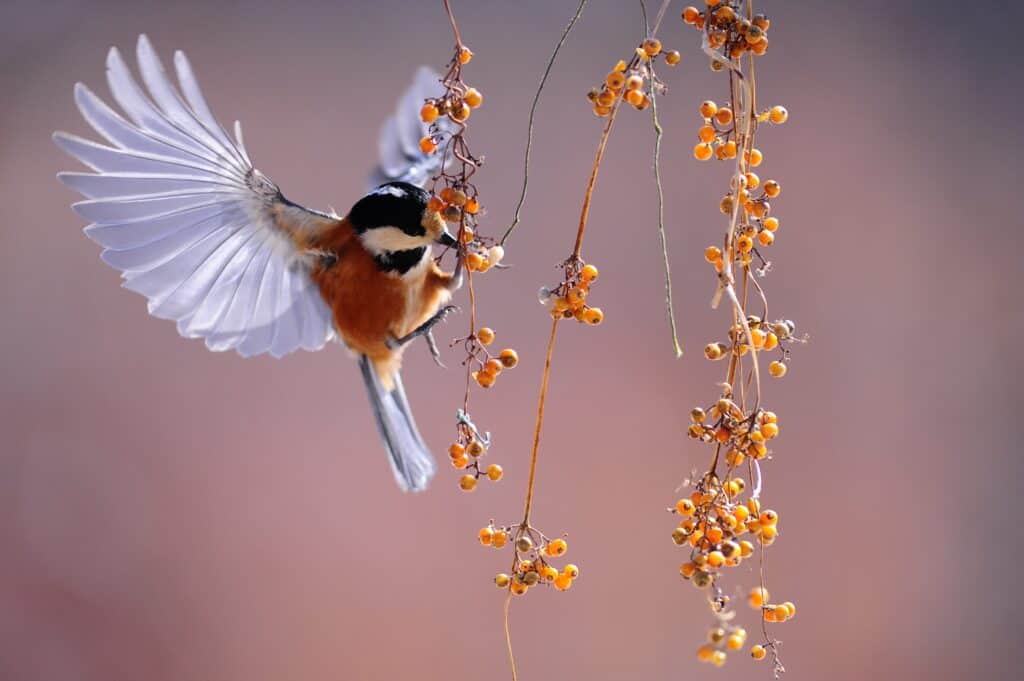
Photographing Moving Animals

Animals tend to move faster than humans do. As such, the shutter speed range is as follows:
1/500-1/2000 seconds will freeze an animal running.
1/800-1/2000 seconds will photograph faster movements, such as a bird flying.
To capture animals, you’ll likely need a telephoto or zoom lens. Animals are easily distracted or fearful of equipment, so ensuring that you are as removed from the situation as possible is key. This is where telephoto lenses and zoom lenses come into play!
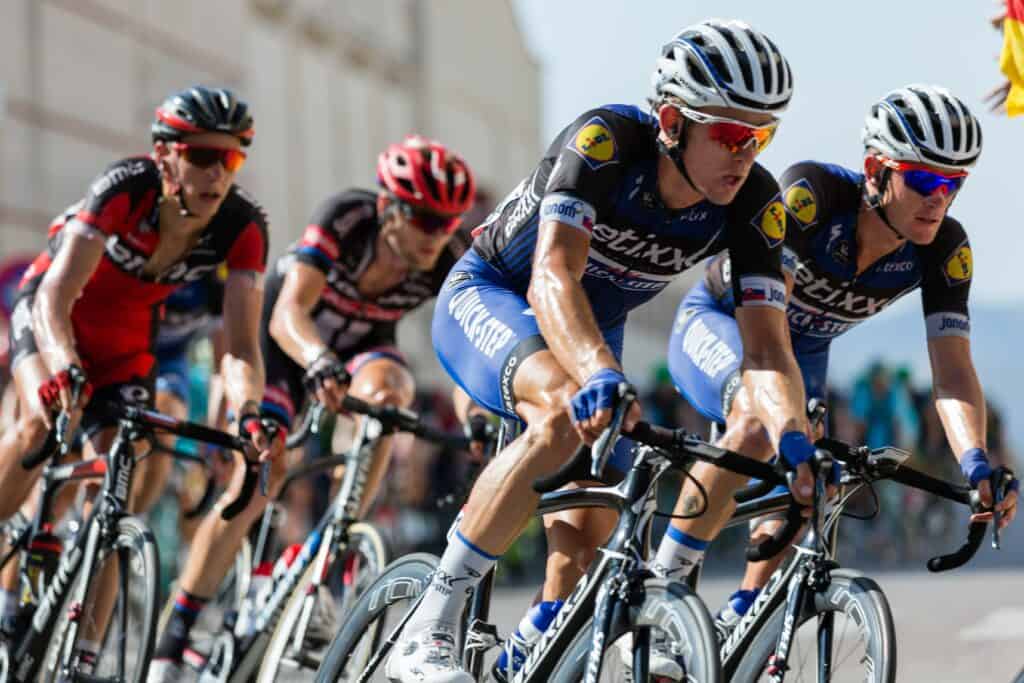
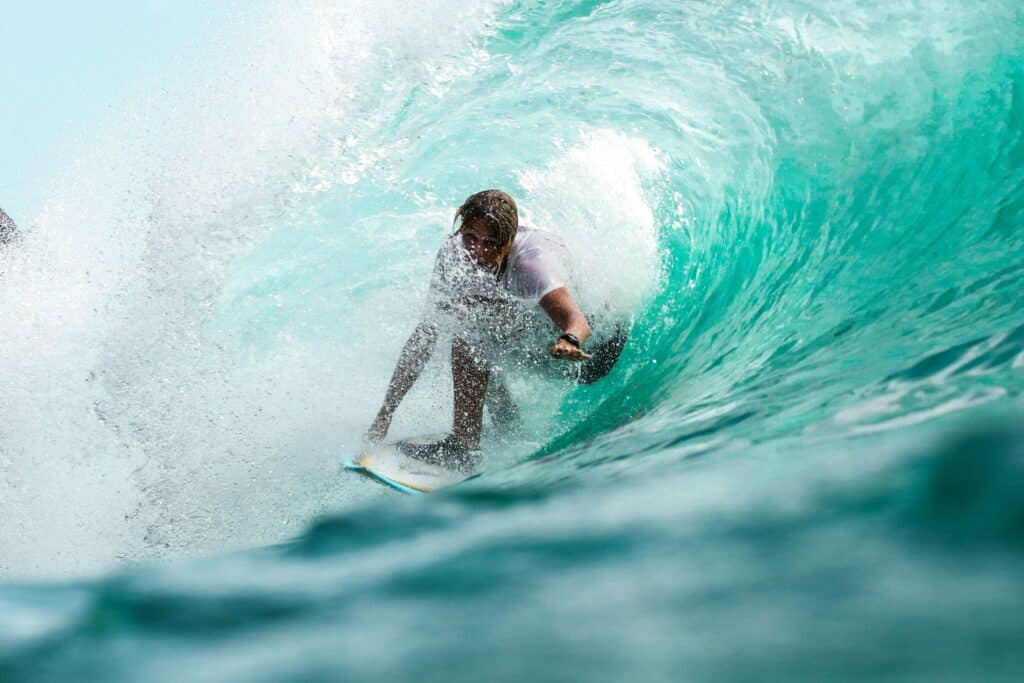
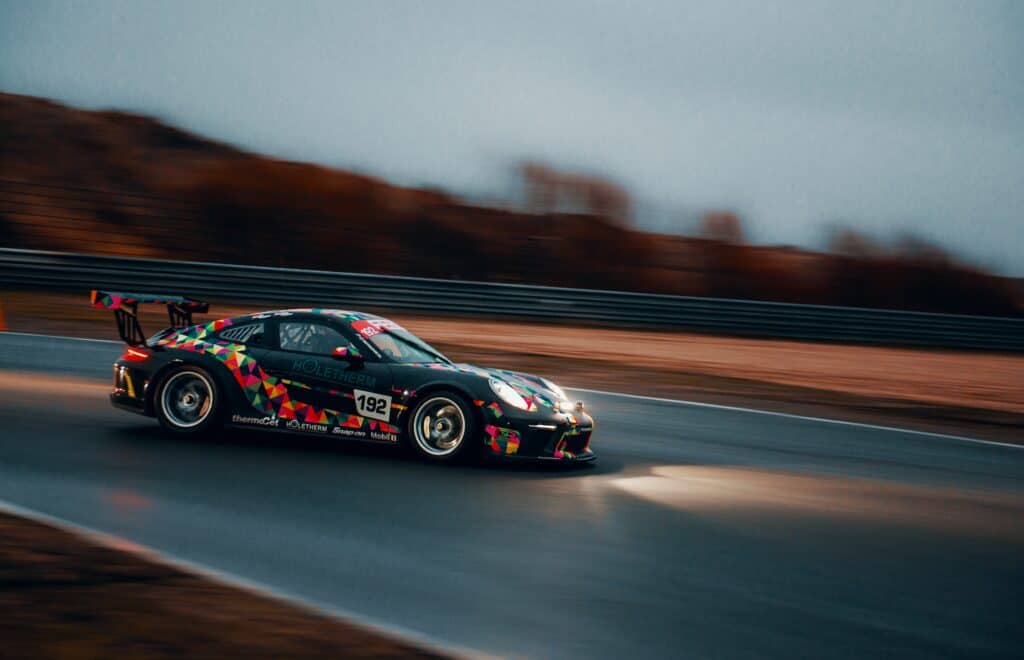
Photographing Sporting Events
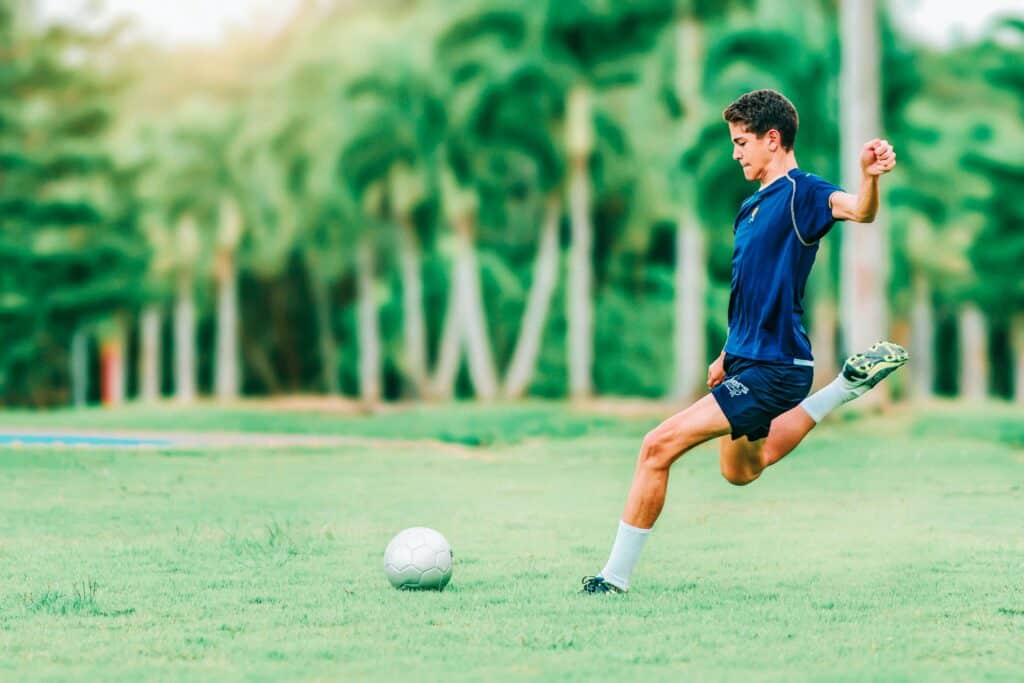
That said, sporting events move even faster than animals depending on the sport. As such, the following is true:
1/500-1/8000 seconds is great for anything faster, such as a car racing on a track or horses galloping at the Kentucky Derby.
Sporting events will almost always exclusively require telephoto or zoom lenses because, for your safety and the safety of the athletes, you will need to be positioned far away.
How To Photograph Moving Objects (Macro-Style)

If you’ve ever seen those cool splash photographs, that’s capturing moving objects. The upside to this type of photography is that it’s usually done indoors, so you can fully control the lighting!
As such, you can raise your shutter speed as high as you see fit for what you’re capturing. This is because you can add more light as need be. Most moving object splash shots are taken with a shutter speed of 1/2000 and above!
That being said, a lot of objects are very small. You need to use a macro lens to get close to it! If you’re finding that focus is still difficult, prefocus on the spot where you know the action will occur. Raise your aperture a little bit, around F/5, so that you have more room to focus as well.
How To Photograph Low-Light Action Photography
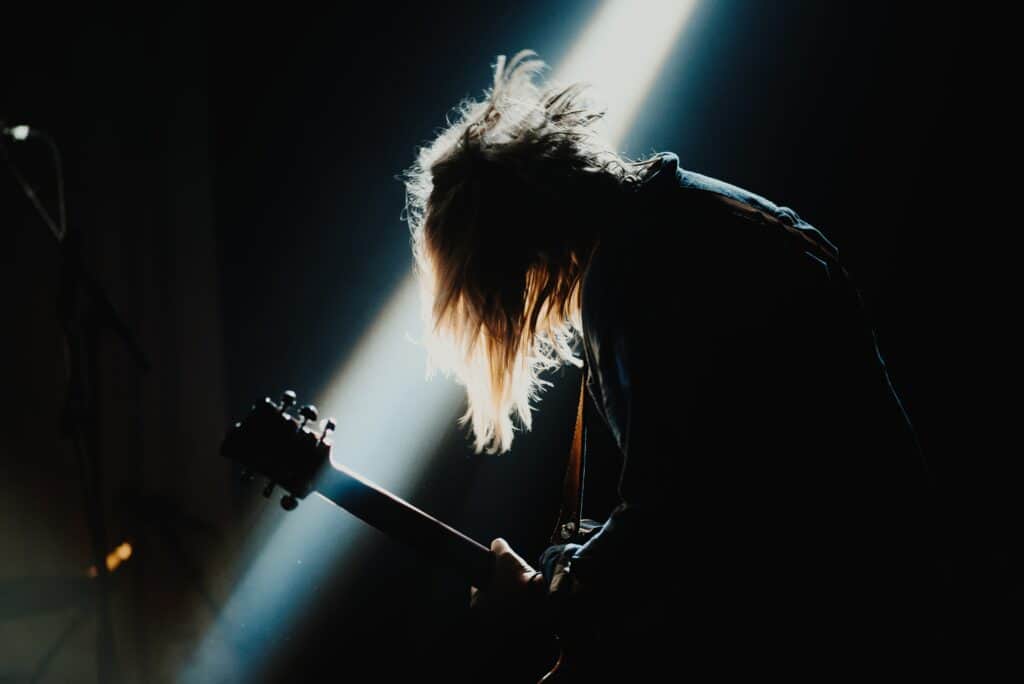
Low-light action photography is where things get a little bit tricky. This applies primarily to photographing live concerts or indoor sports games! Action photography requires light to be able to raise the shutter speed fast enough to freeze movement. Low light hinders this endeavor by simply not allowing enough light to come in.
As a result, low-light action photography can only effectively be accomplished with proper equipment.
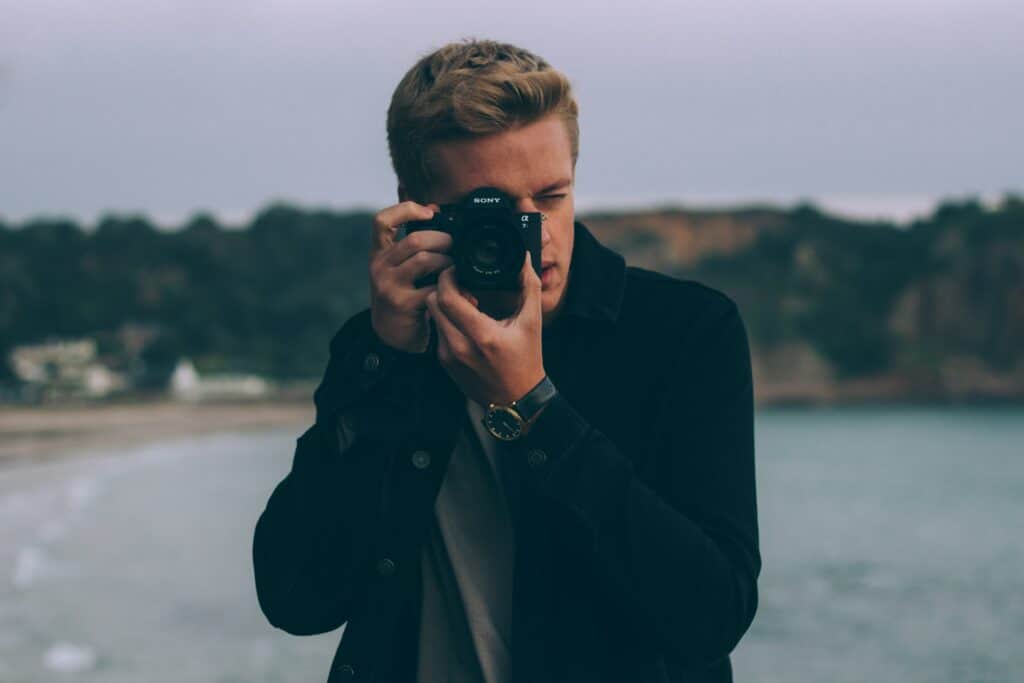
The Camera
The camera you’re going to want is one that does well in low light. Other factors also matter, such as the megapixel number and speed, but the low-light capability is most important for this line of work.
Look for models with less noise at higher ISO levels and sensitive sensors that do well in difficult lighting situations. With the internet at your disposal, compare the low light abilities of several models before settling on one.
A higher megapixel count picks up much more detail than lower megapixel counts, and this detail can make a difference when you look at the finished images.
The Lens
Since we are shooting in low light, it is highly suggested only look at lenses with a maximum width f/stop of 2.8. Lower is even better. If you want to take a well-exposed photo in low light, you need a lens with a wide enough aperture to let in more light. For example, using a lens that goes down to f/1.8 is a great way to let enough light in and make the frame bright. Remember, the aperture is the hole the light passes through in your lens. The wider the aperture, the more light enters the camera.
You also want to purchase a lens that has Image Stabilization in it. Image stabilization will ensure that your hand shaking won’t affect a slow shutter speed.
Shooting Technique
After you’ve gotten your equipment, you may still find that your settings look strange depending on the conditions of the venue you are shooting in. Some dive bars have extremely little light for concerts to the point where going to a high shutter speed isn’t possible.
You can remedy this using Burst Mode and a steady grip on your equipment.
Slow shutter speeds are affected by camera shake, such as your hands trembling under the weight of the equipment. But by holding your camera properly and keeping your elbows in, you’ve turned your body into a stable tripod. Also, activate Image Stabilization for extra shake protection.
Next, focus on the subject and fire off as many images as your FPS allows! Try to follow the subject with minor movements, nothing big and rapid. It’s okay to capture your subject with a bit of a wider lens and then zoom in when you’re editing.
At least some images will be perfectly frozen and focused if you do the above!
Conclusion
Nothing is too fast for you to capture! Take these tips to your next sporting event and capture images that will amaze the world.
Remember to keep your settings as this article mentioned; you shouldn’t have much trouble. Continuous autofocus and burst mode are the keys!