
What separates the hobbyist photographer from the professional is good lighting. Lighting is everything in an image, it aids in creating sharpness, showing depth, and telling a story! However, if you’ve ever tried to shop for lighting- you may have found that the price is a bit steep. Fear not, there are some DIY methods to achieve the same look!
Here is our list of photography lighting ideas that everyone can do!
DIY Diffusers
Most of the time, you cannot use a light ‘bare’ as they call it. A bare light is one that has nothing filtering the light that comes out of it. Bare lights are usually too harsh for flattering pictures.
What professional photographers do is cover the light with something called a diffuser. A diffuser is any type of product that diffuses (softens and spreads) the light. Diffusers mimic more natural lighting and prevent your subject from looking too harsh.
Flat Diffuser
This is the easiest one to make. Grab an old picture frame, take out the center, and stretch a white curtain or white fabric across the frame. Make sure the fabric is not black-out style, it needs to show light through it. Attach this fabric in whichever means feel the most stable to you, whether it be by nailing it or gluing it.
You can put a light behind it and you’ve effectively created a diffuser! The closer you move the light to your white fabric, the harsher it’ll be. The further away, the softer it will be. Easy!
Softbox Diffuser
Softboxes are the most commonly used diffusers in the photography industry. They can be attached to any light, whether it’s a bulb or a flash. You can make one yourself for around $10, versus the usual $35+ you’d spend buying one.
Firstly, you want to measure the light you will attach to the softbox to. Softboxes don’t stand on their own, they attach to a light and stand.
Next, take some cardboard and cut four panels of the appropriate size (for four walls). Glue aluminum foil inside of the panels, you need this shine to bounce the light around. Then, attach your four panels together using tape, leaving a hole at the end to attach to your light. Then, much like with the flat diffuser, take some white fabric and stretch it over the front.
Box Diffuser
Here is a fun one that requires no crafting skills at all! Go to any fast food joint that has a burger box and order a burger. Ask for a straw.
Open the box, flip it upside down, and use a straw to attach it to any small light you have. Make sure the box hangs above your light so that it reflects it back on to your subject. Most people use a flashlight as their light source.
Balloon Softbox
For something whacky but effective, you can create a balloon softbox. Just grab a flashlight, inflate a balloon, and tie the inflated balloon around the flashlight. Make sure the balloon is white.
Reflector
Reflectors are panels that reflect the light wherever you position them. This is best used with diffusers. You can make one at home easily but just opening up a white paper notebook and using the inside pashes as your reflector.
You can also borrow your car’s windshield reflector.
DIY Flash Modifiers
Flash units are lighting tools that attach to the hot shoe (top) of your camera and let out a powerful burst of light. This is a form of artificial light. Flashes tend to work best when modified. Modifiers are any sort of accessory or tool that changes how or where the burst of light goes.
Bounce Wall
The key to using a flash unit well is to never aim it directly at your subject- instead, you shoot it at a wall and bounce the light back. This helps make the light more natural. But what if you don’t have a wall to bounce or the ceiling is too high? That’s when you use a Bounce Wall.
You can make one of these really easily, and for just a dollar or two. All you need are a wire hanger, some cardboard, aluminum foil, clothes peg, tape, glue, and a tripod screw (you can get one on Amazon easily).
Use the wire hanger and bend it in the middle, covering each end in tape thickly. Push the tripod screw through the tape and attach the hanger to the camera. Finally, attach the reflector to the free end of the hanger using a clothes peg, adjusting the angle to about 45 degrees for ultimate bounce.
Snoot
A snoot is a fun flash modifier that pinpoints the light to one particular spot, kind of like a spotlight. You can make this in a minute using a Pringles can. Just cut off both ends and attach the can to your flash with tape.
Flash Box Diffuser
Need a diffuser for your rectangular flash? We got you! Grab a white semi transparent plastic milk carton, cut off the end, and fasten it to your flash with tape.
Flash Grid
Grids, or honeycombs, are a very common light modifier that directs the light into specific points on your subject. This is often used to highlight hair. You can make one yourself using black straws, cardboard, some masking tape, a knife, and a ruler.
Decide on a length that seems reasonable for your flash size. Cut the straws to that length and fix them together. Prepare a frame made of cardboard and insert your straws into it.
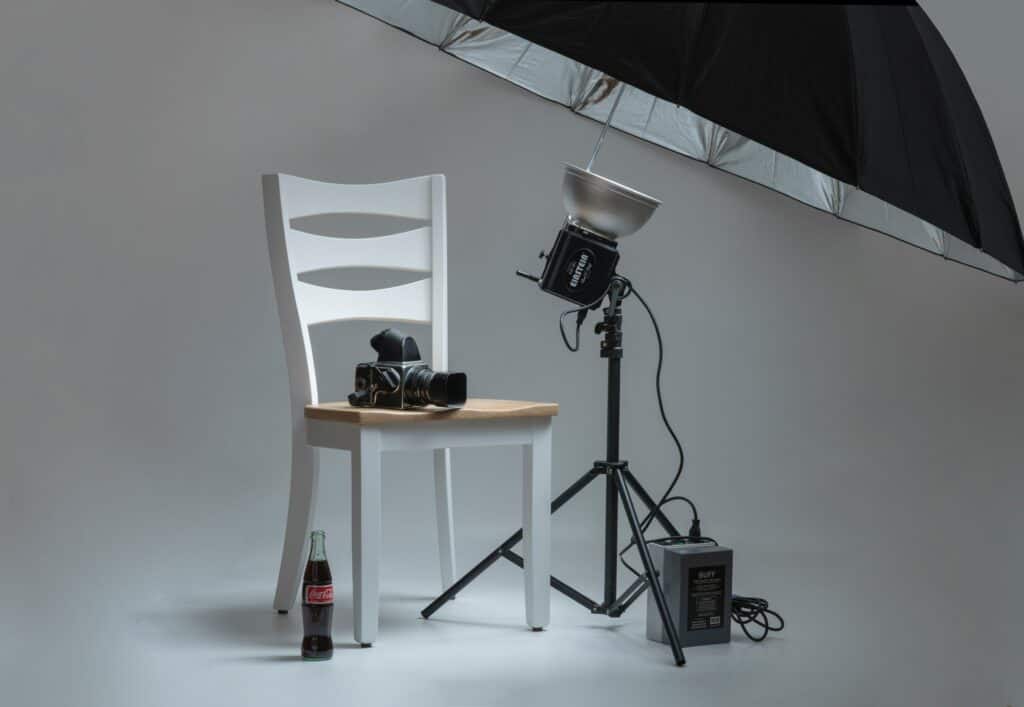
Flash Umbrella
Umbrellas are likely the most common lighting tool next to diffusers in a studio. An umbrella acts like a reflector and a diffuser in one. You can make one easily by buying a regular umbrella and spray painting the inside of it with reflective silver paint. That’s it. You can fasten it to your light or tripod in any fashion you deem feet.
Other DIY Lighting Ideas
Here are some other fun lighting ideas you can make at home!
Color Gels
Gels is a term denoted to anything that changes the color of your light. Gel photography has gotten extremely popular lately, with many portraits featuring models with red, blue, green, purple, orange light illuminating them.
There are two ways to tackle this one, and each requires cellophane.
The first is, in the above diffuser tips, replacing the white sheet you stretch over the diffuser with colored cellophane. Fasten with tape.
The second uses a water bottle and a flash light. Put whatever color items you’re using into a clear plastic bottle (I suggest crinkling the cellophane to make it really thick and saturated) and stick a flashlight into it. Turn the flashlight on.
Shadow Template
It has become very popular to use shapes and shadows on your models. While many photographers are tempted by the ‘pretty’ looking preset boards and clamps to achieve this, you can easily replicate the look with cardboard and scissors. Cut some shapes in cardboard and let your flash or other light source go through it.
Table Tennis Light
If you’re capturing food photography or small products, you can very quickly light up your subject with a table tennis ball and a flashlight. Similarly to the balloon trick above, just cut a small slit into the table tennis ball and wrap it around your flashlight.
Conclusion
In conclusion, amazing photography lighting tools don’t have to be expensive. But making one yourself, you can not only adjust the lighting unit to fit your particular vision, you can also figure out ways to improve it! For just a few dollars, you can capture absolutely tremendous portraits.
If you’re worried about looking ‘unprofessional’ to your clients, just take some black or silver spray paint and paint all of the components for a sleeker look. I can promise you, no one will know that you made this by hand!