
As has been mentioned in previous articles, all of photography revolves around light. Whether it be how light reaches the sensor, how light manipulates the scene, and how light hits our subject. What separates the new photographer from a great photographer is how well light is managed and utilized. One such way is implementing reflectors in your photography.
Here is our guide on how to use reflectors in photography!
What Is a Reflector?
Reflectors are likely the most common lighting accessory used by photographers, both in the studio and on-location (outdoors).
A reflector is a simple tool that redirects existing light. A reflector does not illuminate, it merely allows you to manipulate the light that you already have. Reflectors come in various shapes and sizes, but what remains the same is that one side is a very shiny reflective surface (hence the name).
Photographers use reflectors to fill shadows, which is why you often see them used in outdoor settings where you cannot control the light. If you’re an outdoor photographer, being at the mercy of the sun, you add a level of control to your situation with the use of a reflector. If you work in a studio, reflectors can help you utilize less lights by bouncing around the lights you do have.
How To Decide What Reflector Is Right For You
As mentioned, reflectors come in plenty of different options. So how do you figure out what you need? Here are some common rules!
The larger the reflector, the softer the light is. If you want a very bold reflection, you use a smaller reflector. The larger ones are for more coverage. This is a similar principle to using diffusers on studio lights, the larger the diffuser, the softer the light.
For portrait photography, most use very large reflectors because they fill in shadows the best and the light is most even. Smaller reflectors are used more often for product photography and still life.
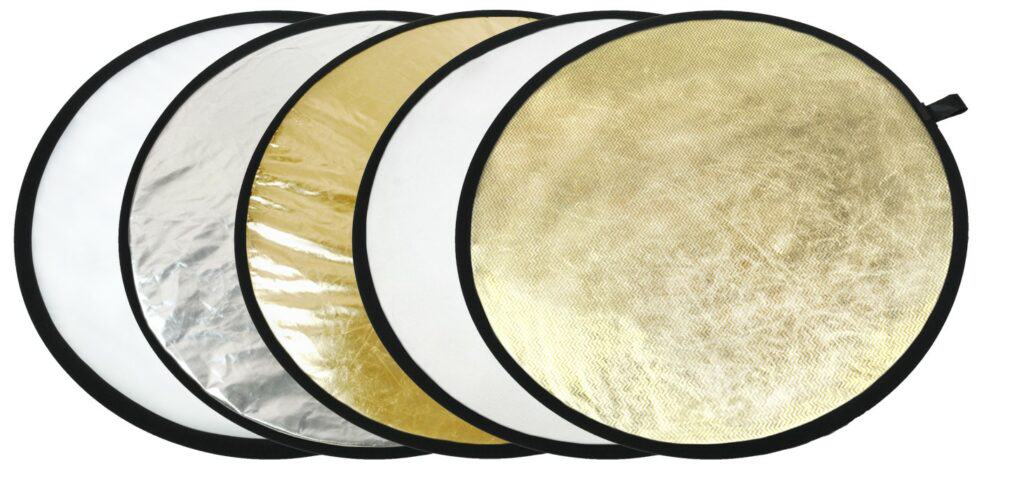
Reflectors also come in two colors: silver and gold. Silver reflects white light and the gold makes the reflected light much warmer in tone.
The shape of the reflector will change the shape of the catch lights in a portrait. Most use oval or round reflectors, but reflectors also come as triangles, hexagons, octagons, and so many more.
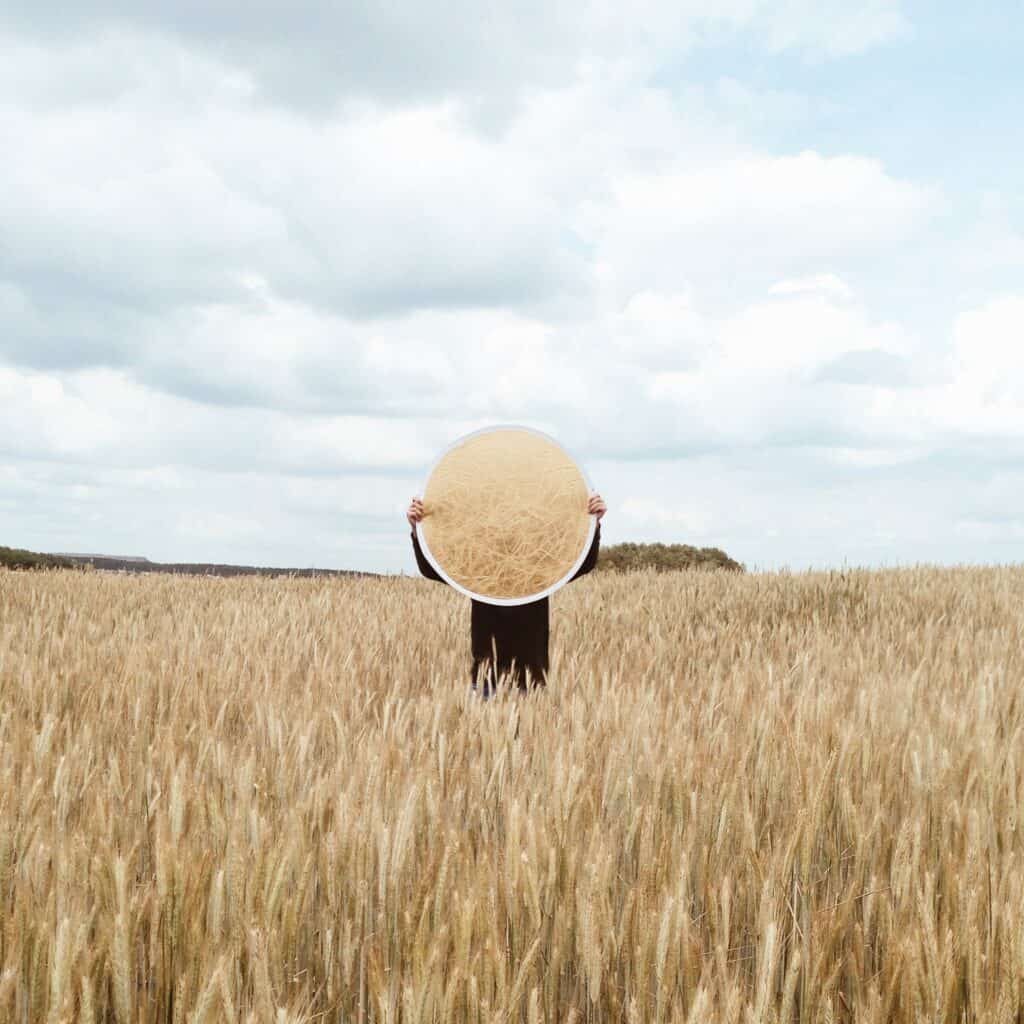
How To Hold Up a Reflector
The awesome thing about reflectors and the various shapes and sizes they come in is how you can set one up. Reflectors tend to just bounce into shape, so they’ll already be sturdy in their form.
You can use a tripod with a grip to hold the reflector. Grips are attachments that screw on to most any tripod and simply clip the reflector up.
If you’re doing head shots, you can ask the client to hold the reflector with their hands.
If you have an assistant, they can hold the reflector up as well.
How To Position a Reflector
There are three primary positions that a reflector is used at:
- Directly across from the light source. This is used to bounce light back and forth and really manipulate where it goes. You’ll see this set up the most in outdoor lighting shoots.
- At an angle to the light source. By angling, you can create very cool shadows or find new ways of directing light. That being said, remember that you can’t move too far to the side from the light source or there won’t be any light to reflect back.
- Parallel to the ground. You’ll see this the most in studio shoots, and this often creates catch lights in the eyes. When taking a portrait, place a reflector on the ground or have the subject hold the reflector on his or her lap. You want it under the subject’s chin to fill in chin shadows and under eye shadows.
How To Use Reflectors
Here are the various ways you can use a reflector.
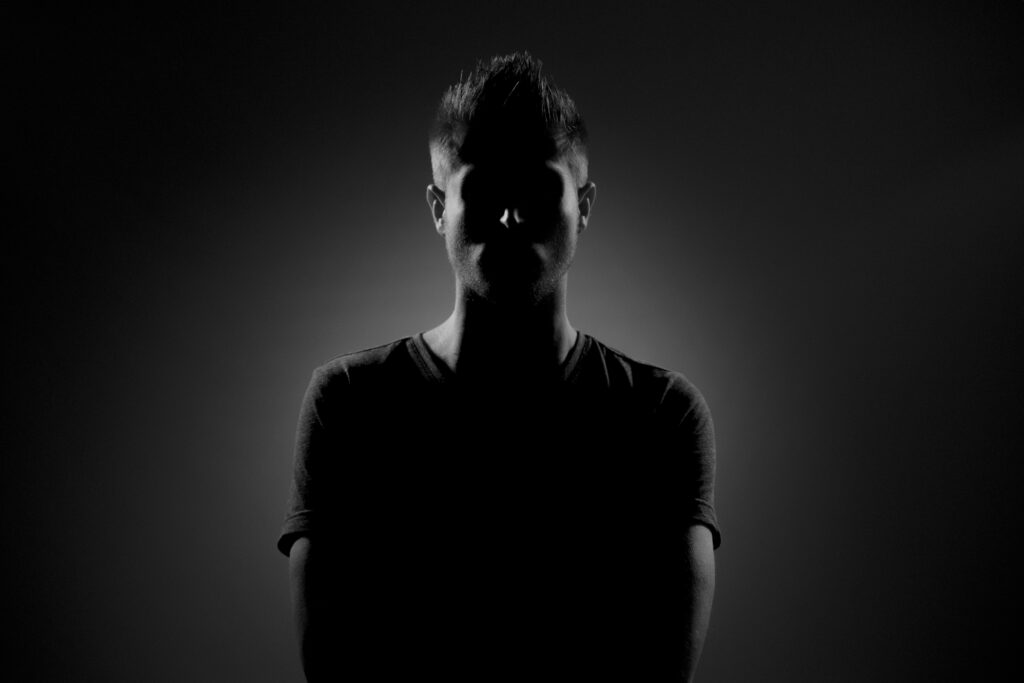
1. For Fill Light

You’ve likely heard the term ‘fill light’ used in photography. Fill light is a form of light mainly to lighten shadows in an image. You basically “fill in” the shadows so that they start to match the rest of the lighted image.
In portrait photography, this helps eliminate under eye shadows (they make the eyes look baggy), chin shadows, and other such shadows caused by the natural human face structure. To fill light, you place the reflector directly in front of or right under at an angle of the shadows you want to fill.
2. To Bounce Light
Of course, the most common way to use a reflector is to bounce the light around. This is great if you are limited on how much light you are able to use or have available. By setting up one, two, even three reflectors- you can almost simulate having more than one light as you are bouncing it all around! You can use this to even replicate the Triangle Arrangement with one light!
Do keep in mind though that the more you bounce the light around, the weaker it will be at some points.
3. As a Main Light Source

If you’re outdoors during sunset, you can use a reflector as a main light source. Just set it up directly in front of your subject and there you go! You place your subject with the light hitting them from behind, then use a reflector to bounce the light back into their face.
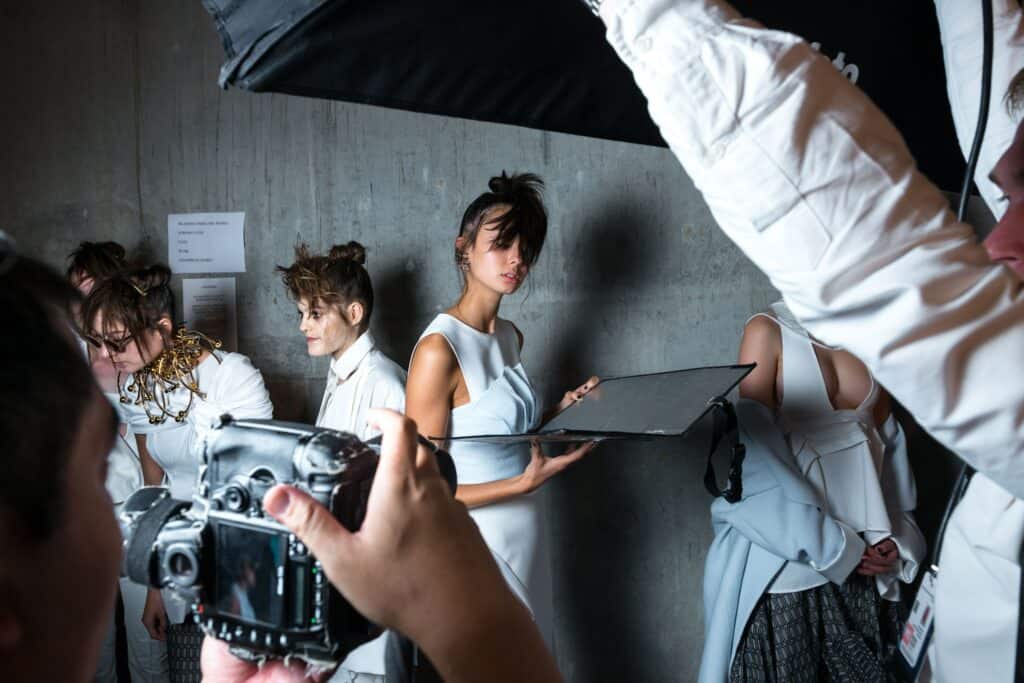
4. As a Light Blocker
Reflectors are only shiny on one side. The other side tends to be a solid black. You can use a reflector to block light and create very unique and cool shadows! Just flip the reflector around with the black side facing your subject and allow the shiny side to move the light away.
Conclusion
In conclusion, implement reflectors into your photography and have a better grasp at controlling the light!