There are so many things in life that we take for granted, small details that go unnoticed. One such phenomena is rain, and the raindrops that are produced! These tiny balls of water have such a beauty, grace, and uniqueness to them that only photographs can capture.
To photograph raindrops, you really need to focus on your shutter settings and focusing ability.
Photographing Moving Raindrops
The most common way in which we think of raindrops is when they are falling as rain! Storms, even light rains, provide a great opportunity for some eye catching still shots or images that express the movement. These come in the form of fast exposures or long exposures, both of which are controlled by the shutter speed.
For a refresher on shutter speed, shutter speed is how fast your camera can take a picture. In your settings or on the camera screen, this is denoted by 1/-insert number here-. This simply refers to how long the shutter in your camera is open. Shutter speed ranges from 1/8 all the way to 1/8000.
That being said, shutter speed affects how light or dark your image is. The faster the shutter moves, the less time light has to hit the sensor, and as such, your photographs will be darker. The slower the shutter moves, the more light hits the sensor, and the brighter your image will be.
Fast Exposure
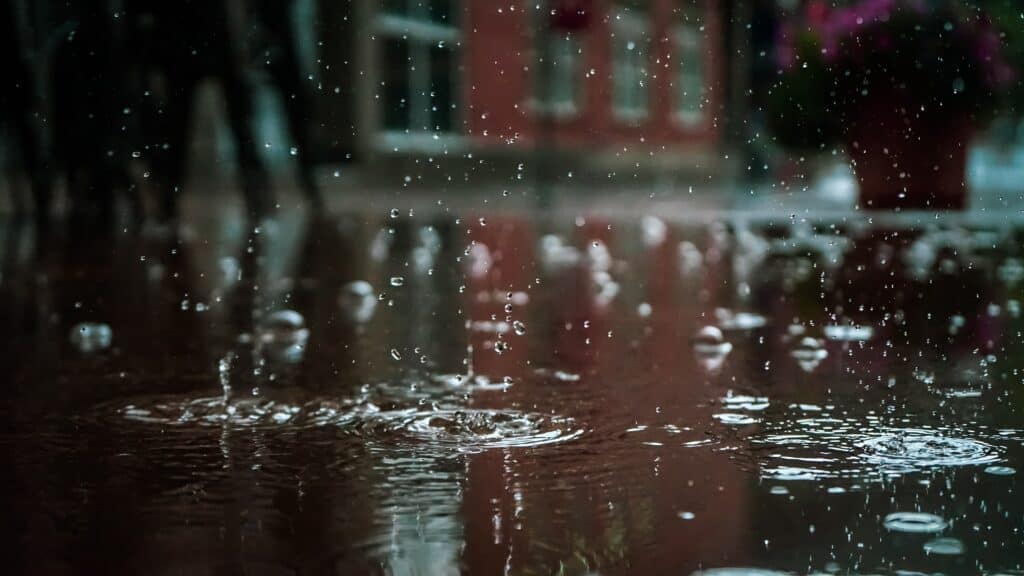
Fast exposures happen when the shutter speed is very fast and set to capture action (such as rain falling!). Many people find freezing the action to be the most eye-catching aspect of photography. To be on the safe side of motion being frozen no matter what, going higher than 1/4000 is recommended, with 1/8000 being the maximum.
But that being said, lighting may not always be ideal and you’ll often need to go to a somewhat lower shutter speed in order to maintain proper exposure.
The shutter speed you need to freeze action depends on how fast your subject is moving. For rain, above 400 is great.
Long Exposure
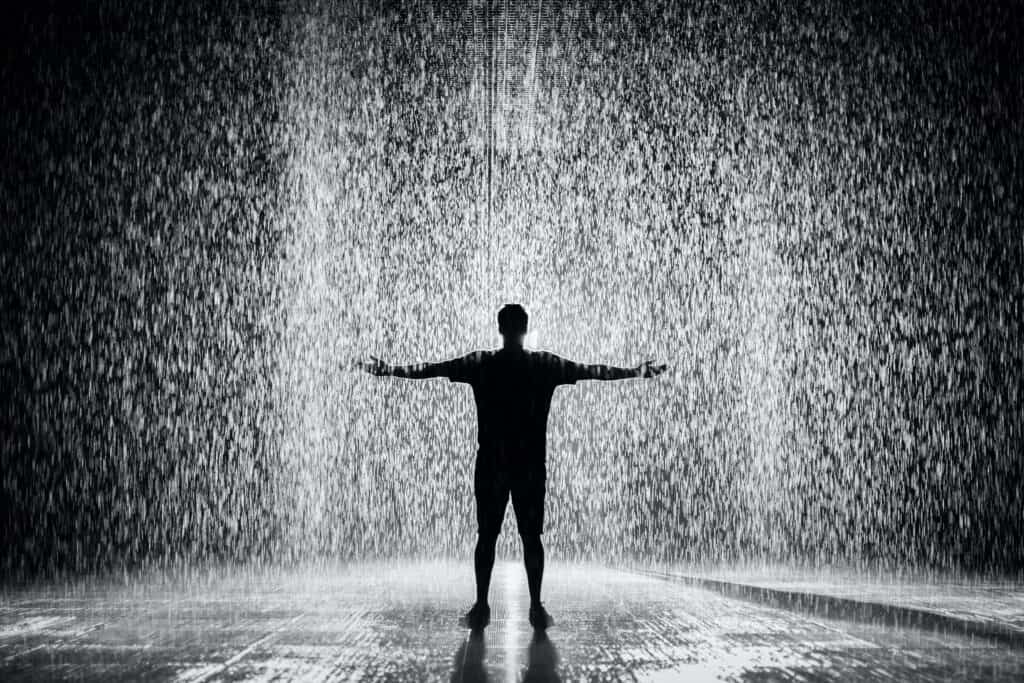
Long exposures are when the shutter is open for a long period of time. This is used to blur movement or obscure elements and create a more artistic-looking image. For rain, long exposures make the falling droplets look silky. For rain, a shutter speed of 1/60th or slower is great!
Photographing Still Raindrops
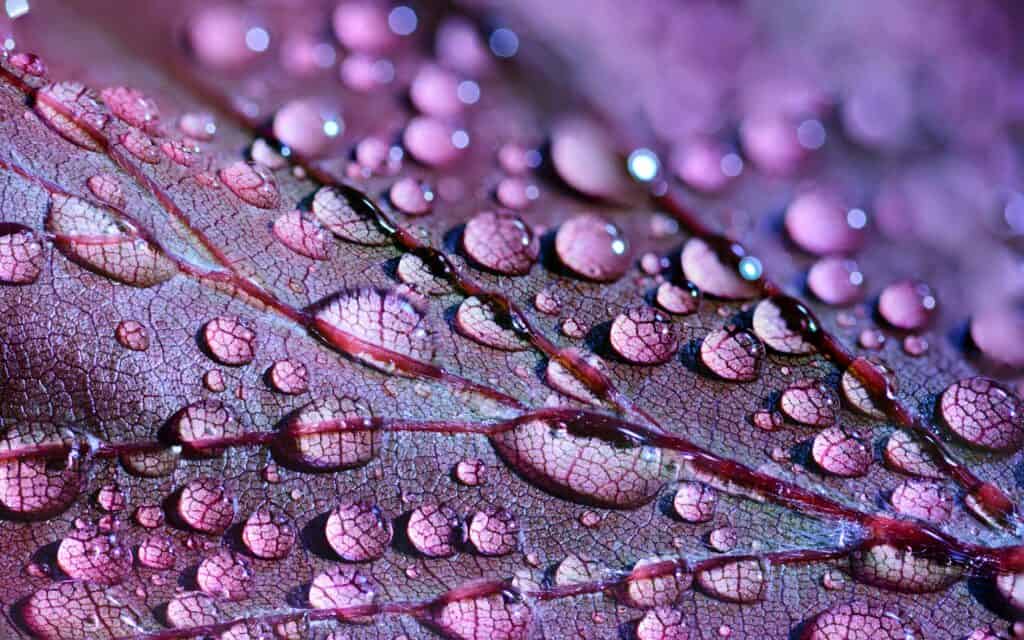
Capturing still raindrops are, of course, a bit easier than those that are moving. Whether the raindrops are on a window or sitting gently on a plant, the technique is generally the same: achieve accurate focus.
Most photographers who capture still raindrops use a shallow depth of field, or a photograph in which the subject (in this case the raindrop) is in focus and the rest blurs away and becomes out of focus. For shallow depths of field, the aperture gets significantly adjusted- you’ll want it at F/2.8 or wider.
Now, if you’ve not used shallow depth of field before, you may be alarmed by the difficulty in focusing. To quickly review the basics, when you focus your camera on a subject, it establishes a focus plane. To get your subject in focus, it has to be on the focus plane. Focus planes are imaginary horizontal or vertical lines. Anything that stands on the imaginary line will be in focus, and anything not on the line will be out of focus.
With shallow depths of field, the focus plane is very narrow. As you decrease your aperture number and make the opening wider, the invisible area in front and behind the plane of focus will get smaller and smaller.
What’s the secret to ensuring those raindrops are nice and sharp? Focus points!
Every camera has a series of dots called the Autofocus Points. These points tell you (and the camera) where to focus. Each point refers to an area the camera is able to focus on. By switching to a mode such as AF Selection, you can tell the camera exactly what points you need it to use to focus on your subject! Just select the droplet in the focus points and you are golden.
Do You Need a Flash?
Some raindrop photographers use flash, and some do not.
To start, a flash is a device used in photography that bursts a powerful bright light. This is a form of artificial light. Flashes can be attached to the camera or used wirelessly on a tripod off of the camera.
Since raindrops tend to be a result of a storm, you may have seen that storms cause everything in your scene to be rather dark. This is due to the dark clouds blocking out the light! If you’re finding that your images are turning out too dark no matter what you do, using a flash may be a solution to light up the scene. Just keep in mind that raindrops reflect, so you may see the flash beam in the droplets. Some like this look, others do not- it is all up to your personal aesthetic.
If the reflection from the flash bothers you too much, try to experiment with flash placement. Placing on the camera itself will create the harshest reflection, while placing the flash off to the side can remedy this issue. Adjust intensity as well, if you are using a TTL flash, all of the calculations should be done for you. If your flash is Manual, play around with different intensities. You don’t want the flash to be overwhelming.
How To Create Colored Raindrops
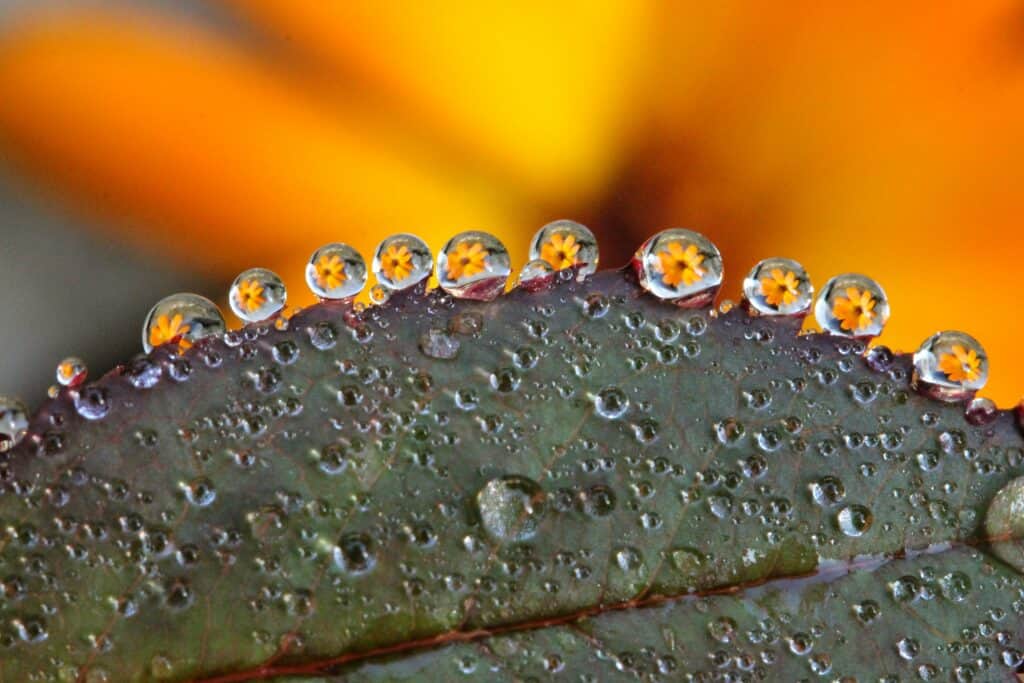
As you may have noticed, raindrops have the ability to be reflective. They really are just a rounded mirror! As such, you can really take advantage of these refractive properties by coloring your raindrops. This creates a lot of interest and uniqueness to your photograph.
Raindrops reflect what is behind them. As such, find a color piece of paper or something you want reflected in the raindrop and place it behind the droplet, but lower down so it is out of frame. Keep playing with the perspective to see where the best positioning for a reflection is.
A tool some photographers use to make this process easier is called a plamp. A plamp is a plastic arm-like instrument that attaches to your tripod and is used to hold items in place for picture-taking.
In conclusion, don’t let the next rainstorm pass you by- go out there and take advantage of the raindrops!

