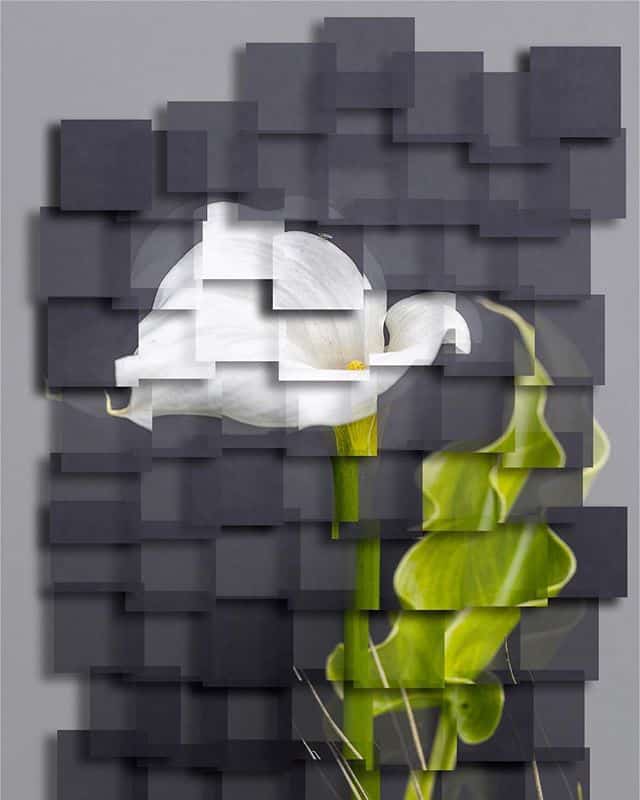
Joiner photography is one of the ways in which photography becomes akin to traditional art. Photography fought for many years to be seen as a legitimate art form, primarily through showcasing that photography is equivalent to traditional art. Joiner photography is one way in which we can associate images with other types of mediums- as this is where photography meets collage!
Joiner photography is so much more than taking a bunch of photographs and slapping them together to call it ‘art’. Joiner photography is a way of thinking, and tends to be done in a specific fashion to count as a legitimate joiner. Here is our guide to joiner photography!
What Is Joiner Photography?
Joiner photography really is the fusion between collage and photographs. In layman terms, joiner photography describes a specific art style that involves the use of two or more separately taken images of a single scene to create a larger one by physically overlapping them or by digitally merging them. You may have seen joiner photography in art galleries or as street art.
This type of photography came about in the early 1980’s by English painter David Hockney. Hockney began creating intricate photo collages that he called “joiners”. His earlier collages consisted of grid-like compositions made up of polaroid photographs. He then switched to 35mm film photographs and created collages, intended to create more abstract representations of the scenes he had photographed.
Joiner photography is as much a feeling as it is a visual representation.
Do You Need Special Equipment?
You don’t need special equipment, but you do need a camera, a lens, and either a printer or a computer.
For cameras and lenses, nothing is specific. Whatever you currently own can do very well! The suggestion is to use lenses that do not feature any sort of optic distortion however, such as standard lenses.
Distortion refers to warped elements in a photograph caused by a lens. If a lens alters the appearance of your subject, it has distortion. Lenses that feature the most distortion tend to be wide angle lenses.
Due to the fact that you need to stitch a series of images together for joiner photography, using distortion lenses could make this an absolute nightmare. The perspective still has to make sense. As such, using standard lenses, such as lenses whose focal length range from 35mm to 70mm, would serve you best.
As for the printer and computer, that depends on if you want to make joiner photography using a physical medium (printing images) or digital medium (using a photo editing software to paste the individual photos on top of one another). Either one works well!
How To Create a Joiner Photograph
Here are some quick and easy steps to create your very own joiner photograph.
Step 1: Location and Story
The first thing you’re going to want to do is find a beautiful location with many details to it and then look for the story within it. You can capture a living subject, such as a person or animal, or photograph a landscape or building. Whatever strikes your fancy can work here so long as a story can be told.
Step 2: Capturing Images
Next, grab your camera and lens setup and begin snapping shots. Stand in one place and take photos all around you, both from side to side like a panorama and up and down for a great field of vision.
Remember to refocus in all of your new shots, don’t leave the depth of field to be the same in each. Every piece you capture is important to the overall image.
As well, try to remember what you have already captured and what you haven’t, so it is suggested to move from side to side, then down or up, and side to side again, rinse-repeat. Keep in mind that things will never fit perfectly, that is the point, so don’t try to ‘stitch’ images together like you would with a real panorama.
Don’t worry about exposure discrepancies, they still work for joiner images. Expose the shot for what you are wanting to show, even if it doesn’t match the exposure of the rest of the image.
Step 3: Putting It All Together
Next, depending on your medium of choice, go ahead and put it all together. Each image doesn’t have to be placed in the most perfect position, this is where your creativity and imagination can soar. Align the images together based on the story you are telling, you can even alter object proportion and size to emphasize scale.
In conclusion, joiner photography is a way to merge collage and photography together.

