
Once a photographer steps into the world of editing, a whole new concept needs to be understood: color. The colors in a camera naturally do not always capture the colors you want represented in your photograph. As such, you would turn to a post processing program such as Adobe Lightroom and Adobe Photoshop to edit your image until it hits your satisfaction.
The most common edits have to do with how colors are shown in a picture. To adjust the colors, you have to understand what hue, saturation, luminance, and vibrance are! Here is our guide to these four important terms.
Why are These Terms Important to Know?
The colors you use for your photography will impact how a viewer interprets your work. If you make the colors too saturated with a moody picture or lack vibrancy for an exciting picture, your audience won’t be able to understand your photograph.
In order to adjust how the colors appear, your editing software will have four key sliders in any sort of color panel: Hue, Saturation, Luminance, and Vibrance. Using these four in combination will help you achieve the colors you want for your picture. Understanding what these terms mean helps modify the colors quickly, efficiently, and properly.
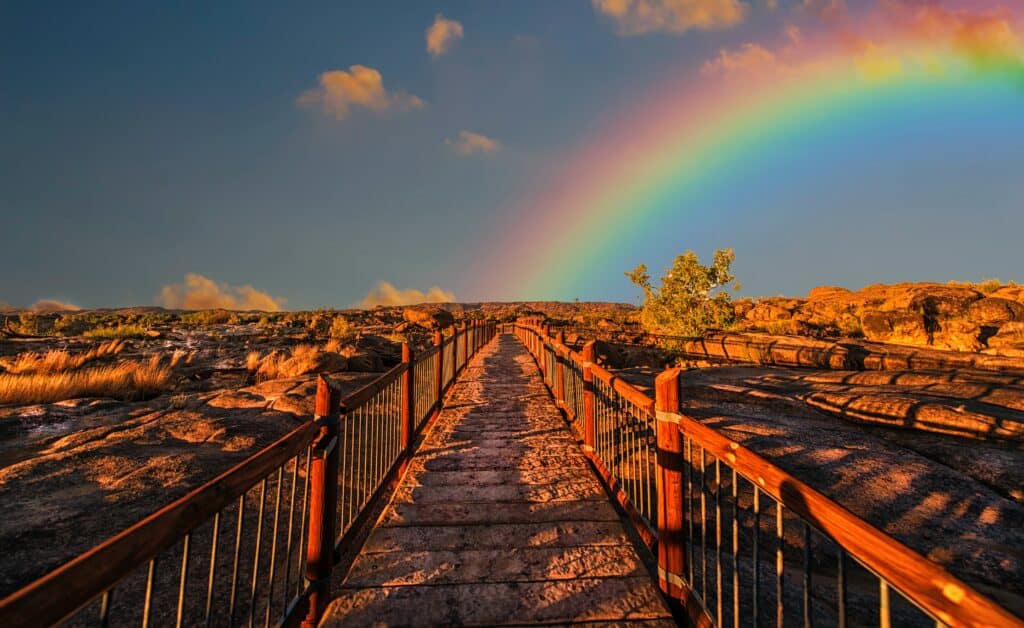
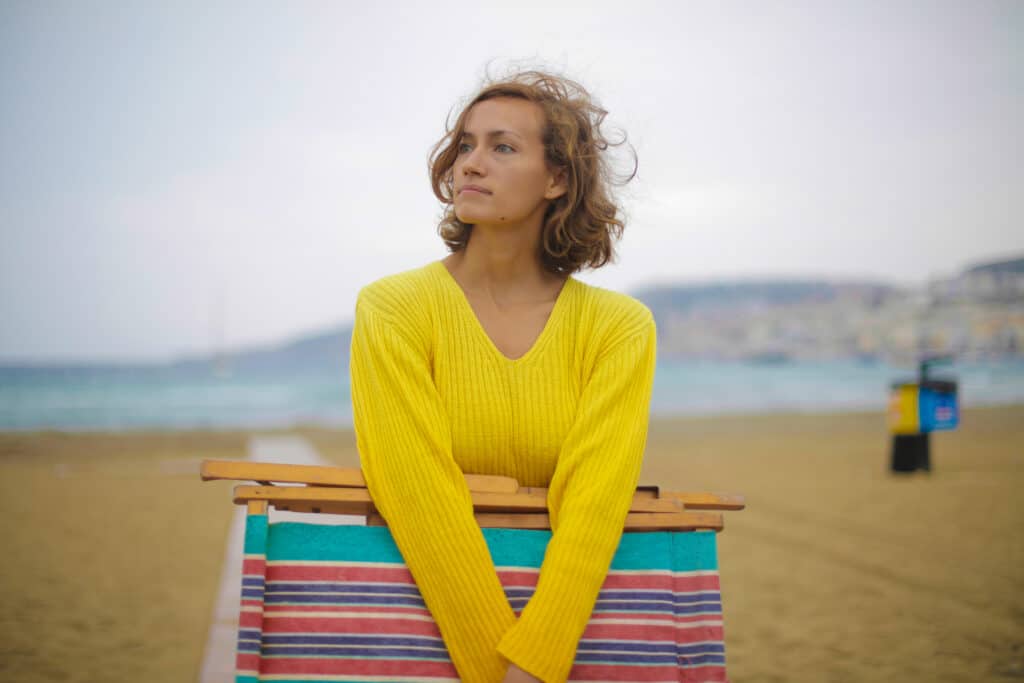
To show how hue, saturation, luminance, and vibrance work, we will be using this image as our example image:
What is Hue?
In most editing programs, especially in Adobe Lightroom, Hue is often the first color adjustment offered to you.
The Hue is the shade of a color on a gradient. On a technical term, the hue is the wavelength of the light reflected. This describes why an object that is one solid color can change its color dependent on the light or the amount of light that hits it.
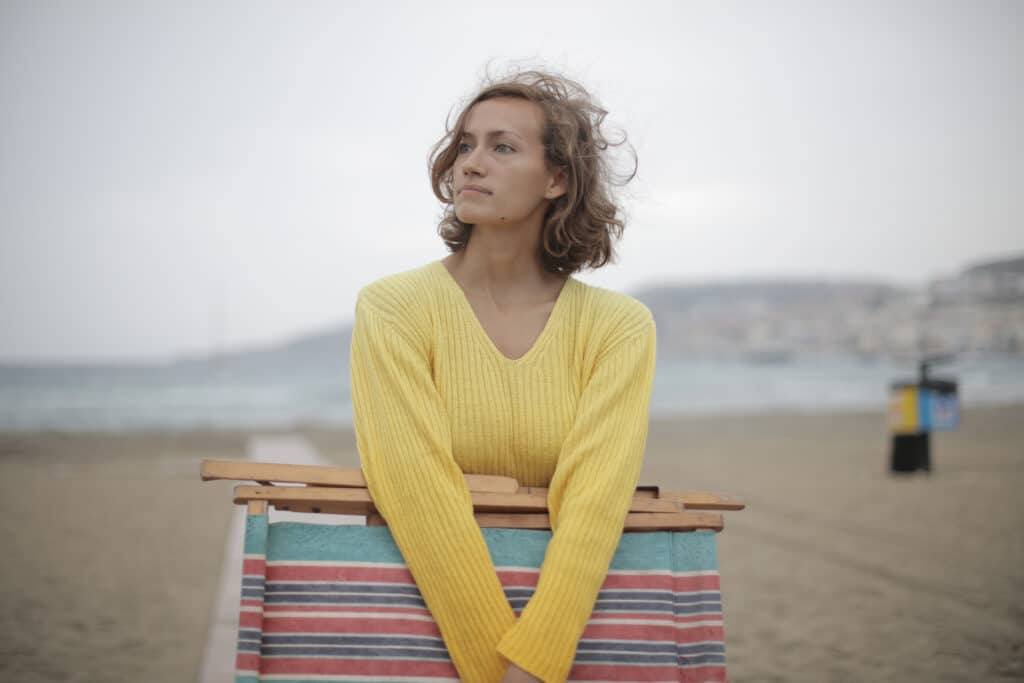
The hue can change how specific colors look. For example, the yellow shirt can be made to be more orange in color.
What is Saturation?
Next you’ll likely see an option to adjust the Saturation of the colors.
In photography, saturation refers to how pure a color is. How blue is the blue? You can imagine a color being “absorbed” in the photograph like a sponge, with a higher saturation resulting in a more significant color.
On a technical level, saturation is actually just a description of how intense or dull the light of a specific frequency or wavelength is coming from a light source. This is actually why the color of an object changes as its light source changes, despite the object always having the same color.

What is Luminance?
Next comes Luminance. Luminance lightens or darkens a specific color.
Luminance refers to the reflective brightness of colors. This slider is frequently utilized to make certain colors in a picture more prominent or less prominent.
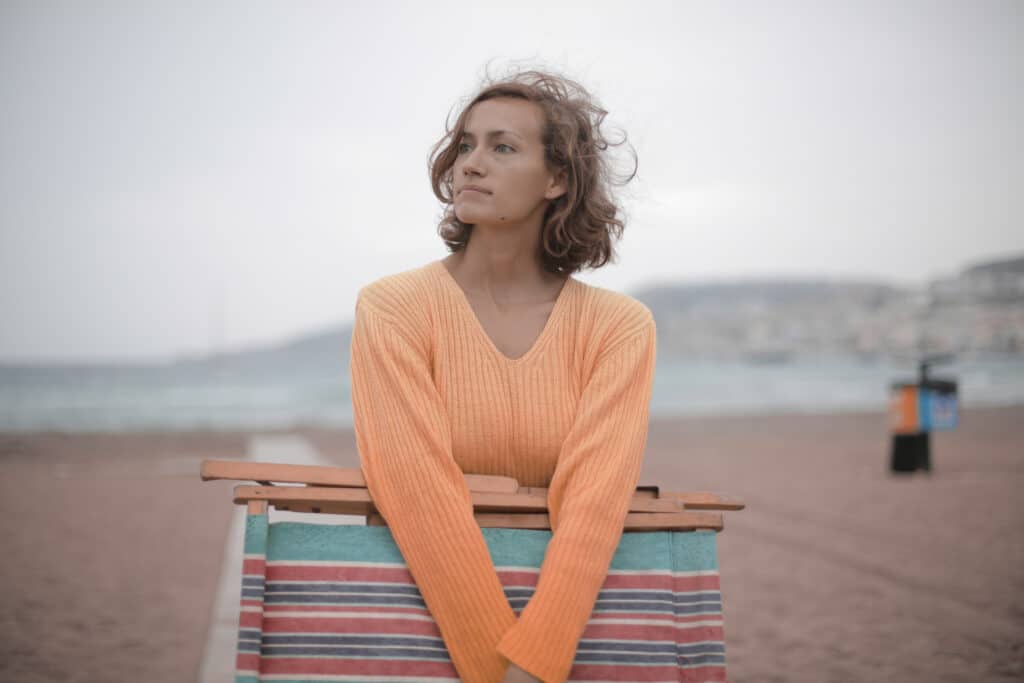
Here we have made the yellow shirt darker.
What is Vibrance?
Finally, we have come to Vibrance. Vibrance is actually a bit of a complicated explanation, believe it or not. That’s because ‘vibrance’ isn’t actually real.
It’s true. Vibrance is not a real concept in photography. Vibrance was actually invented by Adobe (Lightroom and Photoshop) for their editing software. Adobe created the term vibrance in order to distinguish between the Saturation slider and the Vibrance slider.
From Adobe’s own description, “Vibrance adjusts the saturation so that clipping is minimized as colors approach full saturation. This adjustment increases the saturation of less-saturated colors more than the colors that are already saturated. Vibrance also prevents skin tones from becoming oversaturated.”
If you’re stuck trying to figure out whether to use Saturation or Vibrance for your photograph, just remember this simple distinction between the two: If all of the colors in the photograph are quite even in their intensity, then saturation is best. If you have colors that are all different, vibrance is the way to go.
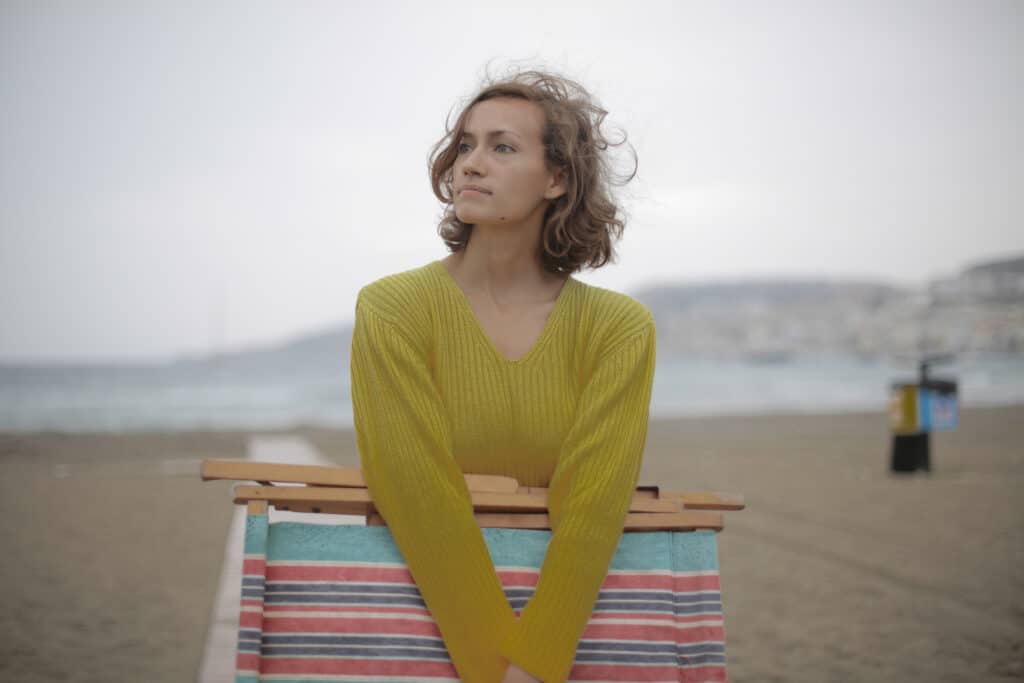
In the example image below, notice how the model’s skin tone did not change with the vibrance adjustment.
Shadows, Highlights, and Contrast Affect Your Colors
Remember that when you’re editing colors using hue, saturation, luminance, and vibrance- they’re not the only variables that affect your colors. Shadows, Highlights, and Contrast also change how your colors appear. These are their own individual sliders in most editing programs.
For example, if you lower your color saturation or vibrance and then increase the contrast, you’ll notice that the colors become vibrant and intense again. Likewise, if you increase saturation or vibrance and then darken the image, the colors become muted again.
Pay attention to how your other edits affect the colors.
Conclusion
Now that you know the difference between they key terms, you’ll have much better control over the colors in your photograph!