
Black and white photography has captivated and inspired photographers for decades. From the beautiful grayscale to the elegant forms we notice most in black and white, capturing such images are not as simple as they appear. Here is the ultimate guide to black and white photography, ranging from the history and philosophy of the art form all the way to tips and tricks!
What Is Black and White Photography?
You may think that black and white photography is just an image with an absence of color, but it is so much more than that. That’s because there isn’t actually a lack of color, you get a slew of grays all over the spectrum!
Black and white photography is the art of using different tones of gray, ranging from white to dark, to create compelling images. That is probably the best description for this genre of photography!
That being said, black and white photography is not the same thing as monochromatic photography, although the two terms tend to be used interchangeably (improperly). It is true that all black and white photography is monochrome, but not all monochrome is black and white photography.
Monochrome refers to only one color being used. For black and white photography, that color is gray (which makes it a grayscale image). But monochrome can also encompass photography genres such as sepia (a yellow, orange image), blue, green, and more.
Sometimes, a grayscale image can be tinted slightly blue or slightly gold (very, very, very slightly) in order to add a bit more emphasis on the tones. As to where this type of image falls on the scale is up for debate!
The History of Black and White in Photography
In order to do something well, it’s important to understand its history.
Black and white is the original photography- when the first camera was created in the 1820s. The camera itself is the brainchild of Joseph Nicephore Niepce, a French developer. He was able to produce the first photograph in 1825 where he managed to capture a black and white image of a window.
His invention was later improved upon by many scholars, engineers, and inventors. In 1891, an inventor by the name of Lipmann Gabriel developed a process of making naturally colored photographs. This was based on the phenomenon of optical light wave interface, which cameras rely upon still today. This enabled him to win a Nobel prize in physics in the year 1908.
Between 1825 and 1891, all photography was black and white. Photographers such as Ansel Adams (1902-1984), Robert Capa (1913-1954), and Brassai (1899-1968) really revolutionized the amazing character of black and white photography, with images hanging in museums worldwide.
Thus the above created the association between monochromatic imagery and photography, and this still does ring true today. Although black and white in some fashions is seen as a “dated” look ever since color came into the picture (no pun intended), it is still an idolized and beautiful genre of the artform.
The Philosophy of Black and White in Photography
The absence of color, so to speak, breeds its own aesthetic and intent. Black and white photography is intended to be thought provoking and emotionally jarring. Because you no longer focus on the distraction of color, you are now forced to pay attention to the subject in its rawest form.
The Two Main Characteristics of Black and White Photography
Effective black and white photography holds two primary characteristics: texture and shape are the most important, followed immediately by lighting. You can turn any photograph black and white, but that won’t mean it’s a good image.
Texture and Shape Take First Place
When you take color away from an image, the color itself is no longer the primary focus. The focus now becomes on the texture and shapes in your images, because that is the only thing catching the eye! Having a good distribution of shape along with a proper exposure of texture are key characteristics to great black and white photography.
Lighting is Everything
To accentuate the shape and form, your image needs to have good lighting. Great lighting is what separates the amatuer photographer from the professional. Be very attentive to your highlights, your shadows, and everything in between- you want to ensure what you are capturing is shown in the most definitive way.
The Elements of Black and White Photography
Aside from lighting, texture, and shape, these are the additional five elements.
Shadow
Although shadow does play hand in hand with the lighting subject, the shadows themselves play a bigger role than the highlights. Shadows are no longer just darker regions of a photograph, the shadows are now major elements of composition.
Contrast
Contrast is a common term in photography, and relates to the difference between light and dark. If your image is low in contrast, it will appear very flat. If it is too high in contrast, it will lack detail. The right amount of contrast shows an image to be exactly what it needs to be. As there are no colors, contrast is very important.
Too little contrast:

Too much contrast:
Just right:

Tone
Tone affects an image’s emotion. Tone is the overall lightness or darkness of an image. Darkness tends to make images moody while lightness makes images more optimistic. How you use tone affects a viewer’s perception of an image.
Composition
Composition is the arrangement of elements in a shot. Good composition compliments the shape and texture of the subject, and makes your black and white photography stand out.
Emotion
The final piece of the puzzle is emotion. Black and white photography requires an instigation of strong emotion, which you capture with a mix of the above and the subject itself. Try to tell a story in your image!
Best Camera Settings for Black and White Photography
As for the best camera settings… before doing anything, switch your recording mode from JPEG (the default) to RAW (keeping in mind that RAW can only be viewed / accessed via programs such as Adobe Lightroom or Adobe Photoshop).
RAW is a file format that records completely uncompressed images. When a photograph gets recorded as a file format, it becomes compressed to fit within that format and you may lose some quality or some forms of editing capability. RAW contains the direct image data from the camera sensors with no loss of quality and alteration. The lack of file alteration allows significantly more control over large editing adjustments such as overblown highlights or an underexposed image. This is because you’re able to, in most situations, recover information in the image that would otherwise be lost if it is compressed.
Even though black and white images don’t have color, so to speak, RAW allows you better control over the exposure which is clearly visible.
In regard to exposure (ISO + Shutter Speed + Aperture = Exposure), you will do that similarly to any color image. Base your exposure off of the kind of image you’re looking to achieve. That being said, it is generally best to underexpose slightly for black and white images to ensure that your highlights are detailed and clear.
Now, the guide to good exposure comes from your exposure meter, or light meter. This measures the intensity of light, and tells us if our exposure settings are too light, too dark, or just right. How we set the accuracy for our exposure meter is with Metering Modes. Metering Modes help us tell the camera’s sensor what we want our exposure adjusted for!
For black and white photography (and any monochromatic photography, really), the idea metering mode is Evaluative / Matrix. Luckily, this metering mode is the default on most cameras. This mode considers the entire scene, all of its shadows and highlights, when setting the exposure. It’s goal is to expose the darkest part of your image and the lightest part of your image as equally as possible.
As for White Balance, you can leave this as an auto mode because it doesn’t factor in too much.
Should You Switch Your Camera Mode to Black and White?
Most digital and mirrorless systems have a Monochrome or Black and White mode. This allows the camera to record images directly in black and white rather than recording in color and you then need to add black and white in post processing. But should you?
Yes and no.
If you’re just venturing into the world of black and white photography, setting your camera to that mode can help you create stunning black and white images. It’s good practice in ‘seeing’ black and white images, focusing most on the characteristics required for effective photography. Your eye gets trained well.
However, beyond that, you shouldn’t switch your camera mode, and this is why:
If you start with a color file, each color is separated into its own channel (impossible with images that are already black and white).. The reason you want to do this is because you gain a huge amount of flexibility as you’ll still be able to adjust “colors” in post-production, even after converting to black and white. For example, you can darken the blue channel to make the sky appear darker in your monochrome images. This isn’t possible if your out-of-camera file is already black and white.
Common Black and White Subjects (and Tips For Each)
The seven most common subjects are portraits of people, animals, landscapes, street and urban captures, architecture, still life, and (if you can consider it a subject in and of itself) abstract art.
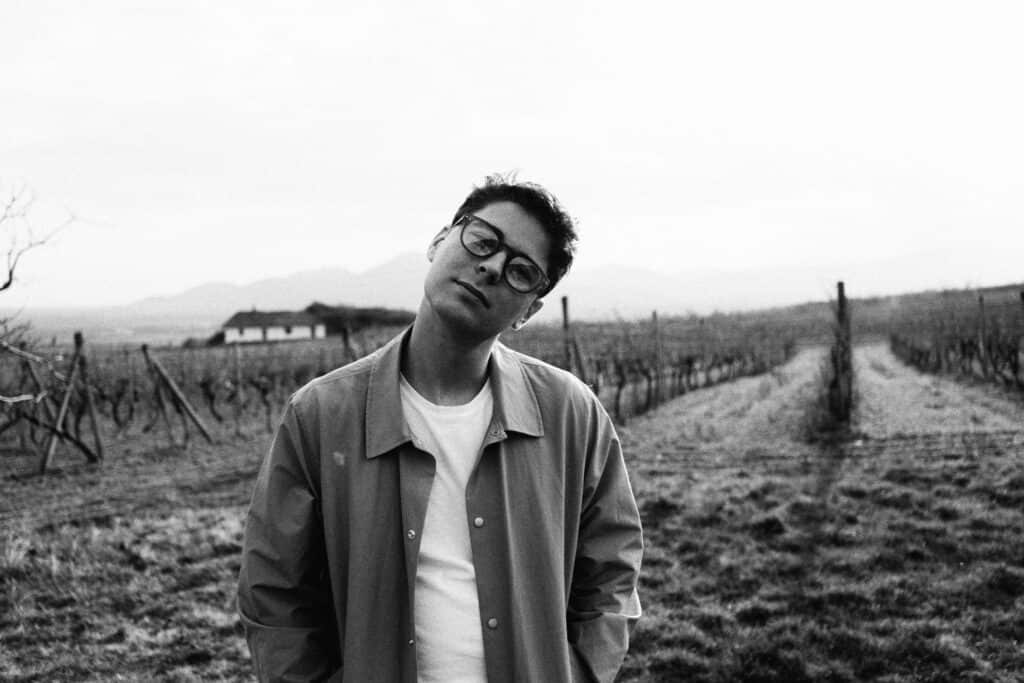
Portraits
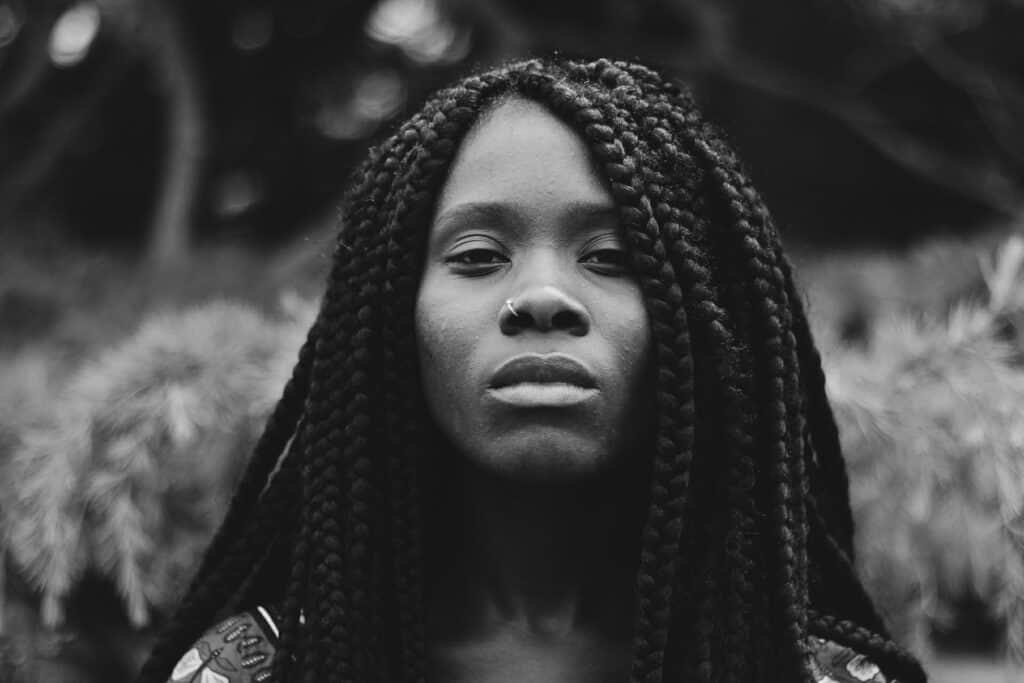
In regard to portraits, the real tip here is to ensure your lighting is flawless. Skin tone may no longer factor into your image, but all of the shadows and highlights on skin does- so you really have to make sure your lighting is immaculate (because that’s no longer forgiving).
Animals
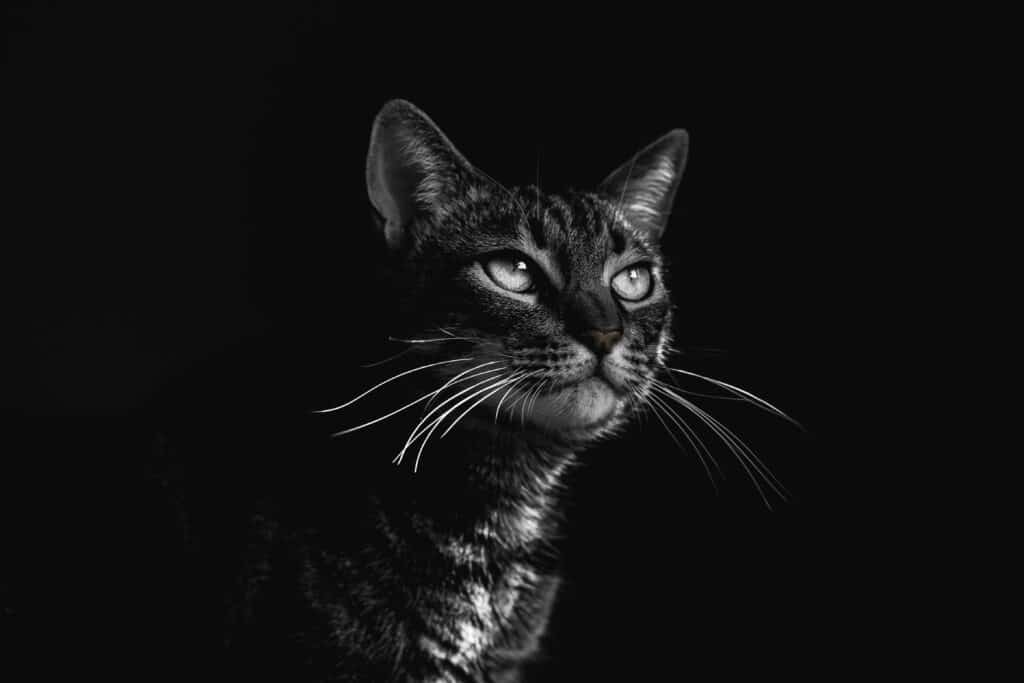
There isn’t too much difference when capturing animals in color versus black and white, other than ensuring that the animal stands out enough against the background. You see, with black and white, subject separation becomes very important because your subject no longer stands out due to color difference. Try to photograph animals on a contrasting background so that they really pop.
Landscape
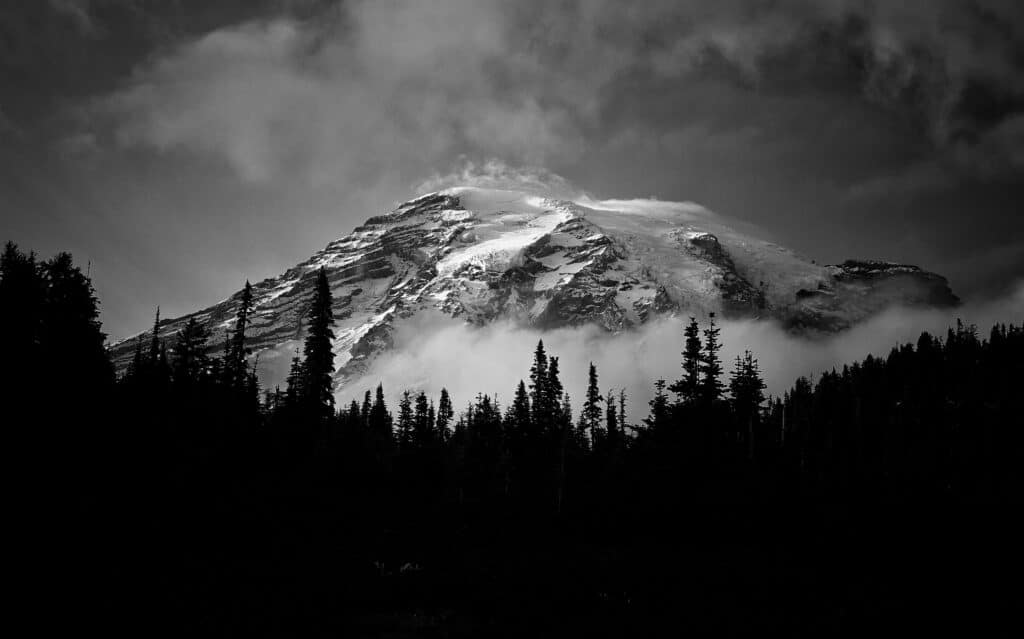
Landscapes in black and white may require filters. Color filters will affect how your black and white image looks, because it pulls certain colors in an image! Much like you would experience with editing. The three most common filters used for black and white landscapes are blue filters, green filters, and red filters.
The blue filter blocks red light, darkening things like the leaves and ground. The green filter brightens everything that is green. The red filter darkens the sky and other blue elements of the photo, while also brightening anything that is red.
Street
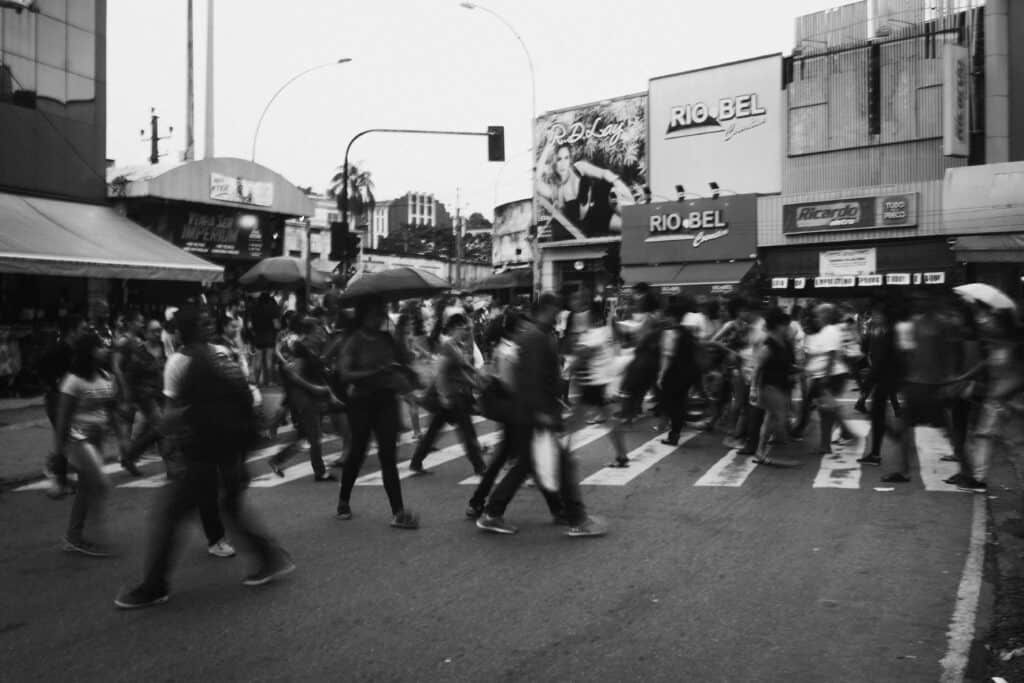
Street photography is predominantly black and white because of the intent to create an emotional impact. Just be mindful of all of the elements of black and white photography when capturing street images.
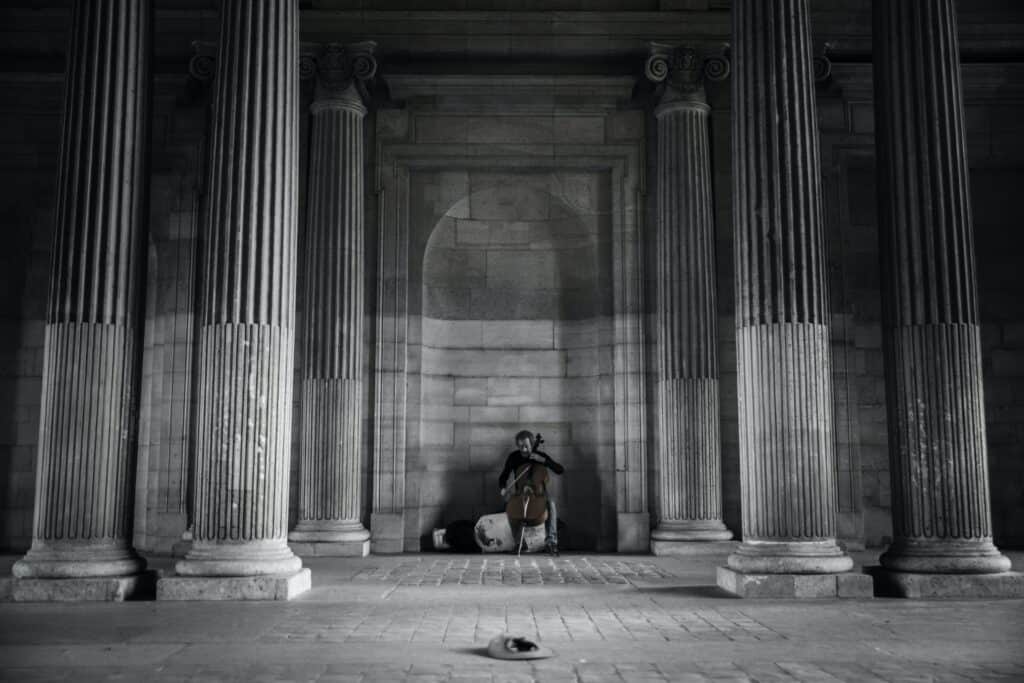
Architecture
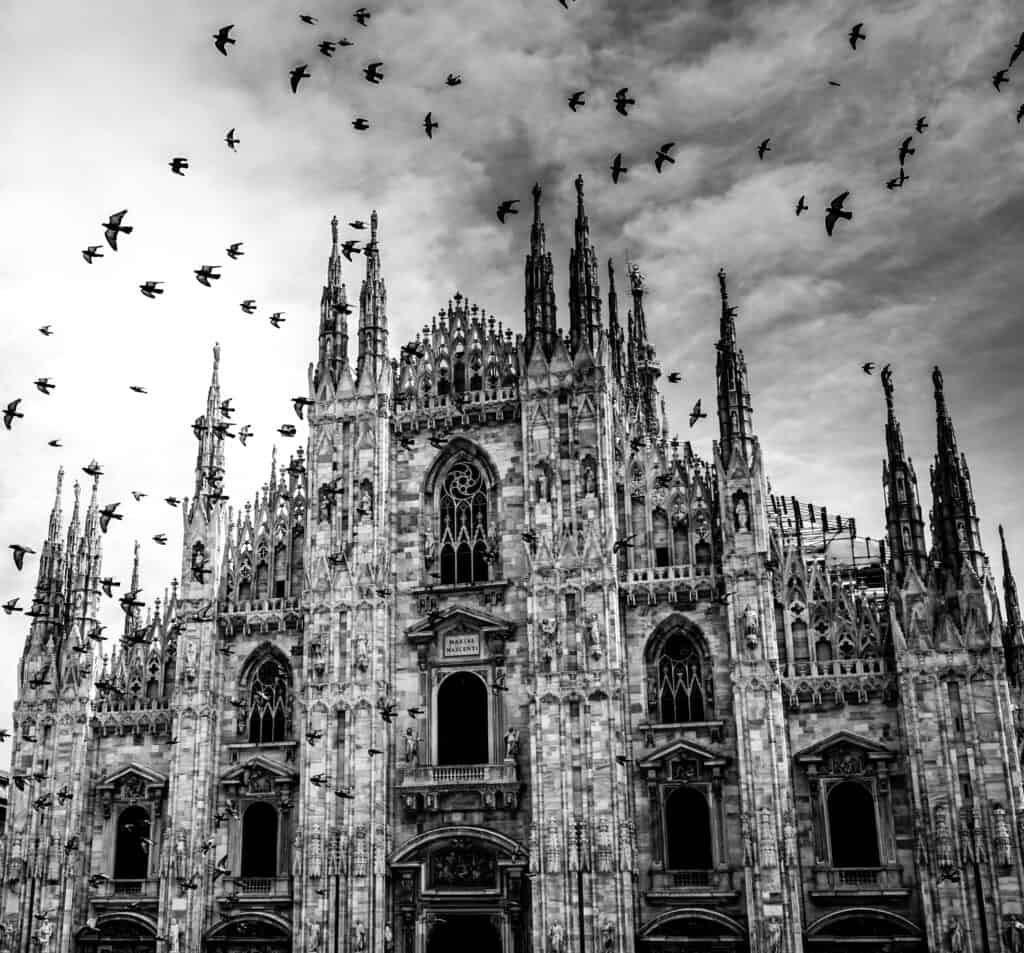
Architecture does so well with black and white because it’s primary elements align with the characteristics of black and white: shape and light. Architecture wants to show off its shape and form the most of all, with good lighting illuminating the two. Make sure to shoot architecture at the right time of day to really get the best lighting you can.
Still Life

Much like architecture, still life also prioritizes shape and form. The same applies here!
Abstract

Now, abstract photography is a bit interesting in this regard. Abstract photography is a type of conceptual photography that doesn’t have an easily recognizable subject- the subject tends to be the pattern or closeup of something.
Abstract photographers tend to turn their images black and white to disguise what it is they are capturing. Since abstract photography relies so heavily on ambiguity, stripping an image of color aids in this.
In conclusion, it is a thorough belief that all photographers, aspiring and professional, explore the art of black and white in their career. Eliminating color can help photographers greatly improve their skills and ‘eye’, as you’ll no longer be able to hide flaws with vibrancy. Take this guide to heart and go out there to create riveting images!