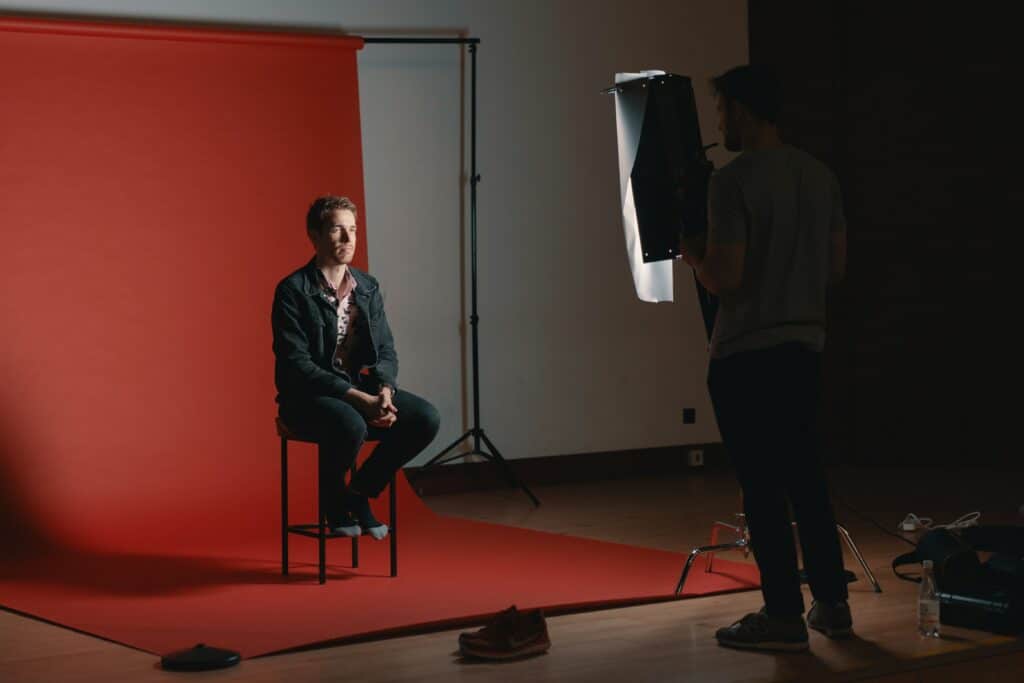
Preparation is always the key to success. Going into a photo shoot ready to tackle whatever is thrown at you will ensure that beautiful images are produced and that your client is happy with their investment! There are a few different ways that you can prepare for a photo shoot, such as making a shot list and getting your equipment together.
How to Prepare for a Photo Shoot
This section is divided into two parts, before the photo shoot and then the day of the photo shoot. The reason for this is that preparation does, in fact, extend to the day the event happens!
Before the Photo Shoot
The first few steps listed here should occur several days before the photo shoot, with the rest happening the very day before.
1. Create a Shot List
A shot list is a detailed checklist of the images you need to capture during a shoot. A shot list is very helpful and eases the photo shoot process tremendously. When preparing for a photo shoot, create a detailed shot list and then send it to your client(s) for approval.
A shot list allows you to ensure that no images that are important to your clients are missed and helps you organize the flow of a photo session. A shot list has a secondary bonus of ensuring that the client knows exactly what to expect from you and won’t toss something unplanned onto your back. A shot list can act as insurance for the photographer. Thirdly, a shot list opens up communication between the photographer and the client so that both are able to equally express their needs!
2. Find a Location and Have a Back-Up Plan
Next is finding where the photo shoot will take place. Always research all of the locations you want to use! Find answers to the following questions:
- Does the location require a permit or fee to use?
- Is the location limited during certain times of the day or days or the week?
- How easy is the location to access?
All of these need to be sorted out prior to offering a location to your client.
But because things don’t always go according to plan, do have a backup location plan in place (especially if you have clients that are time sensitive or traveling from a great distance).
3. Gather Equipment and Clean Equipment
With the shot list and location in place, you can much easier figure out what photography equipment you will need to take. Pull out the required camera, lens, filters, and whatever else you may want to pack.
Go ahead and clean your equipment as well, not only does your equipment last longer when well maintained, but clean gear also makes a great impression on your clients.
4. Charge All Batteries and Clear All Memory Cards Needed
Make sure your batteries are charged and pack extras! Nothing worse than showing up to a photo shoot and having a dead camera. Do the same with your memory cards, ensure all of the images have been exported and backed up so you can clear them to make room for your current photo shoot.
5. Check the Camera Settings
We often play around with autofocus settings, metering modes, white balance, and other such camera settings. Check your camera settings and set them up for your upcoming photo shoot. You don’t want to be struggling in front of a client or capture a variety of images only to find that your settings were off and they don’t actually work!
6. Check Forecast and Estimate Driving Time
It’s always a good idea to check the forecast predicted for your shooting day and figure out the driving time estimate. Don’t scramble to get this sorted on the day of- do it at least the night before!
7. Ensure You Have All Of Your Client’s Contact Information
To make sure that you can reach out to your client if needed on the day of, make sure that you have all of your client’s contact information. If not, ask for it!
The Day Of the Photo Shoot
This is what you should do on the day of your awesome photo shoot.
1. Arrive Early
As many professionals say, “if you’re on time- you’re late.” Always show up early. You never know what obstacles may present in your way, and arriving early ensures that you have the time to deal with any circumstance that may arise.
As to how early you show up, that depends on the photo session. For most shoots, 30 minutes is really the sweet spot. But for more complicated photo sessions, an hour early may be a better idea.
2. Review All Of the Details (Such as the Contract and Shot List)
Review everything you are about to do and all that you promised to deliver and embed it into your brain!
3. Scope the Location to Ensure There Are No Surprises
Check out the location prior to the client arriving so you can make sure everything looks good. This way you will be able to see obstacles to work around prior to your session and find a solution. You really never want to scramble in front of a client! Looks bad!
4. Mentally Prepare Yourself
Like any art, getting into the right headspace helps create amazing work. Prepare yourself prior to the client arriving! Maybe listen to some music to relax, look at other photographer’s works to get inspired, and just get yourself into a great mental mode.
Conclusion
In conclusion, following these steps above can help aid your photo session in going smoothly. It’s a good idea to develop an effective routine that you follow when doing your photo sessions!

