
One of the incredible aspects of photography is the ability to freeze time (no matter how quickly something moves) or zoom in closer than the eye (no matter how small). We get to see the world in a brand new, never-before-seen way. Even a mundane water splash can turn into something fascinating! Which brings us to our topic: photographing water droplets. Like the name suggests, capturing water droplets ranges from dew on a leaf to a crash from something splashing.
But capturing water droplets isn’t as easy as it may appear on the surface, there is a bit of technical trickery required to create awe-inspiring photographs. This starts with the settings and ends with the technique!
Macro Water Droplets
When talking about droplet photography, there are generally two types that people refer to. The first is droplets on a leaf or object. These are done in Macro-style, where the droplets become the entire subject.
Macro photography is when you capture small objects up close and in great detail. The term “Macro” itself means “large scale”.
True Macro photography is done with dedicated macro lenses. These lenses will be expressed not just with a focal length but also with a magnification ratio. There are three types of Macro lenses: short, intermediate, and long. For droplet photography, short and long macro lenses tend to be the most popular choices. Short macro lenses range from 35mm-60mm and long macro lenses are 150mm-200mm.
That being said, it is possible to capture Macro-style photography with non-Macro lenses. However, the images would be slated as “close-ups” rather than Macro.

Action Splashes
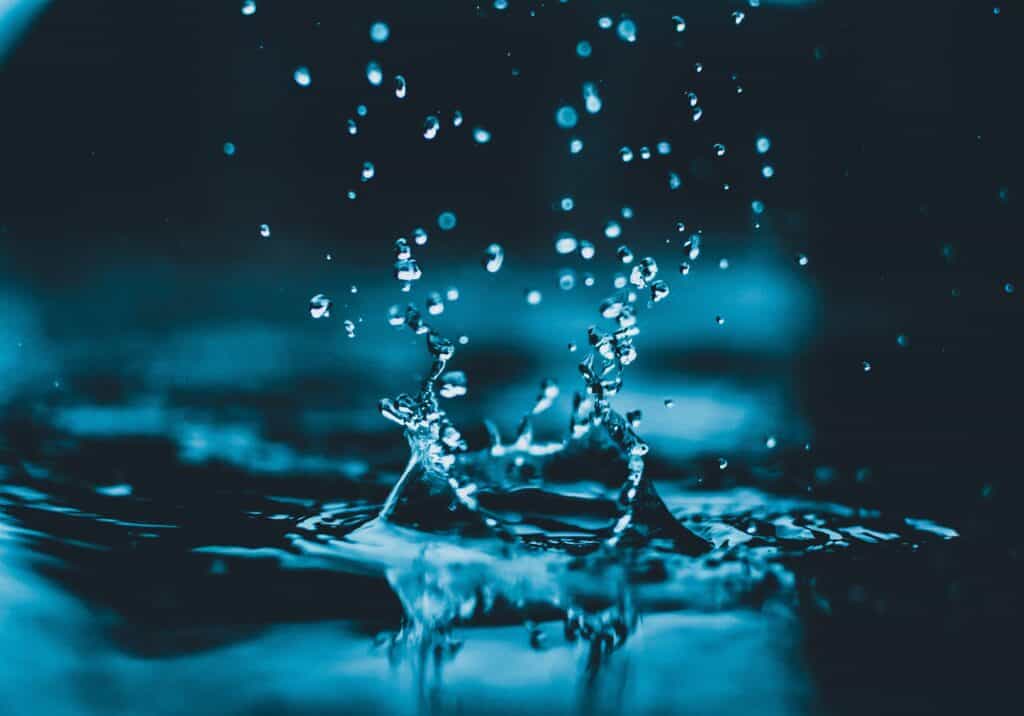
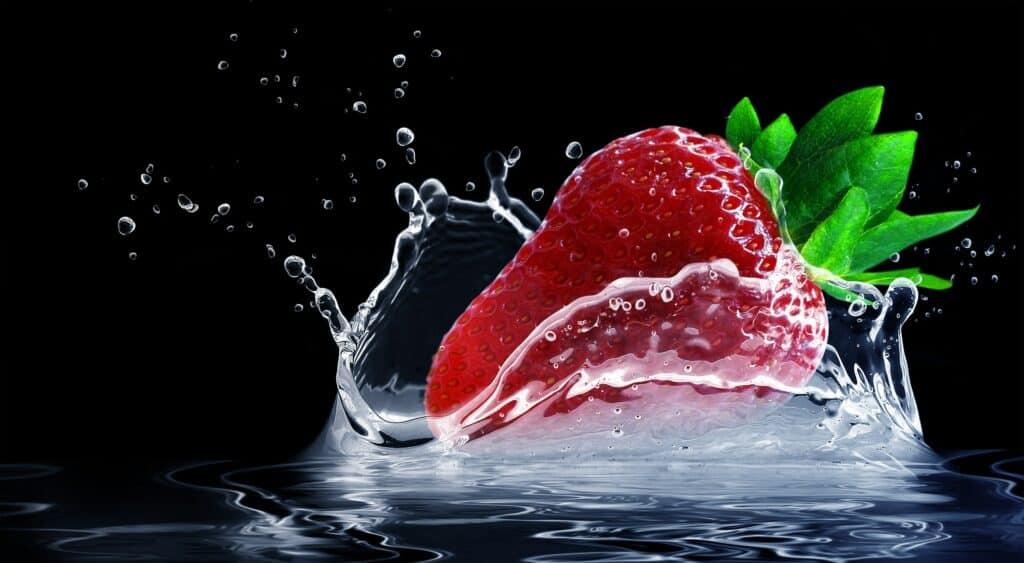
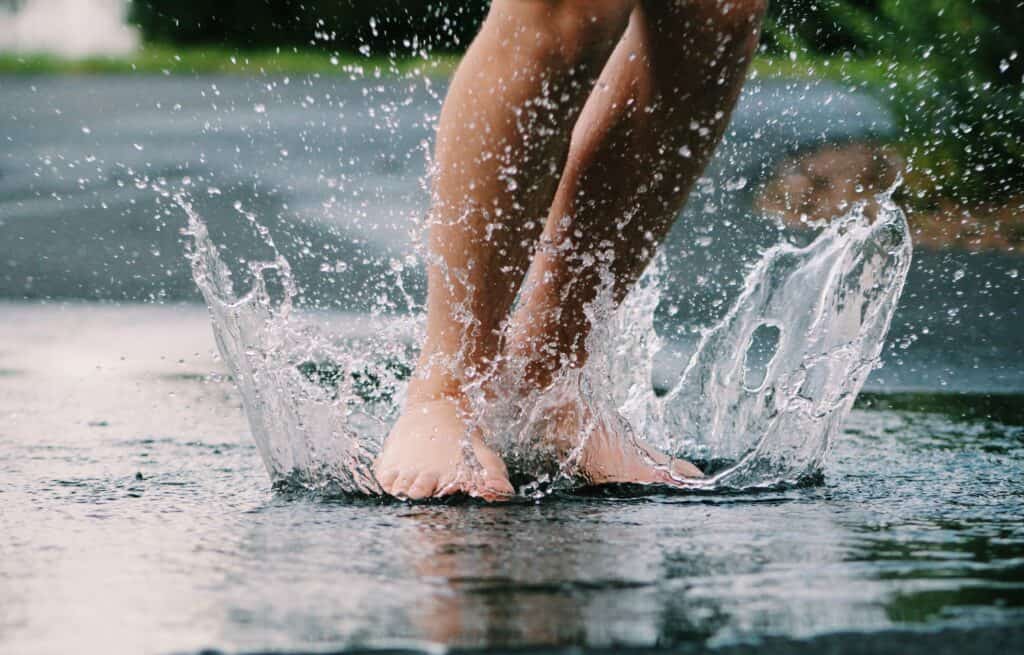
The next type are dramatic splashes and drops! These action photographs wow the audience as the water action is completely frozen. These can be done Macro style, close-up style, with another object, or just dramatic spouts. The possibilities are endless here!
Macro Style:
With an Object:
Candid Spouts:
Settings Exposed
Water drop and droplet photography can be done with most any camera and lens so long as the settings are right! These are the ideal suggestions for drop photography:
Burst Mode / High FPS: Every camera has something called FPS, or Frames-Per-Second. This tells you how many pictures a camera can snap per second of shooting. To access this feature, you have to go to the menu of your camera and set it to either “Burst Mode” or “High Speed Continuous Shooting” (depending on your camera brand). Your camera will then fire off as many photographs as it is capable of taking per second as long as your finger is on the shutter button.
This is key for action water droplet photography because the water does move so fast and has so many steps to its splash. By using burst mode, you can capture the entire sequence of movement and then pick out the best moments.
For still water droplet photography, it still doesn’t hurt to have burst mode activated!
Manual Focus: Although it may be tempting to use autofocus, most cameras will have a hard time latching on to the small droplets. As such, switching to manual focus may be your best bet. As the name implies, manual focus is when you lock on to a subject by hand. You find focus by turning the focus barrel ring until the subject is nice and clear in your viewfinder.
Shutter Speed: The shutter speed is how fast your camera takes the photograph. The higher the shutter speed number, the more frozen the action will be (but the photograph will be darker). The lower the shutter speed number, the more motion blur your photograph will have (but the photograph will be lighter).
For capturing still droplets on a leaf or object, the shutter speed doesn’t matter very much as the subject is stationary. If you’re looking to capture splashes, however, you need an extremely fast shutter speed. Water moves quickly, so keeping your shutter speed above 1/2000 is really ideal (the faster the better)!
Aperture: The aperture controls how much light does (or doesn’t) hit your sensor and the depth of field. The lower the aperture number, the more light the camera lets in. The higher the aperture number, the less light the camera lets in. Lower aperture is a shallower depth of field and higher aperture is a deeper depth of field. Depth of field is how much of an image is in focus, a shallow depth of field means only the subject is in focus and the rest blurs away will a deep depth of field means everything is in focus.
For water droplet photography, a deeper depth of field and narrower aperture will serve you best. This is because water droplets are so small and can be a bit difficult to get in focus (especially with manual focus). The deeper the depth of field, the more is in focus, therefore making it easier.
General Tips and Tricks for Water Drop Photography
Here are some universal tips and tricks for great water droplet photography!
For Drops, Use An Eyedropper and Plastic Container
Ever wondered how those perfect droplet shots are done? Well, it’s quite simple! A small plastic container is filled with water, and then an eyedropper is used to create the drop splash. If you have someone to assist you, you can dictate when the dropper should be squeezed and a splash conducted. If not, go ahead and put the camera and lens on a tripod, get the dropper and prepare to squeeze, then use a shutter release cable to take the shot when you are ready!
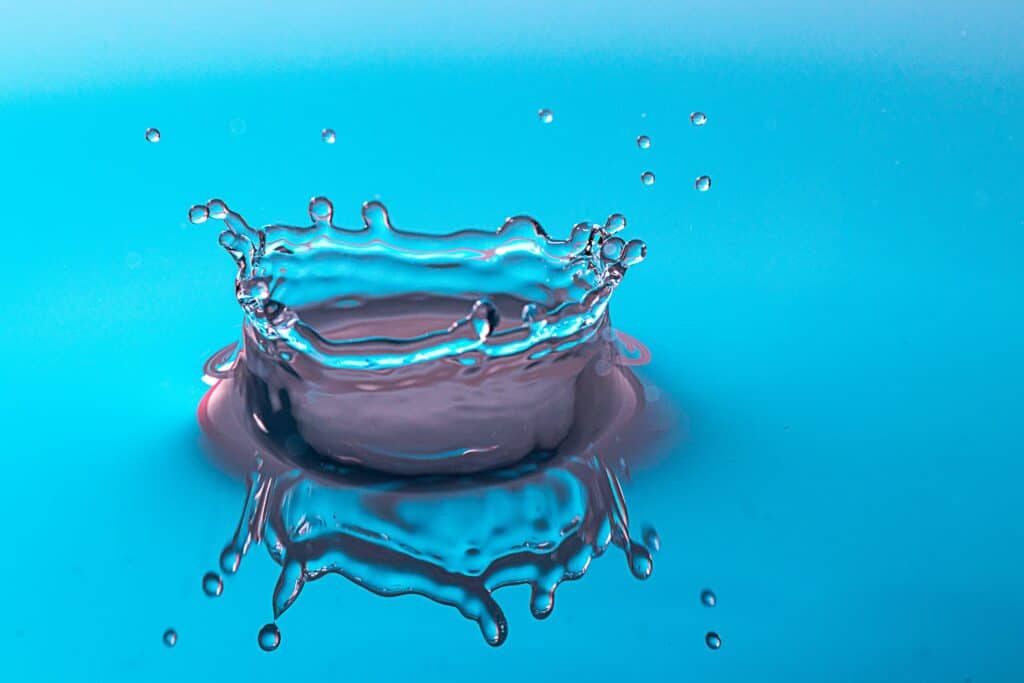
You Can Control the Shape
You can control the shape of your water drops by adjusting the water depth in the dish – shallow for crown-shaped splashes and deeper for taller columns.
Mix Milk In
Sometimes, water itself is a bit too clear and transparent for a photograph. A common trick is to mix in milk, or another fluid that not only colors the water, but also adds a bit more weight to the droplet so that a more dramatic splash can occur. Practice using different liquids and see what works best!
Use a Spray Bottle for Fake Dew
If you’re not one for waking up super early or don’t live in a humid climate, you can use a spray bottle to create dew droplets on your subject. Just make sure that you spray a good distance away from the subject (to ensure the droplets form) and spray upwards to imitate a natural rain!
In conclusion, now that the veil has been lifted from water droplet photography, go ahead and experiment!