
Jewelry is a very popular photography subject, both due to its aesthetic beauty and also due to its demand in the industry. From engagement and wedding photographs that feature gorgeous rings to Vogue magazine with incredible statement necklaces, beautiful jewelry photography is easy to see but difficult to capture! Here is our guide on capturing amazing jewelry photographs.
Jewelry photography, much like product photography, is the capture of our favorite fashion accessories. Jewelry photography is more often than not commercial in nature and intended to advertise jewelry.
There are two primary types of jewelry photography: e-commerce photography and editorial photography.
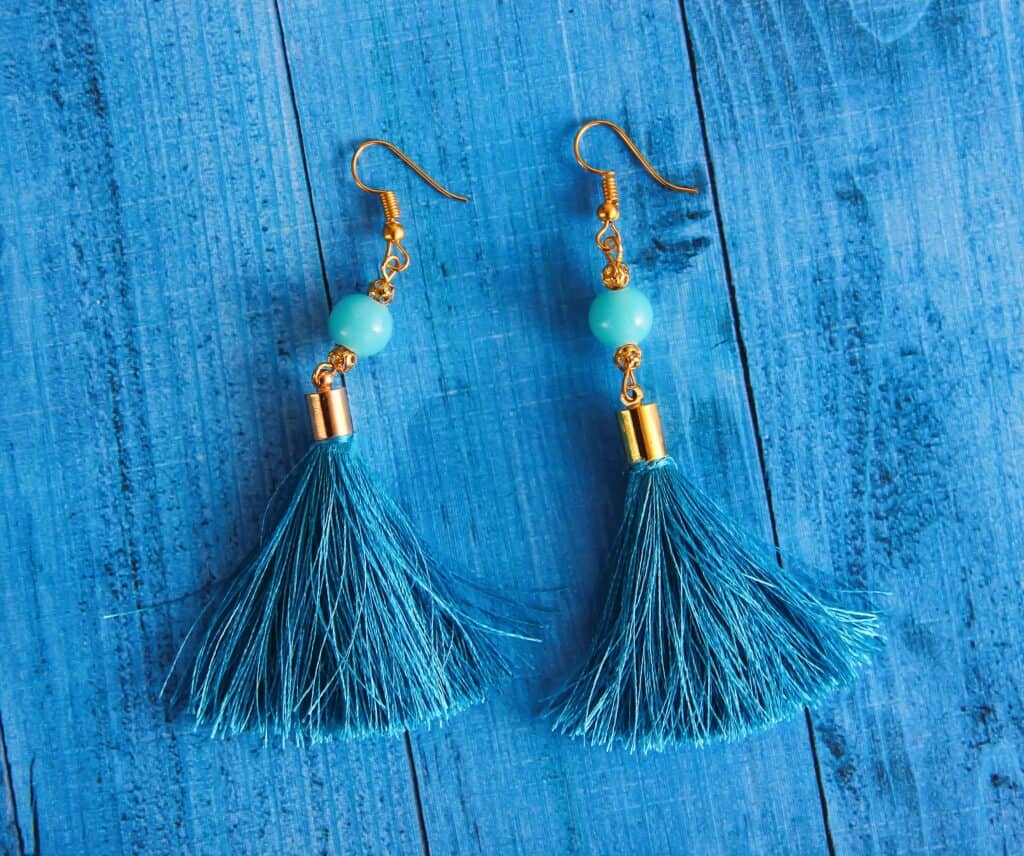
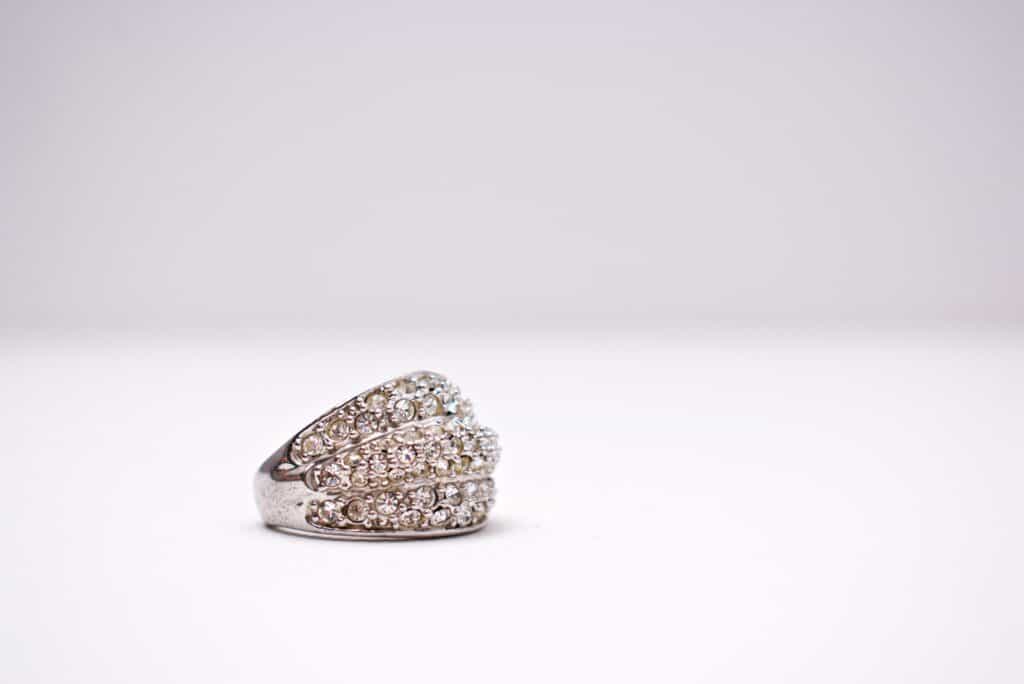
E-commerce photography are the images you will see online or in a product catalog. These images are usually shot on a seamless solid color background. They highlight only the jewelry. Editorial photography is the jewelry advertisement and is a lot more creative.
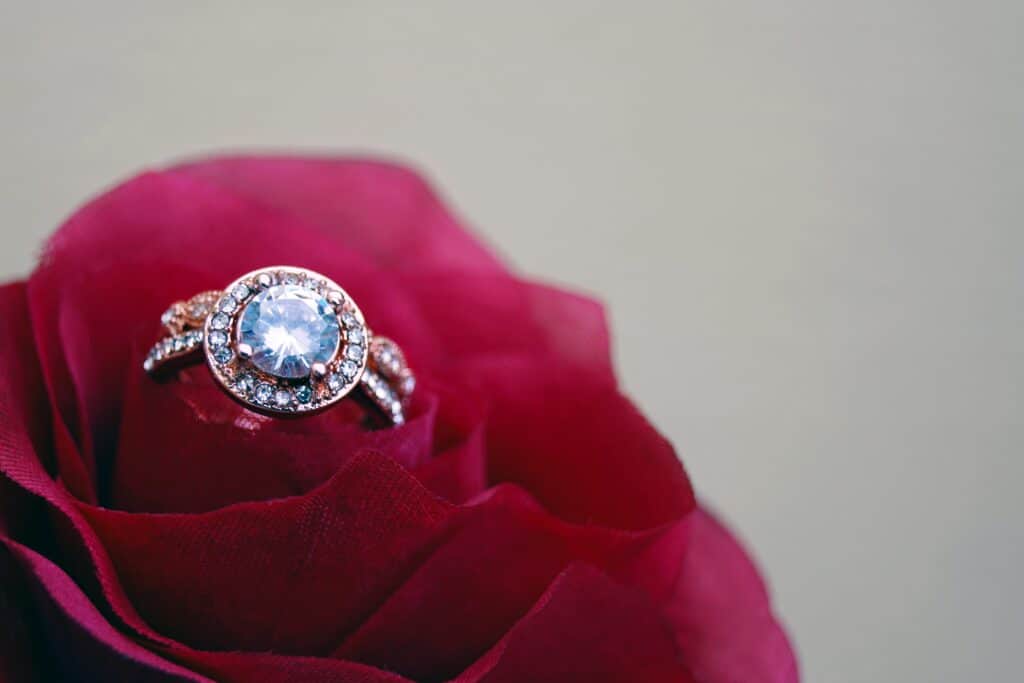
Editorial photography often features a model or jewelry in a lifestyle environment.
All of this being said, jewelry photography requires certain equipment in order to capture well. Equally, this photography niche has a few extra steps to capturing the photographs than you would find in other types of photography.
What You Need for Jewelry Photography
There are a few things you’re going to want to have for jewelry photography, regardless as to whether you are capturing editorial shots or e-commerce images.
The Camera
A camera with a high megapixel count is going to be your best friend. Megapixels aren’t a gimmick to increase the price of a camera. Alongside prints, the megapixels do impact the details and quality of an image. As you may deduce, the more pixels, the higher quality the image because there will be more details. Megapixels is a unit of measurement for the amount of pixels in a photo.
You want to ensure that your image is captured in full detail, so that no stone goes unshown. Full frame sensors are also pretty high up on the needs list as a crop sensor will not have a high enough resolution.
It’s also important to look at how many focus points the camera has. How you select what is in focus and how accurate the autofocus is is through focus points. Focus points are the dots that the camera uses to lock onto focus. The more there are, the more accurate and detailed the focus can be. For touch screen cameras, you can tap the focus points on the screens and ensure that the specific detail you want in focus absolutely is. This makes photography tiny earrings so much easier!
The Lens
The lens is what impacts your final images the most. As such, your choice here is quite critical!
For the most part, you’re going to want to look into standard lenses or macro lenses. Both of these types of lenses have an equal benefit of not distorting the proportions of your subjects. You have to ensure that your images are true to life in physical appearance.
Macro lenses allow you to capture small subjects in a large size, while standard lenses mimic your eye perspective the most. Standard lenses have an angle of view of around 50 to 55 degrees diagonally.
Equally, look for higher end glass in your lens. Camera brands and lens companies have a high end lens line and a low end lens line. The high end line uses high quality glass that will make images sharp, vibrant, and rich. This is because the grains of sand used to make the glass differ between the two qualities, high-end glass is clearer! The problem with lower end glass is that it tends to not be very sharp and have a dull appearance.
Depth of field isn’t as important for jewelry photography because you’re going to want your depth of field to be a bit deeper (more in focus).
Tripod
Jewelry photography is easiest when done with a tripod, which allows the camera to be perfectly stabilized. Tripods are three legged stands that can be adjusted in height to which your camera is attached. Tripods keep your camera perfectly still.
Studio Lighting
If you’re capturing e-commerce jewelry photography, you’re likely in a studio setting. This is where studio lighting comes into play. There are different types of artificial lighting to choose from, neither is better nor worse than the other:
Continuous: Light that is always on and does not flash. These can range from LED strips and LED bulbs all the way to tungsten bulbs. These lights tend to have a softer look to them.
Flash/Strobe/Speedlite: A device used in photography that bursts a powerful bright light. This lighting tends to have a sharp and contrasted look to it.
Now, for jewelry photography, to reduce the shadows on your subject, it’s actually been recommended to use a ring light. A ring light is an LED light in the shape of a ring! You place the lens through the hollow center of the light, shooting through the ring. Ring lights expose every part of the subject while still separating them from the background.
Best Settings for Jewelry Photography
Settings really do change depending upon the scene you are capturing, but here are some universal suggestions for the best jewelry photography settings.
Firstly, because the products don’t move, you can set your camera to One-Shot mode. One-Shot allows you to set up your images and focus without fear of the focus shifting. One-Shot is the default on a camera, but if you switched to any of the other modes for a different kind of photography, go ahead and switch it back to One-Shot.
Set your White Balance to whatever lighting you are utilizing, as ensuring your whites are proper is really important for jewelry photography. Check out our article on White Balance for more on this topic.
As for the exposure equation (ISO + Shutter Speed + Aperture = Exposure), you want to ensure there is as little noise as possible. Add a tripod, and you can afford to use a lower ISO number and shutter speed to reduce noise.
For metering, Spot Metering will be your best friend. This ensures that your metering mode is dependent entirely upon the subject and nothing else (ensuring your subject is always perfectly lit).
The aperture is where things get a bit more complicated. For product photos, you’ll generally want a deeper depth of field for the details- an aperture of F/8 tends to be the sweet spot. If you’re capturing an editorial or lifestyle-type shot, a shallower depth of field is fine.
How To Photograph Jewelry
Here are the five suggested steps to capture jewelry photographs.
Step 1: Organize Your Shooting Set Up
The first thing you’re going to want to do is ensure that your scene is all done before bringing anything else in. If you’re doing e-commerce, roll out the seamless paper backdrop and have a stand set up for the jewelry. Position your artificial lights around the frame to light it all up. If you’re capturing editorials, set the scene with props.
Step 2: Clean the Jewelry and Place in the Set Up
Next, it’s time to tackle the jewelry. Clean the pieces to ensure no dust or scratches are visible, as the camera will pick those up and they are a pain to Photoshop! Then, place the jewelry in the scene after it is cleaned and adjust the lighting if necessary.
Step 3: Set the Camera on a Tripod and Adjust the Settings
Go ahead and mount your camera to the tripod. Make sure that your camera’s brought up to the needed height by the tripod’s legs, not the height of the center column. For maximum camera stability, keep the center column as low as you can.
After doing so, start to adjust your settings. Try to keep your ISO as low as possible to keep the noise level minimal so that all of the jewelry details show, and with the camera being on a tripod, you can afford slower shutter speeds in order to accommodate the ISO and aperture settings.
Step 4: Nail the Focus (Manual Focus is Best)
This is where your focus points come into play! Make sure what you want to capture is perfectly in focus. If Autofocus is proving difficult, switch the lens over to Manual Focus and spin the focus ring until the jewelry is perfectly sharp.
Step 5: Take the Shot!
Finally, take the photograph! Make sure to check the image after you take it to see if anything needs to be adjusted.
Mistakes to Avoid for Jewelry Photography
There are three very common and easily forgotten mistakes in jewelry photography. They are all a simple fix!
1. Avoid Reflections
Nothing looks worse than a gorgeous emerald ring with a camera lens reflection right in the centre.
Pay attention to reflections and prepare to move lights around a hundred ways until you find the perfect configuration. Otherwise, you’ll be sitting in the editing room removing all those pesky reflections.
2. Avoid Extremely Shallow Depth of Field (Unless Focus Stacking)
For product photography, you really want to make sure the entire piece of jewelry is in focus. As such, it is best to capture images with a deeper depth of field so that every detail is beautifully sharp in focus.
However, if you wish to maintain a shallow depth of field for aesthetic reasons, you can do so with focus stacking. Focus stacking is when you photograph the same scene with different focus points and then use post processing to layer the images together.
For example, say you have a picture of an engagement ring. You take one photograph of the diamond in focus. One photograph of the band in focus. One photograph of the stand the ring is sitting on in focus. Then you take these three images, put them together in an editing program, and create an image in which the entire ring and the stand is in focus but the background remains out of focus.
3. Hard Shadows
If you’re capturing jewelry photographs for an online store or e-commerce situation, you’re going to want to avoid any sort of hard shadows. Editing the shadows out in post processing can be a massive pain! A very easy way to fix this is to have a light above the jewelry product that eliminates the shadows.
In conclusion, jewelry photography is not as complex as it may seem- it just requires the right type of prep work!